Make Your SQL Database work for you by building an internal tool

March 30, 2022
What's the most efficient way to get your data in and out of a SQL database? How can you make the data accessible and editable by anyone in your team? Well, you're probably going to need to build an internal tool! This blog post will show you how, at a high level.
There are many different types of internal tools that you can build. You might want to create a reporting tool for your marketing team, or maybe you need a way to quickly get customer data visible for your customer support team. Or, any number of business apps to help your colleagues manipulate data.
Using existing SQL server data to create a new internal tool
No matter what your needs are, there's a good chance that you can build an internal tool to help you out, and all you need is your existing sql server database (and some existing sql server data).
Creating a new internal tool can be tedious and time-consuming. It usually involves writing a bunch of custom queries to do different tasks, and sometimes you might need to write a few scripts for storing and retrieving data in order to generate your report or dashboard.
This post will walk you through each step at a high level, to help you get started building custom internal tools (or internal apps, depending on your needs).
Our example uses Salesforce as our data source, but you can use any SQL database with the steps below. Or, if you have more advanced needs you could use multiple data sources and combine them
It can't be understated: great internal tools need great database architecture as a foundation.
Getting started on your internal tool build
The first step is to create a table in your SQL database that will hold your data. The table needs to have at least the following fields: ID, Name, and Email Address. You can add as many other fields as you like, but these are the basic ones that we'll need.
<pre><code>CREATE TABLE Salesforce_Contacts ( ID INTEGER PRIMARY KEY AUTOINCREMENT, Name VARCHAR(255), EmailAddress VARCHAR(255) )</code></pre>
Once the table is created, you need to load your data into it. We'll be using the following SQL query to do this:
<pre><code>insert into Salesforce_Contacts(ID, Name, EmailAddress) select id, name, emailaddress from demo.Contact</code></pre>
This query uses the following syntax:
<pre><code>insert into <table> (select <fields>)</code></pre>
<pre><code><from table where search criteria ></code></pre>
Values can be referenced by using either an ID number or field name.
For this example, we've created a table called "Contact" with three fields: ID, Name, and EmailAddress. You can either use an ID number or field name to refer to these values when inserting records into your table. Note that this sample uses Salesforce's standard IDs which are auto-incremented integers starting at 1. If you are using a different system, your IDs will likely be different.
Once you have run the insert query, you should see a list of records in your table.
Building out data structures with SQL queries
Next, you'll need to create some data structures that will store your data. These are more of the database objects for your table. Here's the code to create them:
<pre><code>CREATE VIEW Salesforce_ContactsList AS SELECT * FROM Salesforce_Contacts</code></pre>
<pre><code>CREATE TRIGGER Salesforce_ContactUpdate</code></pre>
We'll be using views and triggers in this tutorial, which are database objects that are used to enforce business rules. Views are "read-only" copies of your data while triggers also apply changes. You can think of a view as a way to make it easier for other people in your company with less SQL knowledge to access records in your table without getting confused about what they're seeing. A trigger is a way to automatically update your data when it's changed. This can be helpful for keeping track of changes or maintaining referential integrity between tables.
For our example, we'll just be using a view to list all of the records in our table. The CREATE VIEW statement creates a new view called "Salesforce_ContactsList" with all of the records in our Salesforce_Contacts table. This view can be used to display a list of your contacts or just to extract some fields from it if you're using this data for another purpose. We've also used the SELECT * command, which is shorthand for selecting all of the available fields in your query. You can see a list of all available fields by looking at the schema for your table.
Trigger as Cascading Delete Trigger
<pre><code>CREATE TRIGGER Salesforce_ContactCascadeDelete AFTER DELETE ON Salesforce_Contacts</code></pre>
Next, we'll create a trigger to handle cascading deletes when a contact is deleted from our table. This trigger will be called "Salesforce_ContactCascadeDelete" and it will fire after the delete event. This means that it will be executed after a contact is deleted, regardless of whether the delete was successful or not.
The trigger code is very simple. It just contains a single DELETE statement that deletes all records from the Salesforce_ContactCascade table. This table is just a simple container for holding the ID numbers of any contacts that were deleted from the Salesforce_Contacts table.
The trigger will automatically delete any records in this table that have an ID number that matches one of the IDs in the Salesforce_Contacts table. This will ensure that any records in the Salesforce_ContactCascade table that are no longer in the Salesforce_Contacts table are automatically deleted.
The trigger is set up as a cascading delete trigger, which is a type of delete trigger that is commonly used to enforce referential integrity between tables. A cascading delete trigger will automatically delete records in another table that are linked to records that are being deleted. This makes it much more difficult for orphaned records to remain in the database after they're no longer needed.
This part of our example could go on in perpetuity, but for every action your internal tool should take you'll need the make the necessary queries.
Next, we'll look at high level steps to create a GUI for your internal tool to help with making these queries more turn-key.
Creating a GUI for your internal tool
We're now going to look at how to create a GUI that will make it easier for you, and more importantly your users, to use these tools. You can create a GUI in many different languages, but we'll be using Python here because of its ease-of-use and simplicity.
You could shortcut this next section by using one of the many ui libraries available, which offer pre built components. These can give you the building blocks you need
You could ship faster.
Imagine the time you'd save if you never had to build another internal tool, write a SQL report, or manage another admin panel again. Basedash is built by internal tool builders, for internal tool builders. Our mission is to change the way developers work, so you can focus on building your product.
The general steps required to create a GUI for internal tooling are:
-
Create a window and populate it with a series of buttons to control the execution of your queries.
-
Create an "event loop" that listens for button presses from the user and executes the appropriate query based on which button was pressed.
-
Connect event listeners to your various buttons so that they execute the appropriate command when clicked.
-
Make sure your main window has instructions telling the end user how to use your app. Bonus points if the instructions are specific to the use case. For example, every day language for customer facing teams that might be trying to solve customer facing problems.
Window
First, we'll create a window that will contain our GUI. This window can be created with the following code:
<pre><code>window = tk.Tk()</code></pre>
This code creates a new window object called "window" and assigns it to the variable "tk.Tk". This window object is used to create our GUI.
Button
Now, we'll add a button to our window. Buttons can be created with the following code:
<pre><code>button = tk.Button(window, text="Query Contacts", command=query_contacts)</code></pre>
In this code, we're creating a button with the text "Query Contacts" and setting its command to be equal to our function called "query_contacts". This means that when the user clicks on this button, it will execute our query_contacts function. The default location in Python for functions is inside of a file called "main.py". You can create this file with the following code:
<pre><code>import tk</code></pre>
<pre><code>def query_contacts():</code></pre>
This code will create a function called "query_contacts" that our button will execute when clicked.
Label
We'll also add a label to our window so that the user knows what the button does. Labels can be created with the following code:
<pre><code>label = tk.Label(window, text="Query Contacts")</code></pre>
In this code, we're creating a new label object called "label" and assigning it to the
Event Loop
Now, we need to create an event loop that will listen for button presses from the user and execute the appropriate query. This can be done with the following code:
<pre><code>event_loop = tk.EventLoop()</code></pre>
The event loop object will allow us to listen for button presses from the user and execute our queries accordingly.
Button Presses
Now, we need to connect our event listeners to our button presses. We do this with the following code:
<pre><code>event_loop.connect(button, "1", query_contacts)</code></pre>
This line of code tells our event loop to execute our function when our button is clicked (this is what we set in step 2).
This part of the tutorial could also go on forever. For the purposes of this article we'll move on to testing and deploying
Testing your new internal tool
By this step you've created your new internal tool and it's time to test it. You'll want to make sure that everything is working the way you expect it to. If something isn't, fix it before deploying. The next step will cover deploying your tool in an environment where users can access it without needing to be on the same local network as the server.
Deployment
Deployment options are numerous, but the most popular choices would be to use a cloud service like Amazon Web Services (AWS), or host on your own infrastructure.
Deploying Your GUI on AWS or another cloud service
AWS offers three different services: EC2 Elastic Compute Cloud, S3 Simple Storage Service, and Lambda Functions. We'll be using EC2 to deploy our GUI.
First, we need to create an Amazon Machine Image (AMI) of our server. Then, we'll need to create an EC2 instance.
Next, on the backend, you'll need to get data from your database. In order to do this, you'll need a user with read permissions on the database.
Once you've connected to your database, you can run any query you need.
Using your own hosting environment (self hosting your tool)
You could also self host and use your own infrastructure, which is favored if you work in an industry like healthcare or fintech. There are many security benefits to doing this. Learn more about using your own infrastructure here.
Next, you're ready to start testing with beta users at your company.
Faster ways to build internal tools and internal apps
By now you know that if you're currently using a SQL database, you can use it to create new internal tools. Using your knowledge of the database system and some Python code, you can create something custom that will make work easier for your colleagues.
But, you may not have time or resources right now for building an application from scratch. Instead, you can start by leveraging what's already available in your organization—namely a SQL database—to start prototyping solutions today.
Building better internal tools faster
If you already have an existing SQL database, you could do everything in the above post in about three minutes—plus make your database collaborative for any of your internal users.
That's exactly why we created Basedash.
It's the fastest internal tool builder, and it comes with an easy to use interface plus secure user access. Check it out for free.
TOC
March 30, 2022
What's the most efficient way to get your data in and out of a SQL database? How can you make the data accessible and editable by anyone in your team? Well, you're probably going to need to build an internal tool! This blog post will show you how, at a high level.
There are many different types of internal tools that you can build. You might want to create a reporting tool for your marketing team, or maybe you need a way to quickly get customer data visible for your customer support team. Or, any number of business apps to help your colleagues manipulate data.
Using existing SQL server data to create a new internal tool
No matter what your needs are, there's a good chance that you can build an internal tool to help you out, and all you need is your existing sql server database (and some existing sql server data).
Creating a new internal tool can be tedious and time-consuming. It usually involves writing a bunch of custom queries to do different tasks, and sometimes you might need to write a few scripts for storing and retrieving data in order to generate your report or dashboard.
This post will walk you through each step at a high level, to help you get started building custom internal tools (or internal apps, depending on your needs).
Our example uses Salesforce as our data source, but you can use any SQL database with the steps below. Or, if you have more advanced needs you could use multiple data sources and combine them
It can't be understated: great internal tools need great database architecture as a foundation.
Getting started on your internal tool build
The first step is to create a table in your SQL database that will hold your data. The table needs to have at least the following fields: ID, Name, and Email Address. You can add as many other fields as you like, but these are the basic ones that we'll need.
<pre><code>CREATE TABLE Salesforce_Contacts ( ID INTEGER PRIMARY KEY AUTOINCREMENT, Name VARCHAR(255), EmailAddress VARCHAR(255) )</code></pre>
Once the table is created, you need to load your data into it. We'll be using the following SQL query to do this:
<pre><code>insert into Salesforce_Contacts(ID, Name, EmailAddress) select id, name, emailaddress from demo.Contact</code></pre>
This query uses the following syntax:
<pre><code>insert into <table> (select <fields>)</code></pre>
<pre><code><from table where search criteria ></code></pre>
Values can be referenced by using either an ID number or field name.
For this example, we've created a table called "Contact" with three fields: ID, Name, and EmailAddress. You can either use an ID number or field name to refer to these values when inserting records into your table. Note that this sample uses Salesforce's standard IDs which are auto-incremented integers starting at 1. If you are using a different system, your IDs will likely be different.
Once you have run the insert query, you should see a list of records in your table.
Building out data structures with SQL queries
Next, you'll need to create some data structures that will store your data. These are more of the database objects for your table. Here's the code to create them:
<pre><code>CREATE VIEW Salesforce_ContactsList AS SELECT * FROM Salesforce_Contacts</code></pre>
<pre><code>CREATE TRIGGER Salesforce_ContactUpdate</code></pre>
We'll be using views and triggers in this tutorial, which are database objects that are used to enforce business rules. Views are "read-only" copies of your data while triggers also apply changes. You can think of a view as a way to make it easier for other people in your company with less SQL knowledge to access records in your table without getting confused about what they're seeing. A trigger is a way to automatically update your data when it's changed. This can be helpful for keeping track of changes or maintaining referential integrity between tables.
For our example, we'll just be using a view to list all of the records in our table. The CREATE VIEW statement creates a new view called "Salesforce_ContactsList" with all of the records in our Salesforce_Contacts table. This view can be used to display a list of your contacts or just to extract some fields from it if you're using this data for another purpose. We've also used the SELECT * command, which is shorthand for selecting all of the available fields in your query. You can see a list of all available fields by looking at the schema for your table.
Trigger as Cascading Delete Trigger
<pre><code>CREATE TRIGGER Salesforce_ContactCascadeDelete AFTER DELETE ON Salesforce_Contacts</code></pre>
Next, we'll create a trigger to handle cascading deletes when a contact is deleted from our table. This trigger will be called "Salesforce_ContactCascadeDelete" and it will fire after the delete event. This means that it will be executed after a contact is deleted, regardless of whether the delete was successful or not.
The trigger code is very simple. It just contains a single DELETE statement that deletes all records from the Salesforce_ContactCascade table. This table is just a simple container for holding the ID numbers of any contacts that were deleted from the Salesforce_Contacts table.
The trigger will automatically delete any records in this table that have an ID number that matches one of the IDs in the Salesforce_Contacts table. This will ensure that any records in the Salesforce_ContactCascade table that are no longer in the Salesforce_Contacts table are automatically deleted.
The trigger is set up as a cascading delete trigger, which is a type of delete trigger that is commonly used to enforce referential integrity between tables. A cascading delete trigger will automatically delete records in another table that are linked to records that are being deleted. This makes it much more difficult for orphaned records to remain in the database after they're no longer needed.
This part of our example could go on in perpetuity, but for every action your internal tool should take you'll need the make the necessary queries.
Next, we'll look at high level steps to create a GUI for your internal tool to help with making these queries more turn-key.
Creating a GUI for your internal tool
We're now going to look at how to create a GUI that will make it easier for you, and more importantly your users, to use these tools. You can create a GUI in many different languages, but we'll be using Python here because of its ease-of-use and simplicity.
You could shortcut this next section by using one of the many ui libraries available, which offer pre built components. These can give you the building blocks you need
You could ship faster.
Imagine the time you'd save if you never had to build another internal tool, write a SQL report, or manage another admin panel again. Basedash is built by internal tool builders, for internal tool builders. Our mission is to change the way developers work, so you can focus on building your product.
The general steps required to create a GUI for internal tooling are:
-
Create a window and populate it with a series of buttons to control the execution of your queries.
-
Create an "event loop" that listens for button presses from the user and executes the appropriate query based on which button was pressed.
-
Connect event listeners to your various buttons so that they execute the appropriate command when clicked.
-
Make sure your main window has instructions telling the end user how to use your app. Bonus points if the instructions are specific to the use case. For example, every day language for customer facing teams that might be trying to solve customer facing problems.
Window
First, we'll create a window that will contain our GUI. This window can be created with the following code:
<pre><code>window = tk.Tk()</code></pre>
This code creates a new window object called "window" and assigns it to the variable "tk.Tk". This window object is used to create our GUI.
Button
Now, we'll add a button to our window. Buttons can be created with the following code:
<pre><code>button = tk.Button(window, text="Query Contacts", command=query_contacts)</code></pre>
In this code, we're creating a button with the text "Query Contacts" and setting its command to be equal to our function called "query_contacts". This means that when the user clicks on this button, it will execute our query_contacts function. The default location in Python for functions is inside of a file called "main.py". You can create this file with the following code:
<pre><code>import tk</code></pre>
<pre><code>def query_contacts():</code></pre>
This code will create a function called "query_contacts" that our button will execute when clicked.
Label
We'll also add a label to our window so that the user knows what the button does. Labels can be created with the following code:
<pre><code>label = tk.Label(window, text="Query Contacts")</code></pre>
In this code, we're creating a new label object called "label" and assigning it to the
Event Loop
Now, we need to create an event loop that will listen for button presses from the user and execute the appropriate query. This can be done with the following code:
<pre><code>event_loop = tk.EventLoop()</code></pre>
The event loop object will allow us to listen for button presses from the user and execute our queries accordingly.
Button Presses
Now, we need to connect our event listeners to our button presses. We do this with the following code:
<pre><code>event_loop.connect(button, "1", query_contacts)</code></pre>
This line of code tells our event loop to execute our function when our button is clicked (this is what we set in step 2).
This part of the tutorial could also go on forever. For the purposes of this article we'll move on to testing and deploying
Testing your new internal tool
By this step you've created your new internal tool and it's time to test it. You'll want to make sure that everything is working the way you expect it to. If something isn't, fix it before deploying. The next step will cover deploying your tool in an environment where users can access it without needing to be on the same local network as the server.
Deployment
Deployment options are numerous, but the most popular choices would be to use a cloud service like Amazon Web Services (AWS), or host on your own infrastructure.
Deploying Your GUI on AWS or another cloud service
AWS offers three different services: EC2 Elastic Compute Cloud, S3 Simple Storage Service, and Lambda Functions. We'll be using EC2 to deploy our GUI.
First, we need to create an Amazon Machine Image (AMI) of our server. Then, we'll need to create an EC2 instance.
Next, on the backend, you'll need to get data from your database. In order to do this, you'll need a user with read permissions on the database.
Once you've connected to your database, you can run any query you need.
Using your own hosting environment (self hosting your tool)
You could also self host and use your own infrastructure, which is favored if you work in an industry like healthcare or fintech. There are many security benefits to doing this. Learn more about using your own infrastructure here.
Next, you're ready to start testing with beta users at your company.
Faster ways to build internal tools and internal apps
By now you know that if you're currently using a SQL database, you can use it to create new internal tools. Using your knowledge of the database system and some Python code, you can create something custom that will make work easier for your colleagues.
But, you may not have time or resources right now for building an application from scratch. Instead, you can start by leveraging what's already available in your organization—namely a SQL database—to start prototyping solutions today.
Building better internal tools faster
If you already have an existing SQL database, you could do everything in the above post in about three minutes—plus make your database collaborative for any of your internal users.
That's exactly why we created Basedash.
It's the fastest internal tool builder, and it comes with an easy to use interface plus secure user access. Check it out for free.
What is Basedash?
What is Basedash?
What is Basedash?
Basedash is the admin panel you don't have to build.
Basedash is the admin panel you don't have to build.
Basedash is the admin panel you don't have to build.
Dashboards, charts, API calls, CRUD operations, SQL queries. Just connect your database, Basedash handles the rest.
Dashboards, charts, API calls, CRUD operations, SQL queries. Just connect your database, Basedash handles the rest.
Dashboards, charts, API calls, CRUD operations, SQL queries. Just connect your database, Basedash handles the rest.
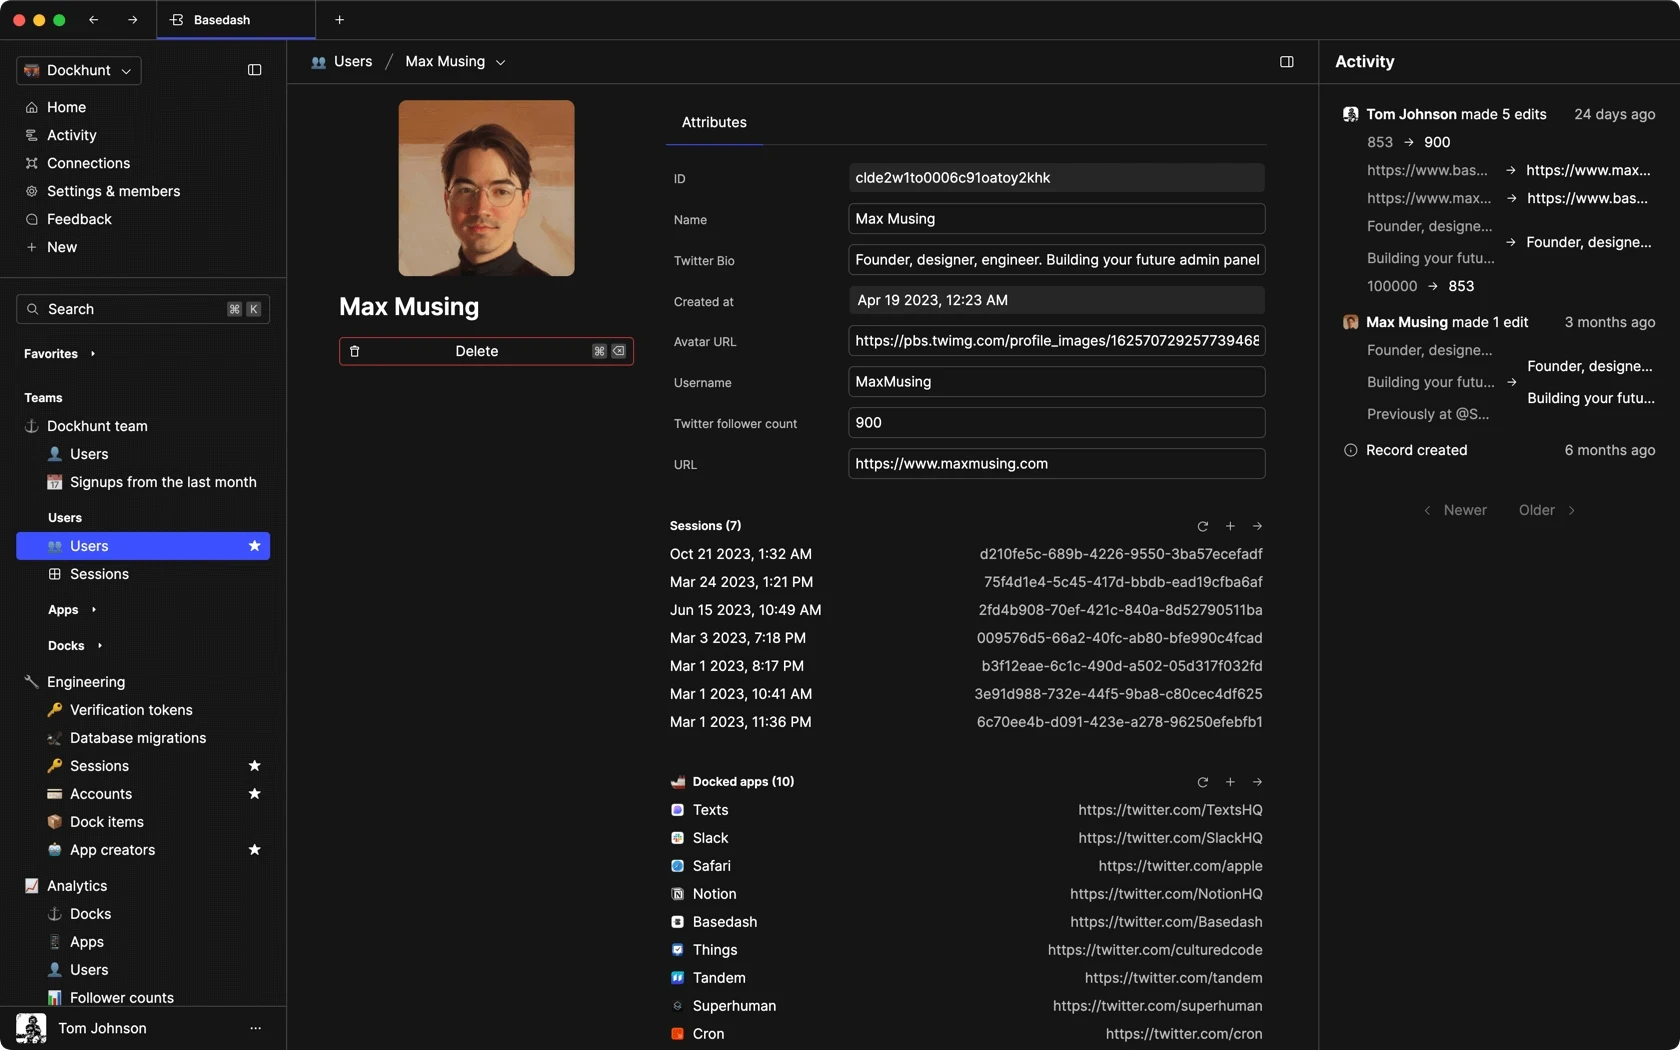
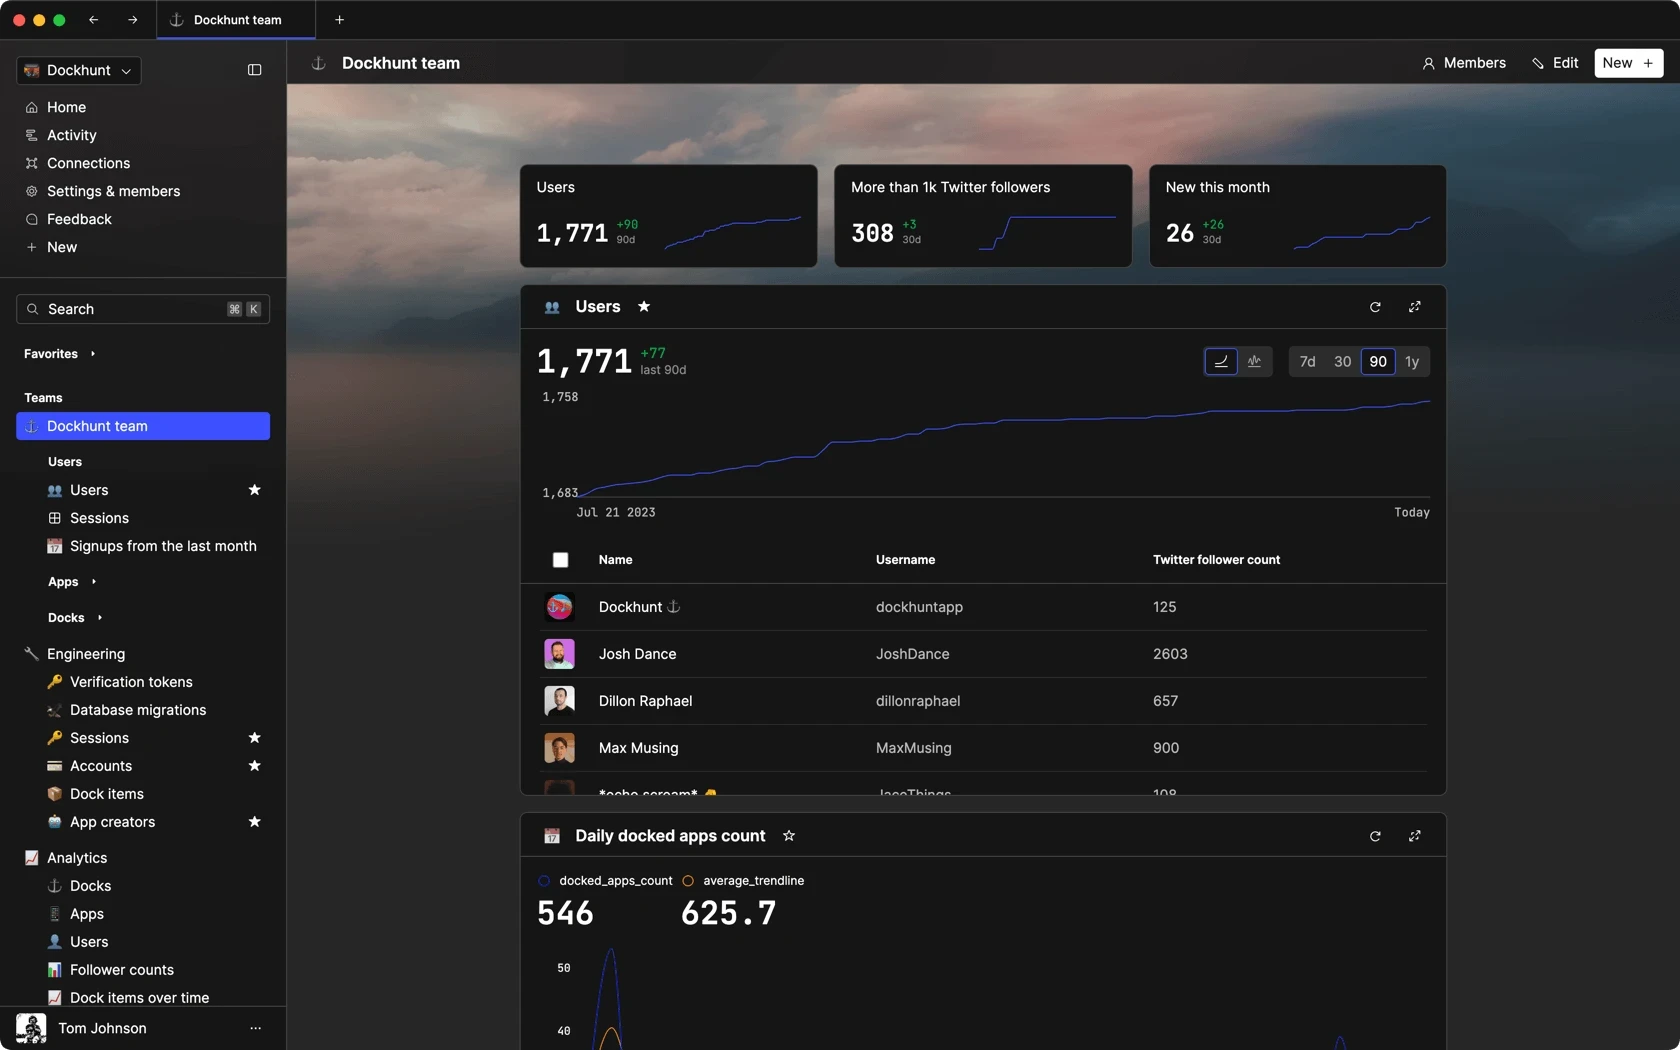
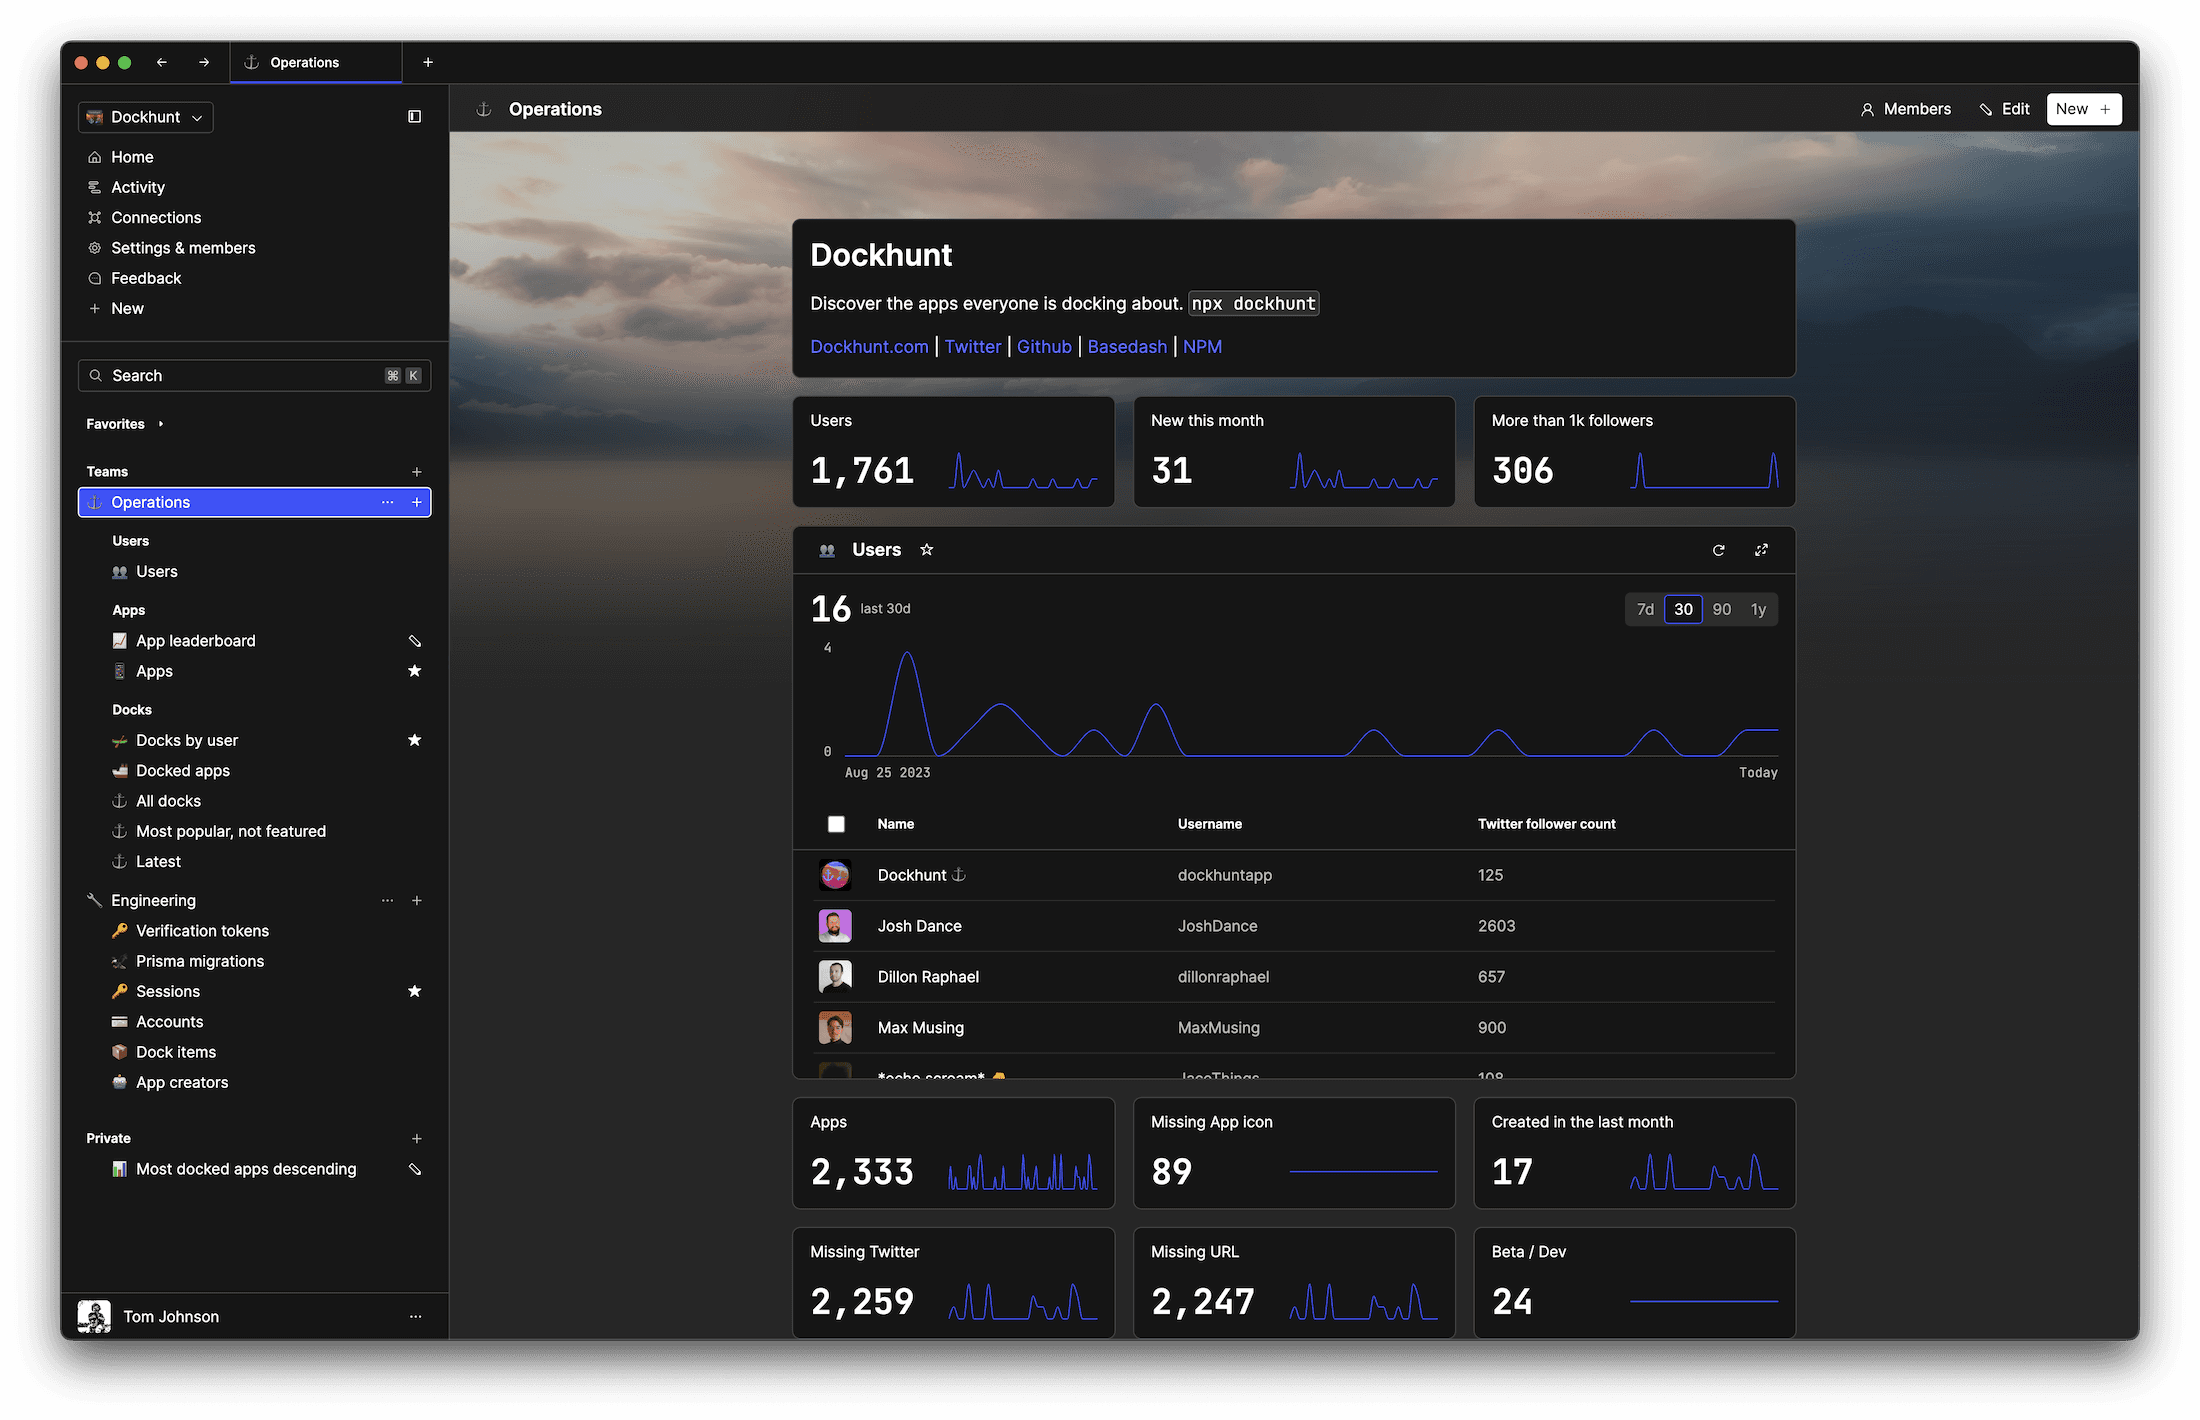
Dashboards and charts
Edit data, create records, oversee how your product is running without the need to build or manage custom software.
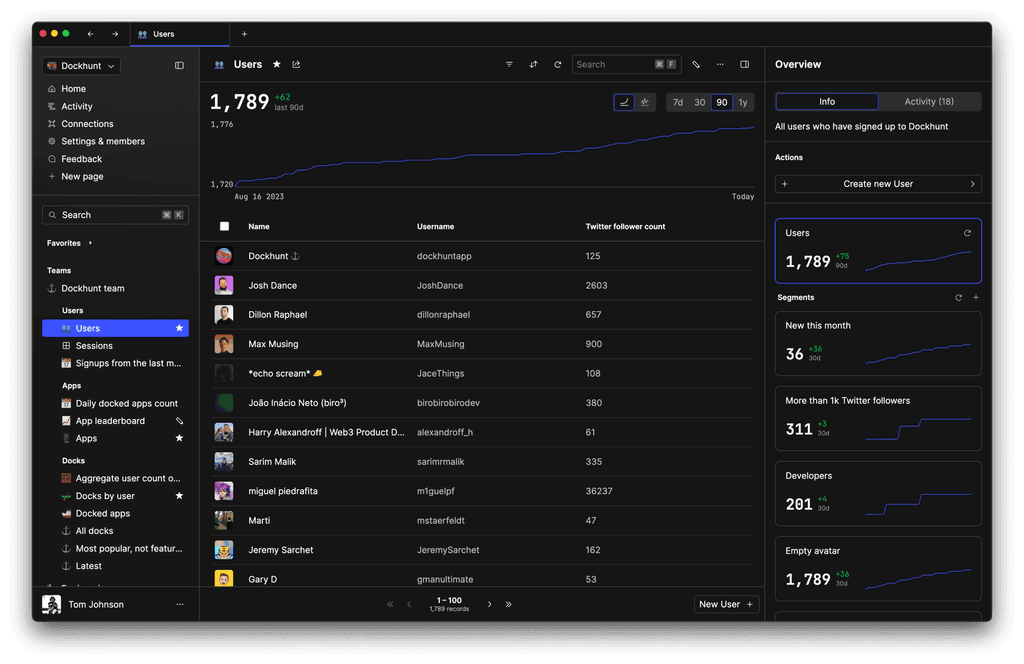
USER CRM
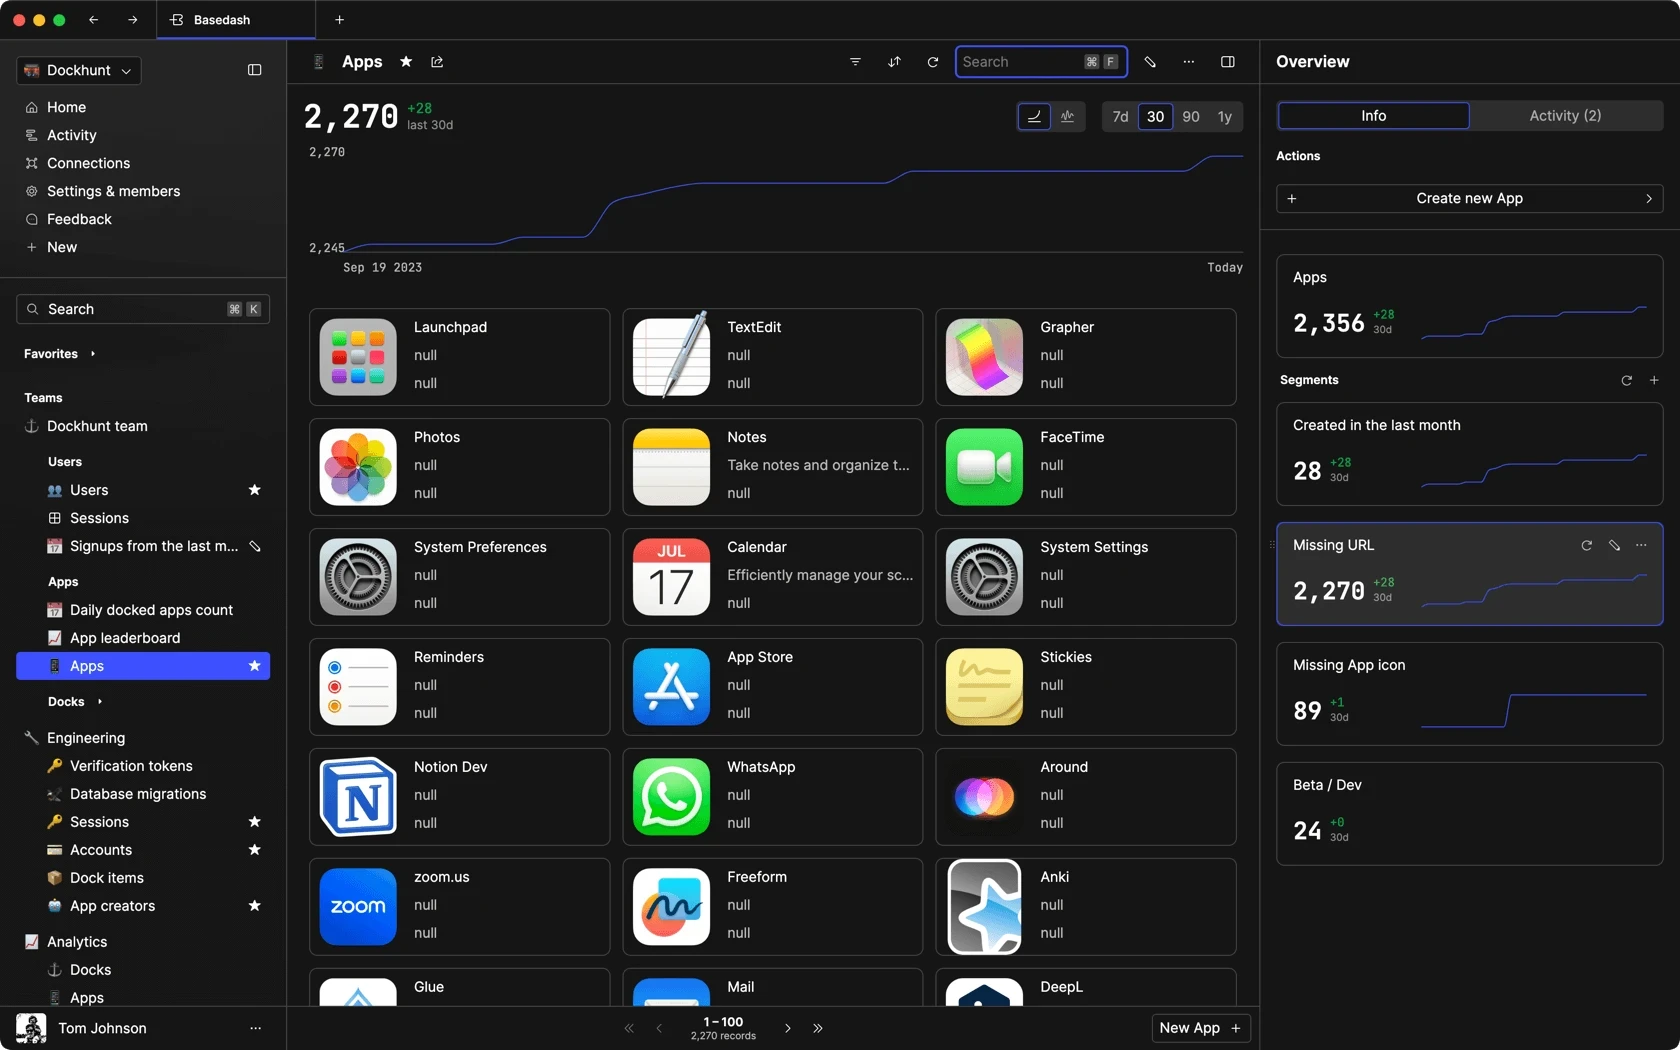
ADMIN PANEL
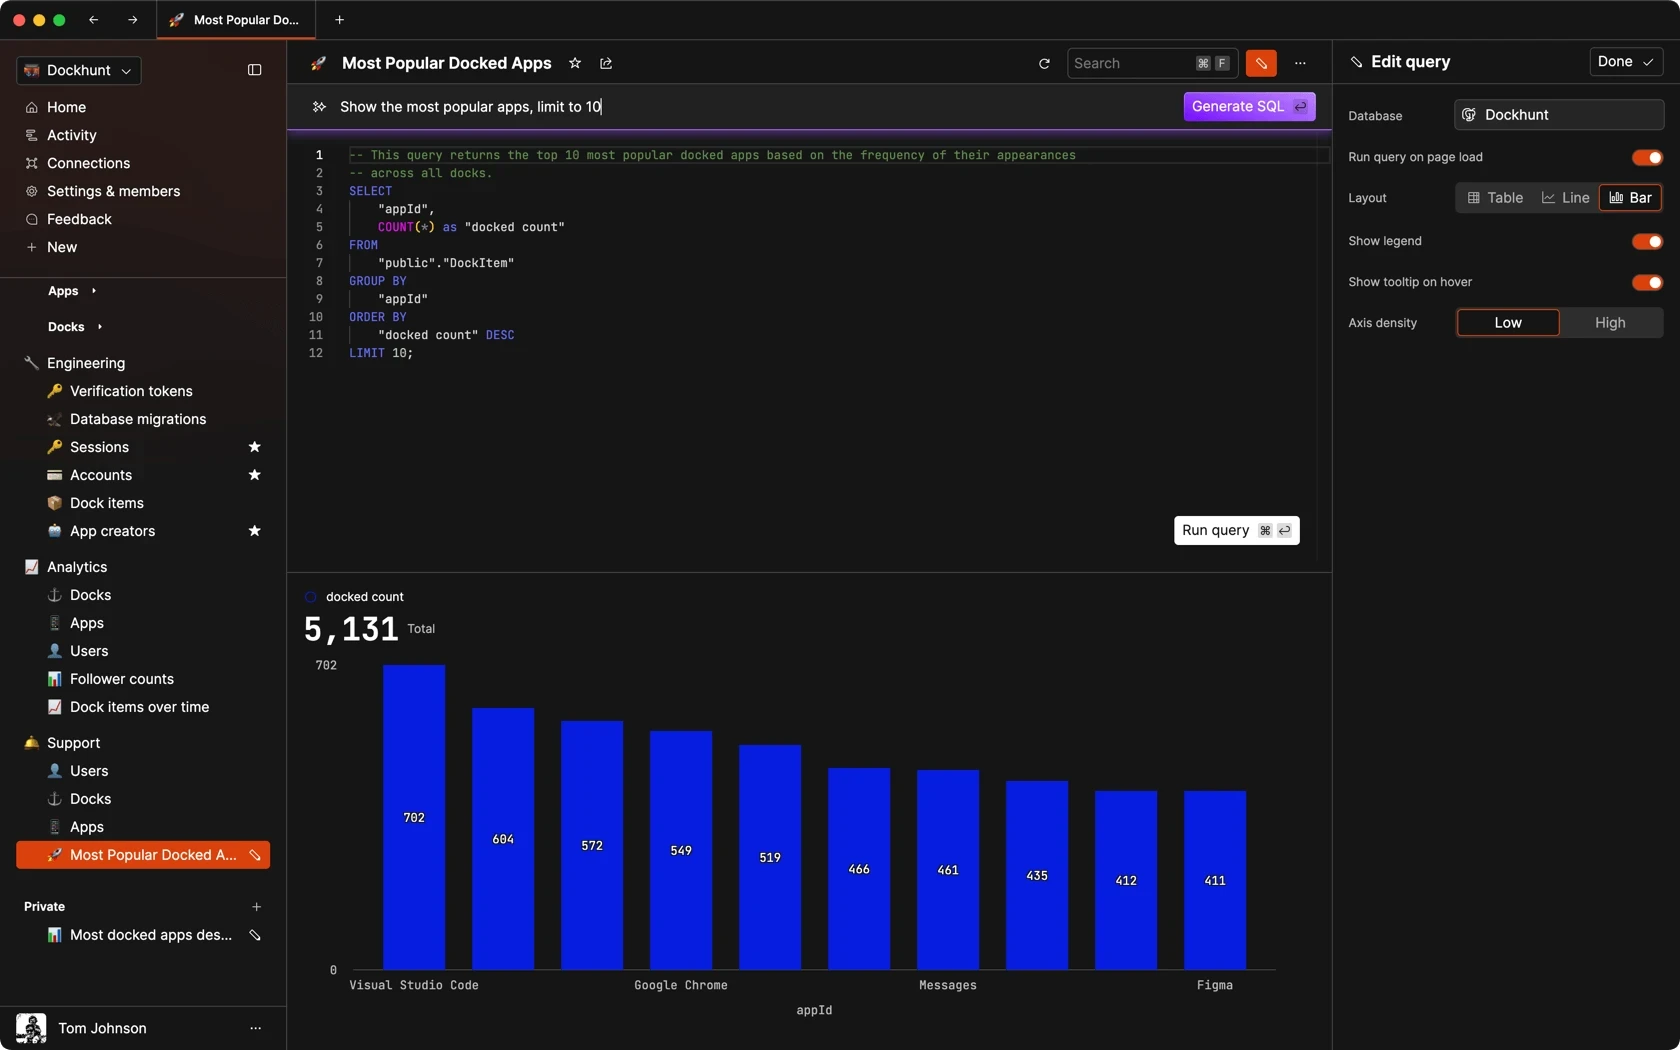
SQL COMPOSER WITH AI