
How to create a toggle button in JavaScript

October 30, 2023
Toggle buttons are interactive components that allow users to switch between two states, such as on/off or true/false. In JavaScript, creating a toggle button involves manipulating the Document Object Model (DOM) and handling events to reflect state changes in the user interface.
Understanding the basics of a toggle button
A toggle button typically represents a binary option in the UI, displaying the current state and allowing the user to change it with a click or tap. Visually, it might show text, icons, or colors to denote the different states.
Creating the HTML structure
The foundation of a toggle button is a simple HTML element that can be clicked, such as a button or a custom div. Here's a basic example:
<button id="myToggleButton">Toggle Status</button>
Styling with CSS
Use CSS to give the button a visual representation of its state. You may use pseudo-classes or class toggling to change styles.
#myToggleButton {
  padding: 10px 20px;
  background-color: #f0f0f0;
  border: 1px solid #ccc;
  cursor: pointer;
}

#myToggleButton.active {
  background-color: #007bff;
  color: white;
}

/* Adding transitions for a smoother visual effect */
#myToggleButton {
  transition: background-color 0.3s ease;
}
Adding interactivity with JavaScript
You need to add an event listener to the button that will change its state each time it's clicked. The DOMContentLoaded event ensures that the script runs after the initial HTML document has been completely loaded and parsed, without waiting for stylesheets, images, and subframes to finish loading.
document.addEventListener('DOMContentLoaded', function() {
  var toggleButton = document.getElementById('myToggleButton');

  toggleButton.addEventListener('click', function() {
    this.classList.toggle('active');
    // Additional state change actions can be performed here
  });
});
The classList.toggle function is a part of the ClassList API and is a convenient way to add or remove a class from an element's list of classes. If the class is present, it gets removed; if not, it gets added.
Managing state
If the toggle button is meant to represent a value in your application's state, you'll want to manage that value with JavaScript.
let isToggled = false;

toggleButton.addEventListener('click', function() {
  isToggled = !isToggled;
  this.classList.toggle('active');
  // You may also want to trigger other actions based on the value of isToggled
});
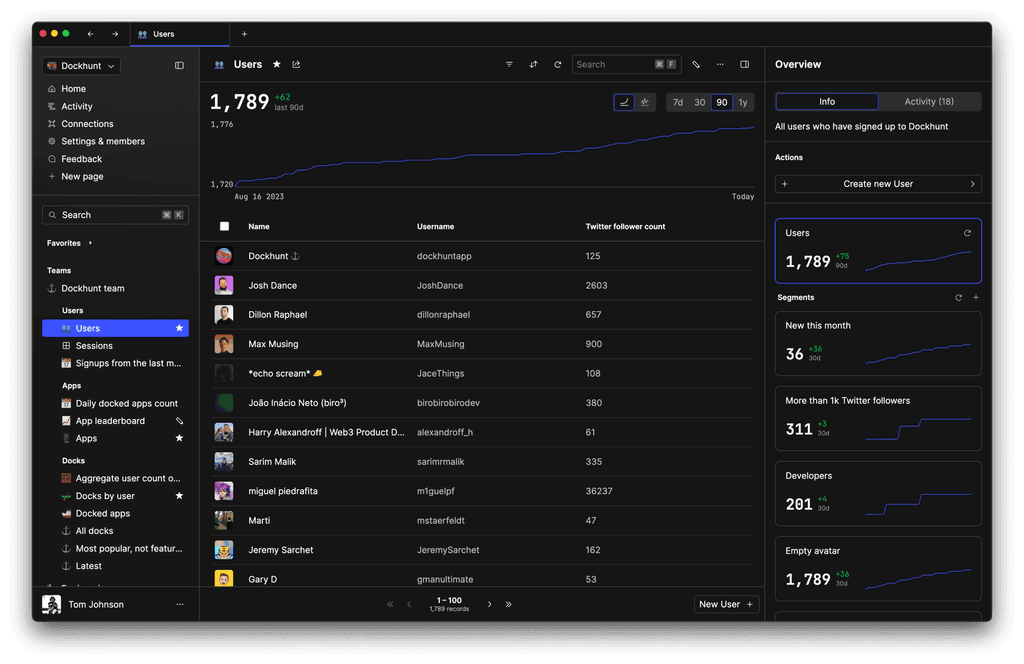
You could ship faster.
Imagine the time you'd save if you never had to build another internal tool, write a SQL report, or manage another admin panel again. Basedash is built by internal tool builders, for internal tool builders. Our mission is to change the way developers work, so you can focus on building your product.
Enhancing accessibility
Accessibility is crucial, so ensure that the button has the appropriate ARIA attributes to represent its state. For instance, the aria-pressed attribute indicates the current state of the toggle button to assistive technologies.
<button id="myToggleButton" aria-pressed="false">Toggle Status</button>
And update the aria-pressed attribute in your JavaScript:
toggleButton.addEventListener('click', function() {
  isToggled = !isToggled;
  this.classList.toggle('active');
  this.setAttribute('aria-pressed', isToggled);
});
Keyboard navigation and screen reader support
To make your toggle button fully accessible, ensure that it can be operated with the keyboard. Typically, toggle actions should be bound to the Space or Enter key presses.
toggleButton.addEventListener('keydown', function(e) {
  if (e.key === 'Enter' || e.key === ' ') {
    this.click();
    e.preventDefault();
  }
});
Also, provide instructions for screen reader users if necessary, using aria-label or aria-describedby attributes.
Creating a controlled component
For frameworks like React, you would control the toggle button with state and props, updating the visual component based on changes to the state.
// Inside your component
const [isActive, setIsActive] = useState(false);

const toggleActive = () => {
  setIsActive(!isActive);
};

// In your JSX
<button
  className={isActive ? 'active' : ''}
  aria-pressed={isActive}
  onClick={toggleActive}
>
  Toggle Status
</button>
Handling toggle events
Sometimes you need to do more than just change the appearance of the button. For instance, you might need to make an API call when the toggle state changes.
toggleButton.addEventListener('click', function() {
  isToggled = !isToggled;
  this.classList.toggle('active');
  this.setAttribute('aria-pressed', isToggled);
  // Perform an API call or any other operation here
});
When implementing the API call or operation, it's crucial to handle errors gracefully. Consider wrapping your API call in a try-catch block or using .catch with promises.
State persistence
To keep the toggle state persistent across page reloads, you can use the Web Storage API.
// Load stored toggle state
document.addEventListener('DOMContentLoaded', function() {
  var toggleButton = document.getElementById('myToggleButton');
  var storedState = localStorage.getItem('toggleState') === 'true';

  toggleButton.classList.toggle('active', storedState);
  toggleButton.setAttribute('aria-pressed', storedState);

  toggleButton.addEventListener('click', function() {
    isToggled = !isToggled;
    this.classList.toggle('active');
    this.setAttribute('aria-pressed', isToggled);
    localStorage.setItem('toggleState', isToggled);
  });
});
Event delegation
If you have a dynamic list of toggle buttons, use event delegation to minimize the number of event listeners and handle events more efficiently.
document.addEventListener('click', function(e) {
  if (e.target.classList.contains('toggle-button')) {
    e.target.classList.toggle('active');
    // Additional logic here
  }
});
Cross-browser compatibility
Make sure to test your toggle button across different browsers. If you're using advanced features or newer ECMAScript syntax, you may need to transpile your JavaScript using Babel or include polyfills for older browsers.
TOC
October 30, 2023
Toggle buttons are interactive components that allow users to switch between two states, such as on/off or true/false. In JavaScript, creating a toggle button involves manipulating the Document Object Model (DOM) and handling events to reflect state changes in the user interface.
Understanding the basics of a toggle button
A toggle button typically represents a binary option in the UI, displaying the current state and allowing the user to change it with a click or tap. Visually, it might show text, icons, or colors to denote the different states.
Creating the HTML structure
The foundation of a toggle button is a simple HTML element that can be clicked, such as a button or a custom div. Here's a basic example:
<button id="myToggleButton">Toggle Status</button>
Styling with CSS
Use CSS to give the button a visual representation of its state. You may use pseudo-classes or class toggling to change styles.
#myToggleButton {
  padding: 10px 20px;
  background-color: #f0f0f0;
  border: 1px solid #ccc;
  cursor: pointer;
}

#myToggleButton.active {
  background-color: #007bff;
  color: white;
}

/* Adding transitions for a smoother visual effect */
#myToggleButton {
  transition: background-color 0.3s ease;
}
Adding interactivity with JavaScript
You need to add an event listener to the button that will change its state each time it's clicked. The DOMContentLoaded event ensures that the script runs after the initial HTML document has been completely loaded and parsed, without waiting for stylesheets, images, and subframes to finish loading.
document.addEventListener('DOMContentLoaded', function() {
  var toggleButton = document.getElementById('myToggleButton');

  toggleButton.addEventListener('click', function() {
    this.classList.toggle('active');
    // Additional state change actions can be performed here
  });
});
The classList.toggle function is a part of the ClassList API and is a convenient way to add or remove a class from an element's list of classes. If the class is present, it gets removed; if not, it gets added.
Managing state
If the toggle button is meant to represent a value in your application's state, you'll want to manage that value with JavaScript.
let isToggled = false;

toggleButton.addEventListener('click', function() {
  isToggled = !isToggled;
  this.classList.toggle('active');
  // You may also want to trigger other actions based on the value of isToggled
});
You could ship faster.
Imagine the time you'd save if you never had to build another internal tool, write a SQL report, or manage another admin panel again. Basedash is built by internal tool builders, for internal tool builders. Our mission is to change the way developers work, so you can focus on building your product.
Enhancing accessibility
Accessibility is crucial, so ensure that the button has the appropriate ARIA attributes to represent its state. For instance, the aria-pressed attribute indicates the current state of the toggle button to assistive technologies.
<button id="myToggleButton" aria-pressed="false">Toggle Status</button>
And update the aria-pressed attribute in your JavaScript:
toggleButton.addEventListener('click', function() {
  isToggled = !isToggled;
  this.classList.toggle('active');
  this.setAttribute('aria-pressed', isToggled);
});
Keyboard navigation and screen reader support
To make your toggle button fully accessible, ensure that it can be operated with the keyboard. Typically, toggle actions should be bound to the Space or Enter key presses.
toggleButton.addEventListener('keydown', function(e) {
  if (e.key === 'Enter' || e.key === ' ') {
    this.click();
    e.preventDefault();
  }
});
Also, provide instructions for screen reader users if necessary, using aria-label or aria-describedby attributes.
Creating a controlled component
For frameworks like React, you would control the toggle button with state and props, updating the visual component based on changes to the state.
// Inside your component
const [isActive, setIsActive] = useState(false);

const toggleActive = () => {
  setIsActive(!isActive);
};

// In your JSX
<button
  className={isActive ? 'active' : ''}
  aria-pressed={isActive}
  onClick={toggleActive}
>
  Toggle Status
</button>
Handling toggle events
Sometimes you need to do more than just change the appearance of the button. For instance, you might need to make an API call when the toggle state changes.
toggleButton.addEventListener('click', function() {
  isToggled = !isToggled;
  this.classList.toggle('active');
  this.setAttribute('aria-pressed', isToggled);
  // Perform an API call or any other operation here
});
When implementing the API call or operation, it's crucial to handle errors gracefully. Consider wrapping your API call in a try-catch block or using .catch with promises.
State persistence
To keep the toggle state persistent across page reloads, you can use the Web Storage API.
// Load stored toggle state
document.addEventListener('DOMContentLoaded', function() {
  var toggleButton = document.getElementById('myToggleButton');
  var storedState = localStorage.getItem('toggleState') === 'true';

  toggleButton.classList.toggle('active', storedState);
  toggleButton.setAttribute('aria-pressed', storedState);

  toggleButton.addEventListener('click', function() {
    isToggled = !isToggled;
    this.classList.toggle('active');
    this.setAttribute('aria-pressed', isToggled);
    localStorage.setItem('toggleState', isToggled);
  });
});
Event delegation
If you have a dynamic list of toggle buttons, use event delegation to minimize the number of event listeners and handle events more efficiently.
document.addEventListener('click', function(e) {
  if (e.target.classList.contains('toggle-button')) {
    e.target.classList.toggle('active');
    // Additional logic here
  }
});
Cross-browser compatibility
Make sure to test your toggle button across different browsers. If you're using advanced features or newer ECMAScript syntax, you may need to transpile your JavaScript using Babel or include polyfills for older browsers.
What is Basedash?
What is Basedash?
What is Basedash?
Ship faster, worry less with Basedash
Ship faster, worry less with Basedash
Ship faster, worry less with Basedash
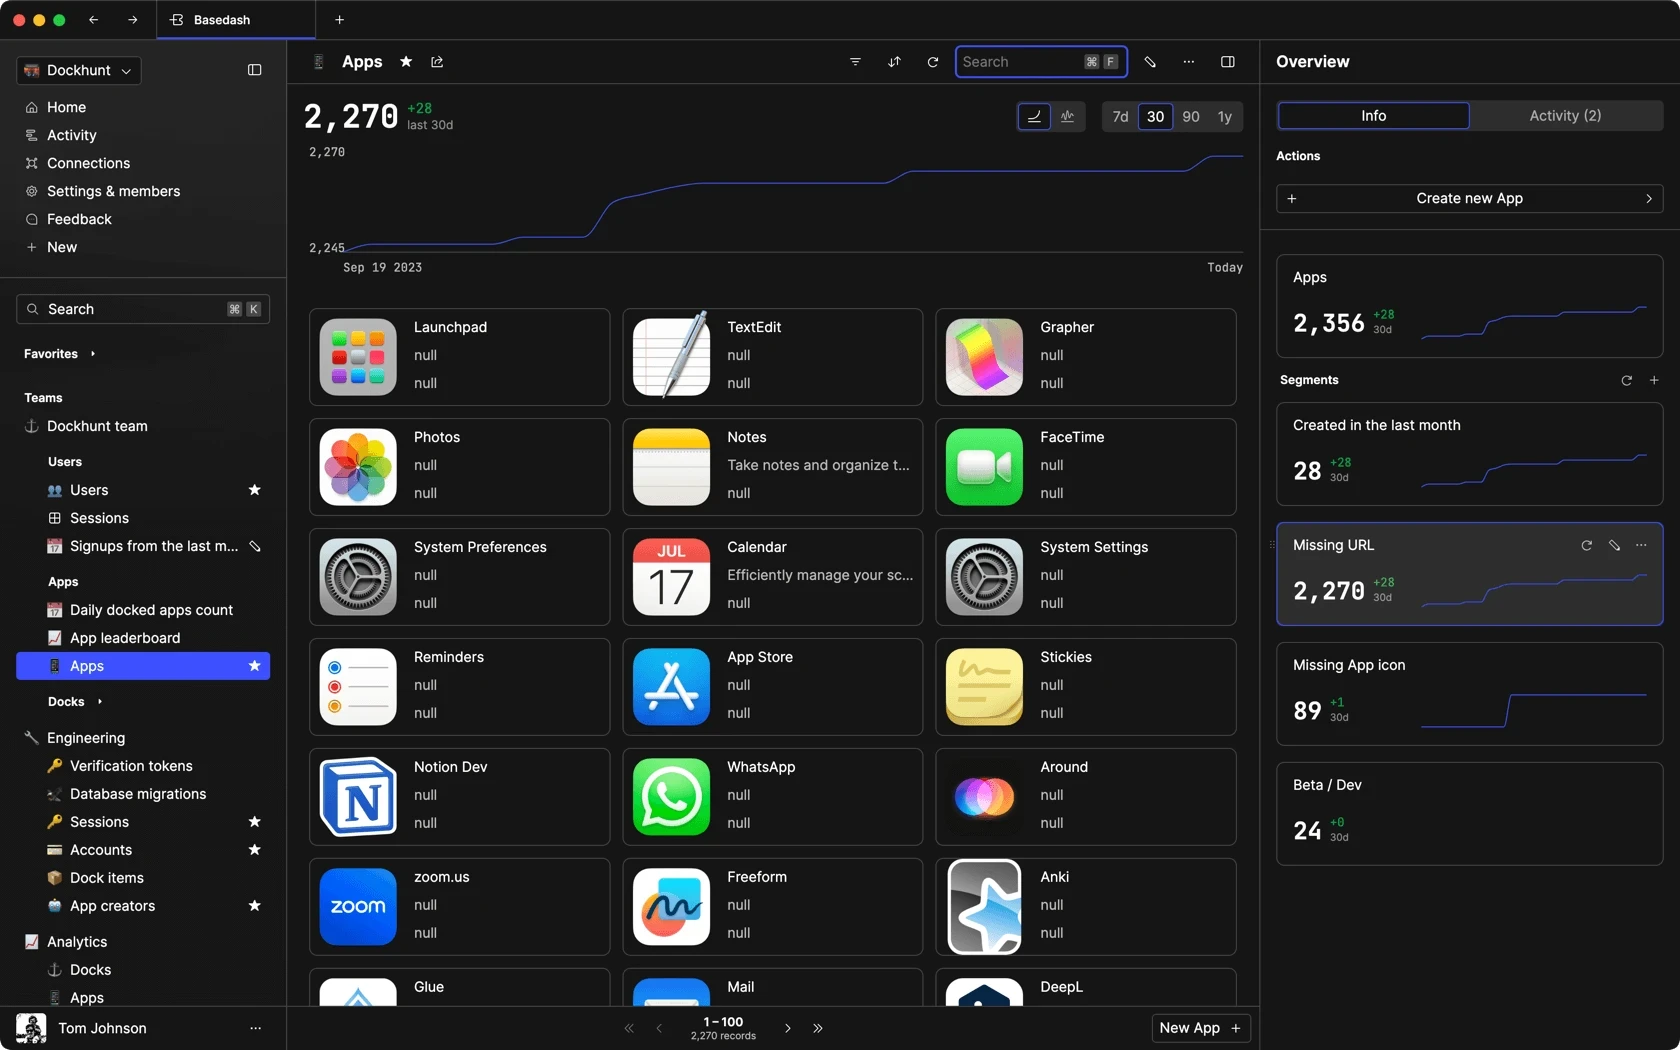
You're busy enough with product work to be weighed down building, maintaining, scoping and developing internal apps and admin panels. Forget all of that, and give your team the admin panel that you don't have to build. Launch in less time than it takes to run a standup.
You're busy enough with product work to be weighed down building, maintaining, scoping and developing internal apps and admin panels. Forget all of that, and give your team the admin panel that you don't have to build. Launch in less time than it takes to run a standup.
You're busy enough with product work to be weighed down building, maintaining, scoping and developing internal apps and admin panels. Forget all of that, and give your team the admin panel that you don't have to build. Launch in less time than it takes to run a standup.
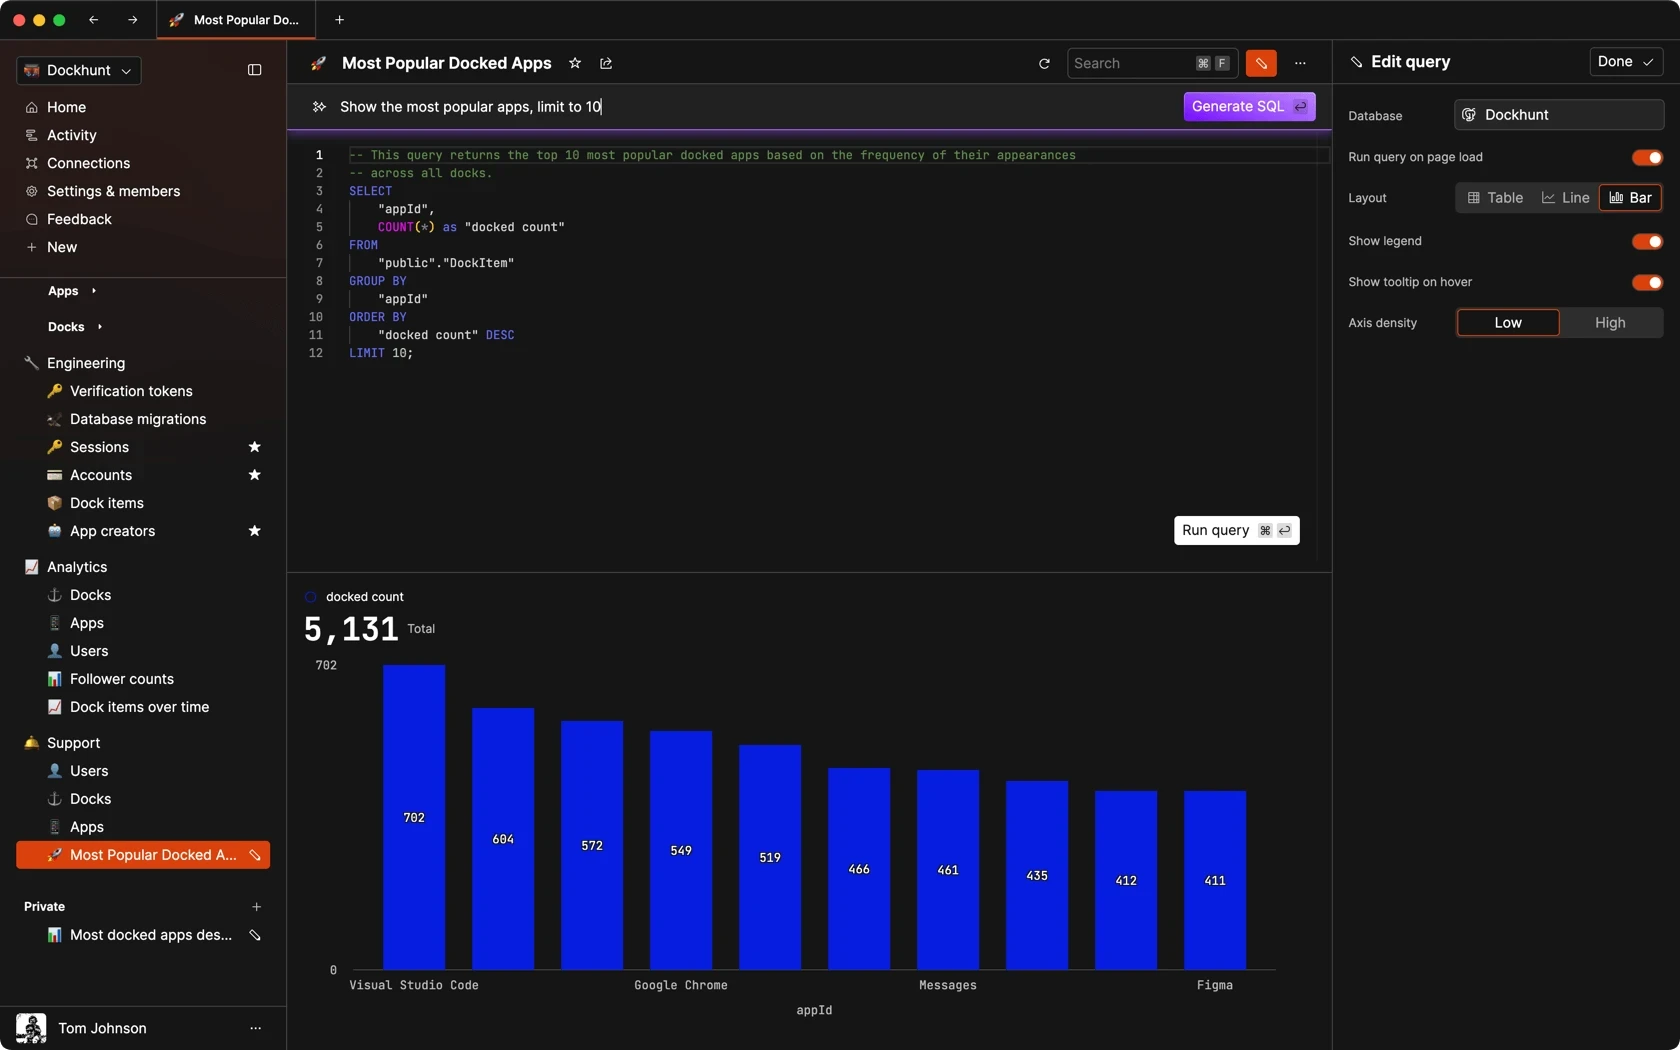
Dashboards and charts
Edit data, create records, oversee how your product is running without the need to build or manage custom software.
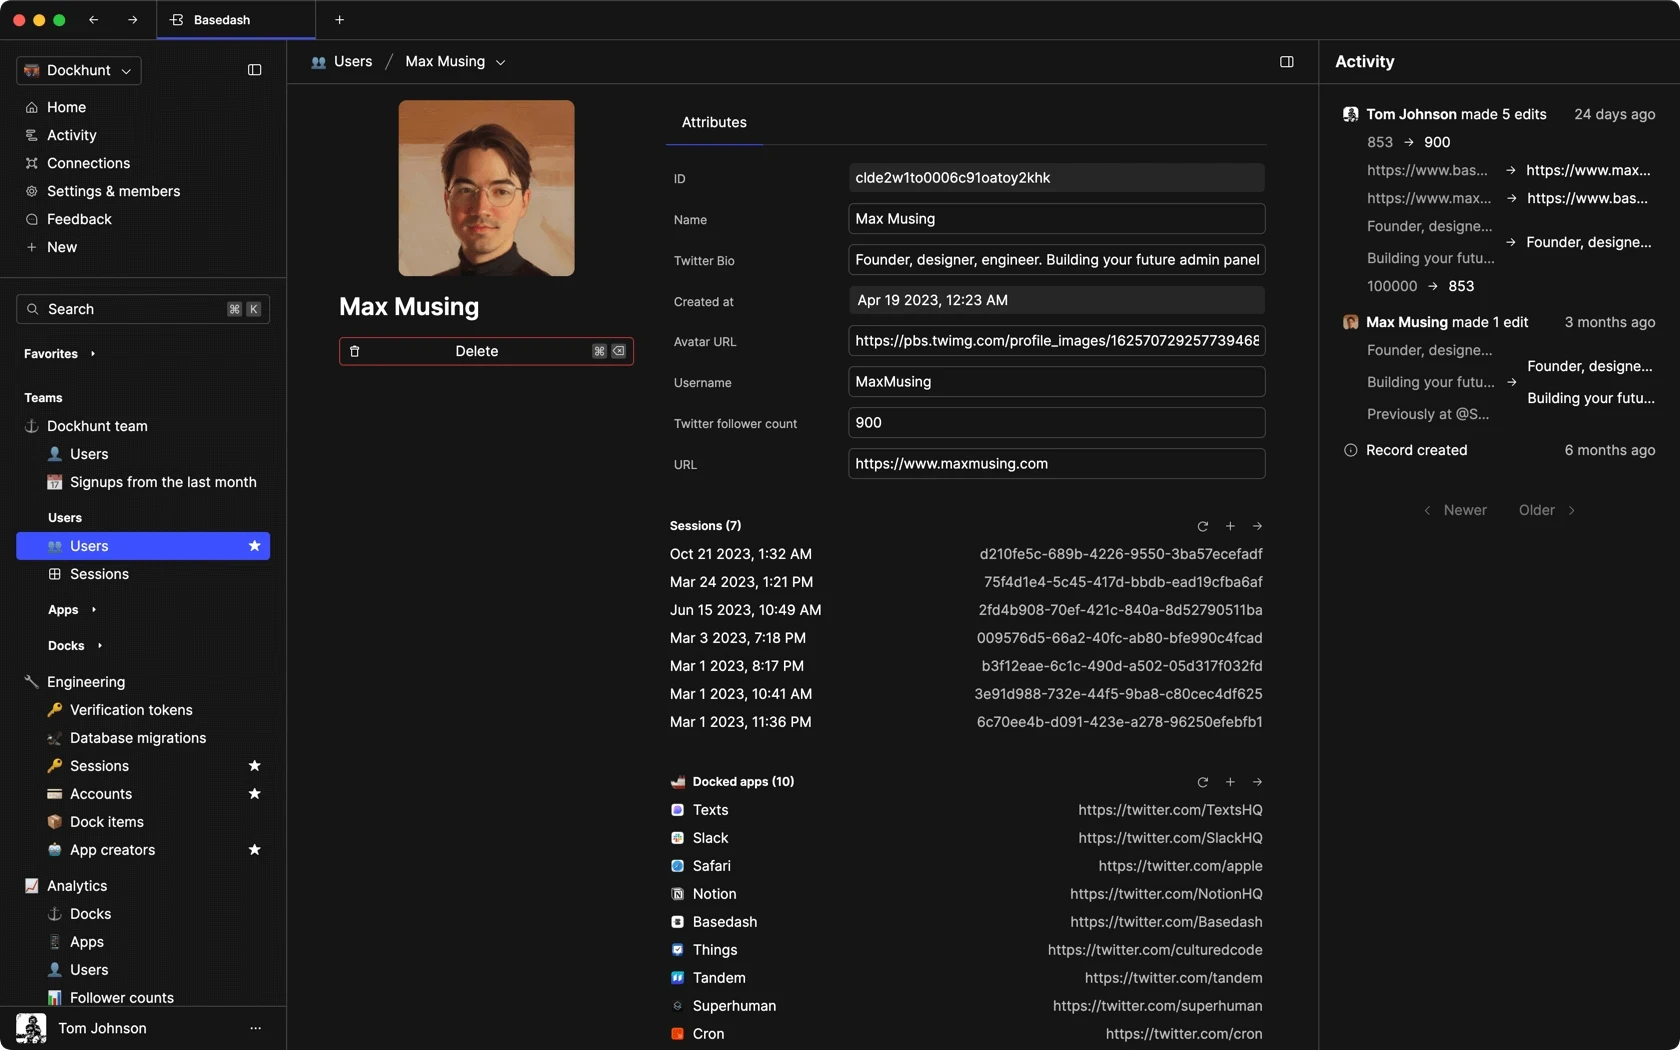
USER CRM
ADMIN PANEL
SQL COMPOSER WITH AI
Related posts
Related posts
Related posts

How to Remove Characters from a String in JavaScript
Jeremy Sarchet

How to Sort Strings in JavaScript
Max Musing

How to Remove Spaces from a String in JavaScript
Jeremy Sarchet

Detecting Prime Numbers in JavaScript
Robert Cooper

How to Parse Boolean Values in JavaScript
Max Musing

How to Remove a Substring from a String in JavaScript
Robert Cooper