
How to Implement a Queue in TypeScript

October 29, 2023
Queues are data structures that follow the First-In-First-Out (FIFO) principle. In simple terms, the first element added to the queue will be the first one to be removed. This guide will take you through creating a basic queue in TypeScript.
Define the Queue Class
First, we need to define our queue class. We'll create a class called Queue with a generic type T to allow it to store any type of data.
class Queue<T> {
    private items: T[] = [];

    enqueue(item: T): void {
        this.items.push(item);
    }

    dequeue(): T | undefined {
        return this.items.shift();
    }

    peek(): T | undefined {
        return this.items[0];
    }

    isEmpty(): boolean {
        return this.items.length === 0;
    }

    size(): number {
        return this.items.length;
    }
}
Here's a breakdown of the methods:
- enqueue(item: T): This method adds an item to the end of the queue.
- dequeue(): This method removes the item from the front of the queue and returns it.
- peek(): This method returns the front item without removing it.
- isEmpty(): This method checks if the queue is empty.
- size(): This method returns the number of items in the queue.
You could ship faster.
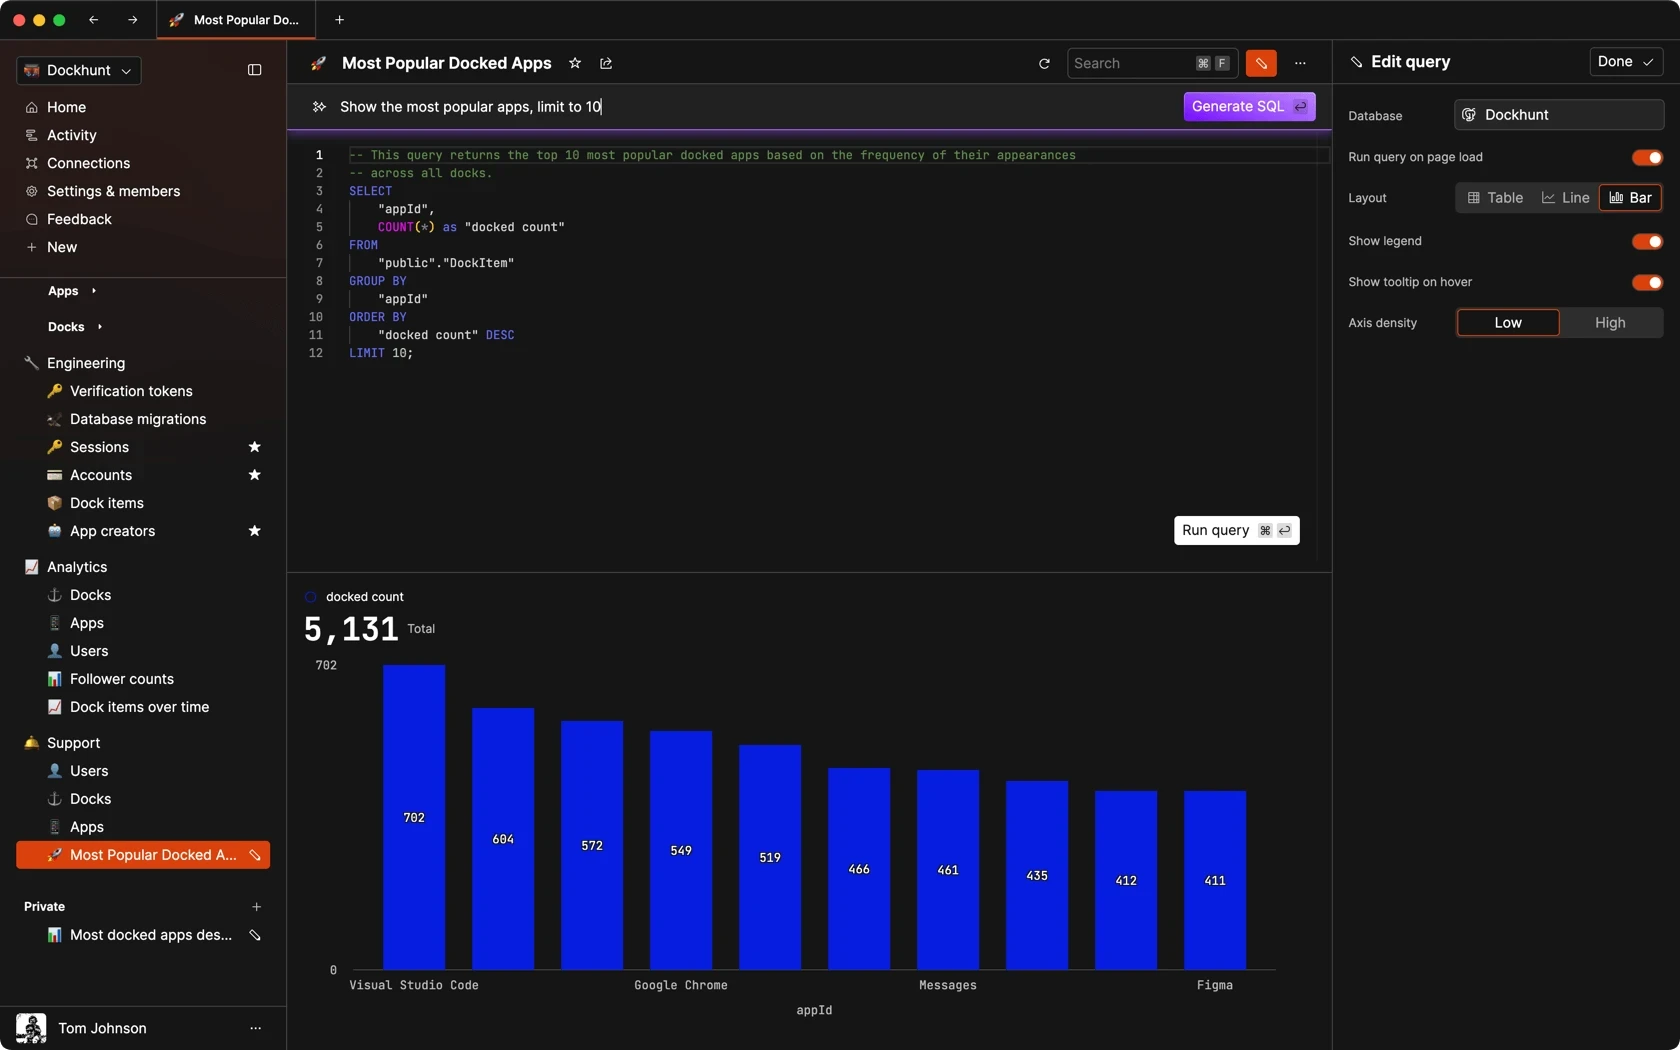
Imagine the time you'd save if you never had to build another internal tool, write a SQL report, or manage another admin panel again. Basedash is built by internal tool builders, for internal tool builders. Our mission is to change the way developers work, so you can focus on building your product.

Use the Queue
Now that we have our queue class, let's see how to use it.
const numbersQueue = new Queue<number>();

// Add items to the queue
numbersQueue.enqueue(1);
numbersQueue.enqueue(2);
numbersQueue.enqueue(3);

console.log(numbersQueue.size());  // Outputs: 3

console.log(numbersQueue.peek());  // Outputs: 1
console.log(numbersQueue.dequeue());  // Outputs: 1
console.log(numbersQueue.peek());  // Outputs: 2

console.log(numbersQueue.isEmpty());  // Outputs: false
Enhancements
While the basic queue is functional, there are potential enhancements you could add:
- Capacity Limit: Implement a maximum capacity for the queue to prevent it from growing indefinitely.
- Error Handling: Add proper error handling for edge cases, like trying to dequeue from an empty queue.
- Additional Utility Methods: Methods like
toArray()to convert the queue into an array can be helpful in certain situations.
class EnhancedQueue<T> extends Queue<T> {
    private capacity: number;

    constructor(capacity: number = Infinity) {
        super();
        this.capacity = capacity;
    }

    enqueue(item: T): void {
        if (this.size() < this.capacity) {
            super.enqueue(item);
        } else {
            throw new Error("Queue is at max capacity!");
        }
    }

    toArray(): T[] {
        return [...this.items];
    }
}
With the enhanced queue, you can initialize it with a capacity:
const limitedQueue = new EnhancedQueue<number>(2);

limitedQueue.enqueue(1);
limitedQueue.enqueue(2);
// This will throw an error since the queue has reached its capacity
// limitedQueue.enqueue(3);

console.log(limitedQueue.toArray());  // Outputs: [1, 2]
With this guide, you now have a basic understanding of how to create and use a queue in TypeScript. Whether you stick with the basic version or enhance it to better suit your needs, you have a robust data structure to incorporate into your projects.
TOC
October 29, 2023
Queues are data structures that follow the First-In-First-Out (FIFO) principle. In simple terms, the first element added to the queue will be the first one to be removed. This guide will take you through creating a basic queue in TypeScript.
Define the Queue Class
First, we need to define our queue class. We'll create a class called Queue with a generic type T to allow it to store any type of data.
class Queue<T> {
    private items: T[] = [];

    enqueue(item: T): void {
        this.items.push(item);
    }

    dequeue(): T | undefined {
        return this.items.shift();
    }

    peek(): T | undefined {
        return this.items[0];
    }

    isEmpty(): boolean {
        return this.items.length === 0;
    }

    size(): number {
        return this.items.length;
    }
}
Here's a breakdown of the methods:
- enqueue(item: T): This method adds an item to the end of the queue.
- dequeue(): This method removes the item from the front of the queue and returns it.
- peek(): This method returns the front item without removing it.
- isEmpty(): This method checks if the queue is empty.
- size(): This method returns the number of items in the queue.
You could ship faster.
Imagine the time you'd save if you never had to build another internal tool, write a SQL report, or manage another admin panel again. Basedash is built by internal tool builders, for internal tool builders. Our mission is to change the way developers work, so you can focus on building your product.
Use the Queue
Now that we have our queue class, let's see how to use it.
const numbersQueue = new Queue<number>();

// Add items to the queue
numbersQueue.enqueue(1);
numbersQueue.enqueue(2);
numbersQueue.enqueue(3);

console.log(numbersQueue.size());  // Outputs: 3

console.log(numbersQueue.peek());  // Outputs: 1
console.log(numbersQueue.dequeue());  // Outputs: 1
console.log(numbersQueue.peek());  // Outputs: 2

console.log(numbersQueue.isEmpty());  // Outputs: false
Enhancements
While the basic queue is functional, there are potential enhancements you could add:
- Capacity Limit: Implement a maximum capacity for the queue to prevent it from growing indefinitely.
- Error Handling: Add proper error handling for edge cases, like trying to dequeue from an empty queue.
- Additional Utility Methods: Methods like
toArray()to convert the queue into an array can be helpful in certain situations.
class EnhancedQueue<T> extends Queue<T> {
    private capacity: number;

    constructor(capacity: number = Infinity) {
        super();
        this.capacity = capacity;
    }

    enqueue(item: T): void {
        if (this.size() < this.capacity) {
            super.enqueue(item);
        } else {
            throw new Error("Queue is at max capacity!");
        }
    }

    toArray(): T[] {
        return [...this.items];
    }
}
With the enhanced queue, you can initialize it with a capacity:
const limitedQueue = new EnhancedQueue<number>(2);

limitedQueue.enqueue(1);
limitedQueue.enqueue(2);
// This will throw an error since the queue has reached its capacity
// limitedQueue.enqueue(3);

console.log(limitedQueue.toArray());  // Outputs: [1, 2]
With this guide, you now have a basic understanding of how to create and use a queue in TypeScript. Whether you stick with the basic version or enhance it to better suit your needs, you have a robust data structure to incorporate into your projects.
What is Basedash?
What is Basedash?
What is Basedash?
Ship faster, worry less with Basedash
Ship faster, worry less with Basedash
Ship faster, worry less with Basedash
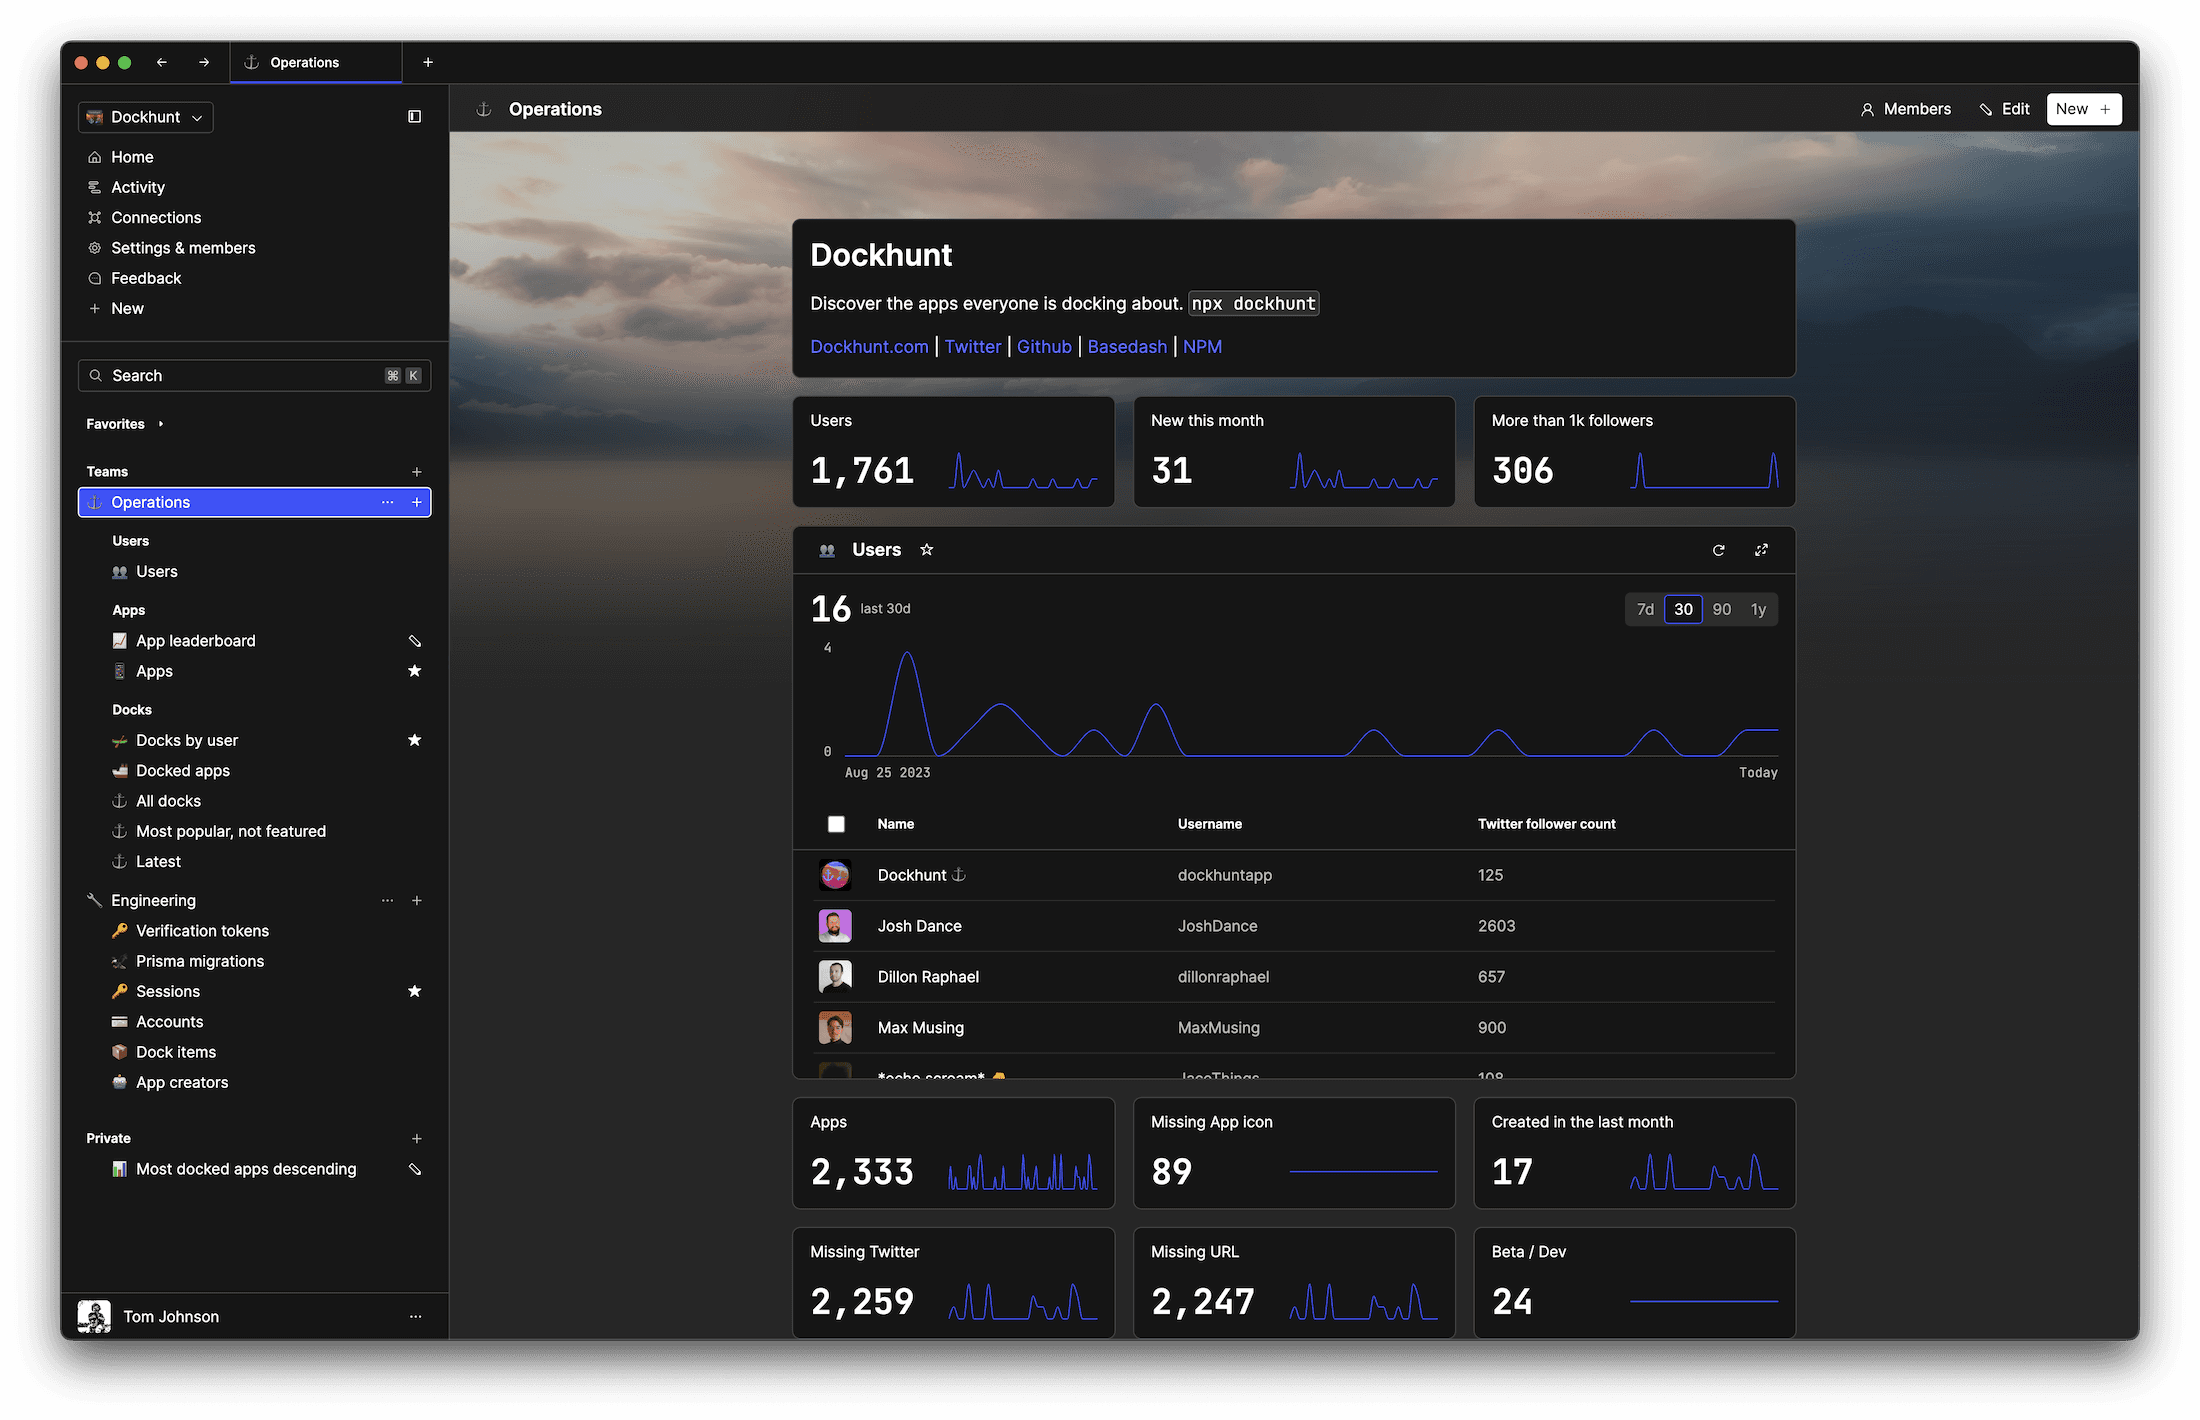
You're busy enough with product work to be weighed down building, maintaining, scoping and developing internal apps and admin panels. Forget all of that, and give your team the admin panel that you don't have to build. Launch in less time than it takes to run a standup.
You're busy enough with product work to be weighed down building, maintaining, scoping and developing internal apps and admin panels. Forget all of that, and give your team the admin panel that you don't have to build. Launch in less time than it takes to run a standup.
You're busy enough with product work to be weighed down building, maintaining, scoping and developing internal apps and admin panels. Forget all of that, and give your team the admin panel that you don't have to build. Launch in less time than it takes to run a standup.
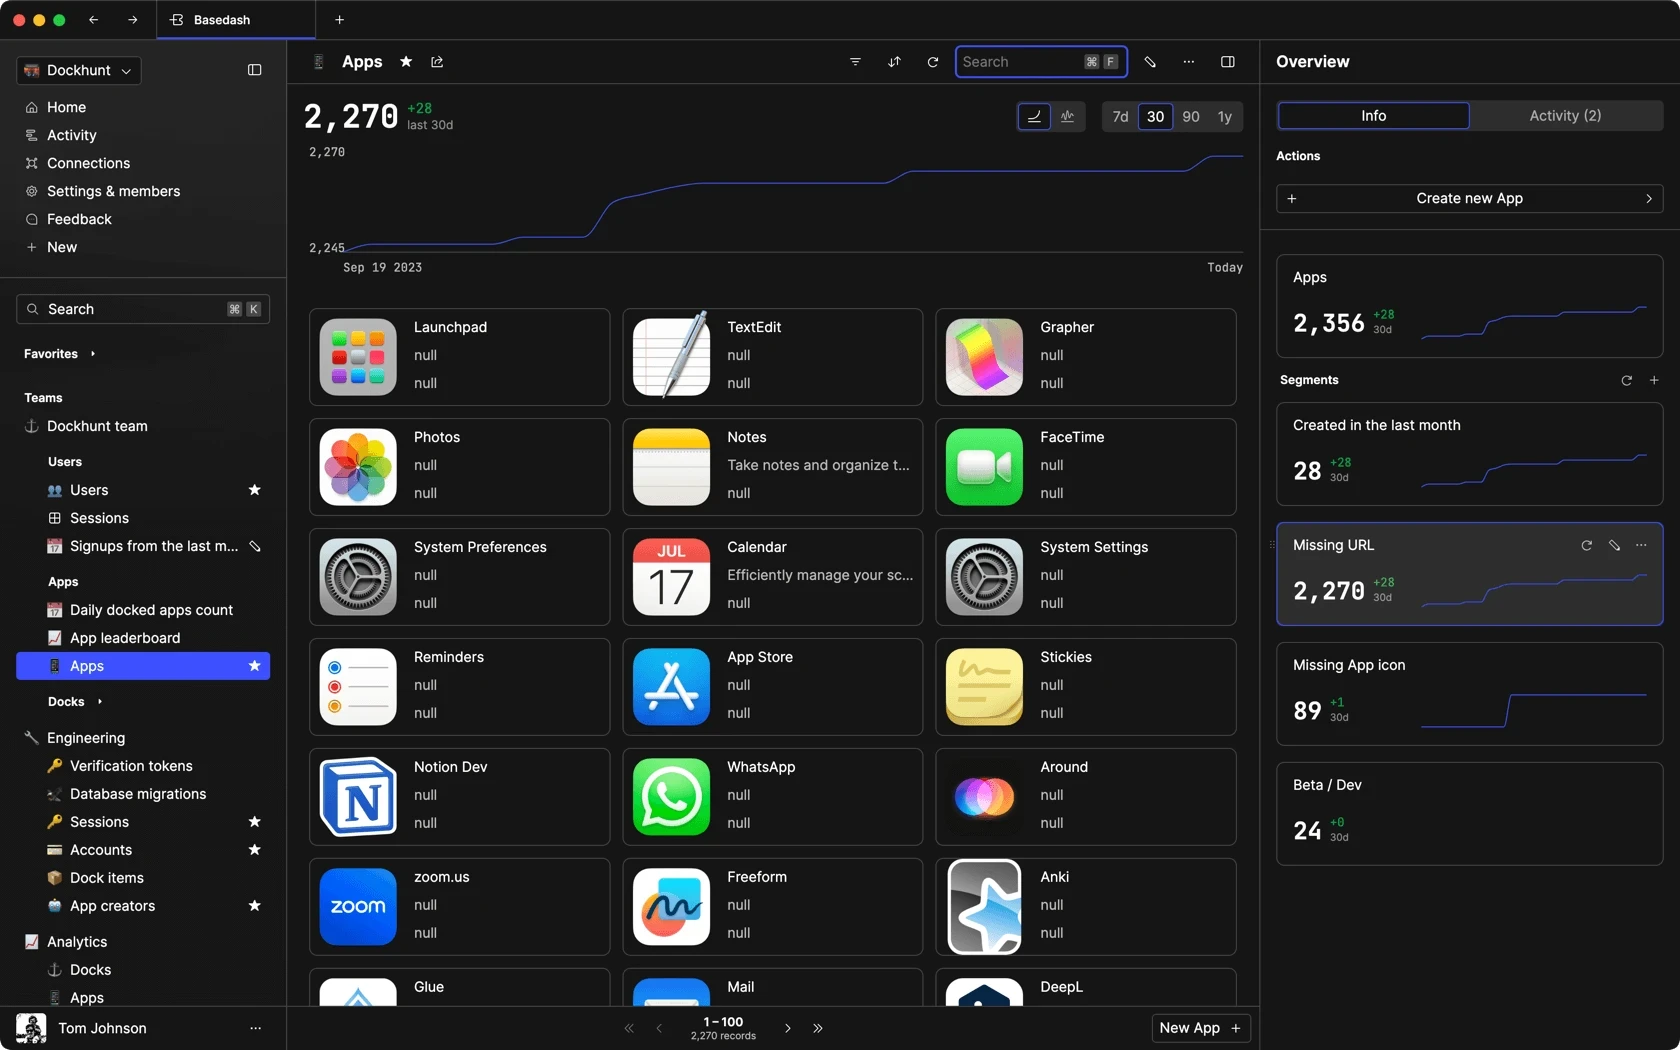

Dashboards and charts
Edit data, create records, oversee how your product is running without the need to build or manage custom software.
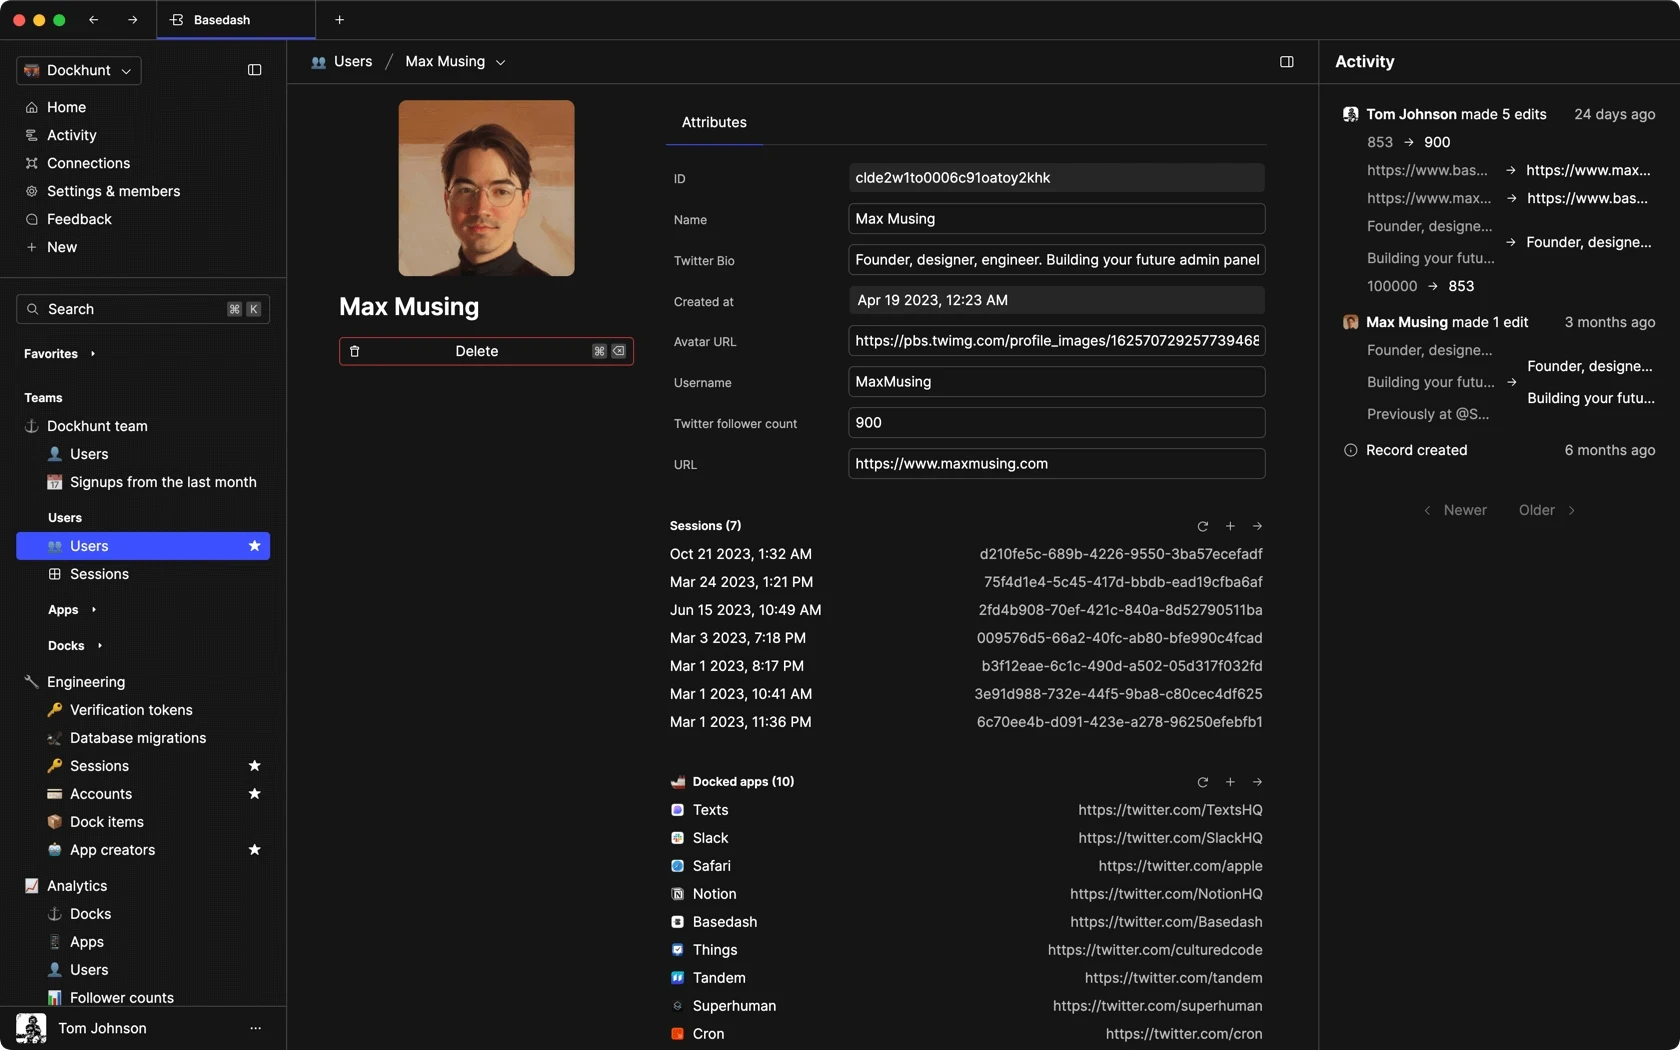
USER CRM
ADMIN PANEL
SQL COMPOSER WITH AI
Related posts
Related posts
Related posts

How to Remove Characters from a String in JavaScript
Jeremy Sarchet

How to Sort Strings in JavaScript
Max Musing

How to Remove Spaces from a String in JavaScript
Jeremy Sarchet

Detecting Prime Numbers in JavaScript
Robert Cooper

How to Parse Boolean Values in JavaScript
Max Musing

How to Remove a Substring from a String in JavaScript
Robert Cooper