How to send and receive email in Node

October 27, 2023
In this guide, we'll delve into how to send and receive emails using Node.js, specifically with the popular nodemailer package for sending and the imap package for receiving.
Setting up your environment
Before diving into the actual process, make sure you have Node.js and npm installed. You'll then need to initiate a new Node project and install the necessary packages.
mkdir email_project
cd email_project
npm init -y
npm install nodemailer imap
Sending email with nodemailer
nodemailer is a widely used package that makes sending emails from Node.js applications straightforward.
Basic setup
First, let's create a simple script to send an email.
const nodemailer = require('nodemailer');

const transporter = nodemailer.createTransport({
    service: 'gmail',
    auth: {
        user: 'your_email@gmail.com',
        pass: 'your_password'
    }
});

const mailOptions = {
    from: 'your_email@gmail.com',
    to: 'recipient_email@example.com',
    subject: 'Hello from Node!',
    text: 'Hello world!'
};

transporter.sendMail(mailOptions, function(error, info){
    if (error) {
        console.log(error);
    } else {
        console.log('Email sent: ' + info.response);
    }
});
Replace 'your_email@gmail.com' and 'your_password' with your actual Gmail credentials. It's advisable to use environment variables or secret management tools to keep your credentials safe.
Using OAuth2
To improve security, especially when using Gmail, you can use OAuth2. Here's a basic setup with OAuth2:
const nodemailer = require('nodemailer');

const transporter = nodemailer.createTransport({
    service: 'gmail',
    auth: {
        type: 'OAuth2',
        user: 'your_email@gmail.com',
        clientId: 'YOUR_CLIENT_ID',
        clientSecret: 'YOUR_CLIENT_SECRET',
        refreshToken: 'YOUR_REFRESH_TOKEN'
    }
});
// ... [rest remains the same]
Make sure to replace placeholders with your actual OAuth2 credentials.
Receiving email with imap
The imap package allows you to access and manage emails in your mailbox using the IMAP protocol.
Basic setup
Here's a basic example to fetch unread emails:
const Imap = require('imap');
const MailParser = require('mailparser').simpleParser;

const imap = new Imap({
  user: 'your_email@gmail.com',
  password: 'your_password',
  host: 'imap.gmail.com',
  port: 993,
  tls: true,
  tlsOptions: { rejectUnauthorized: false }
});

function fetchUnreadMails() {
    imap.once('ready', function() {
        imap.openBox('INBOX', true, function(err, box) {
            if (err) throw err;

            const searchCriteria = ['UNSEEN'];
            const fetchOptions = { bodies: ['HEADER', 'TEXT'], markSeen: true };

            imap.search(searchCriteria, function(err, results) {
                if (err) throw err;

                const mailStream = imap.fetch(results, fetchOptions);

                mailStream.on('message', function(message) {
                    message.on('body', function(stream, info) {
                        simpleParser(stream, (err, mail) => {
                            console.log('Subject:', mail.subject);
                            console.log('Body:', mail.text);
                        });
                    });
                });

                mailStream.once('end', function() {
                    imap.end();
                });
            });
        });
    });

    imap.connect();
}

fetchUnreadMails();
Replace 'your_email@gmail.com' and 'your_password' with your actual credentials. Again, for better security, use environment variables or secret management tools.
Tips and best practices
- Always keep your email credentials secure. Avoid hardcoding them directly in your source code.
- When sending bulk emails, consider using a service like Resend, SendGrid, or Mailgun. These services provide better deliverability and handle issues like rate limiting.
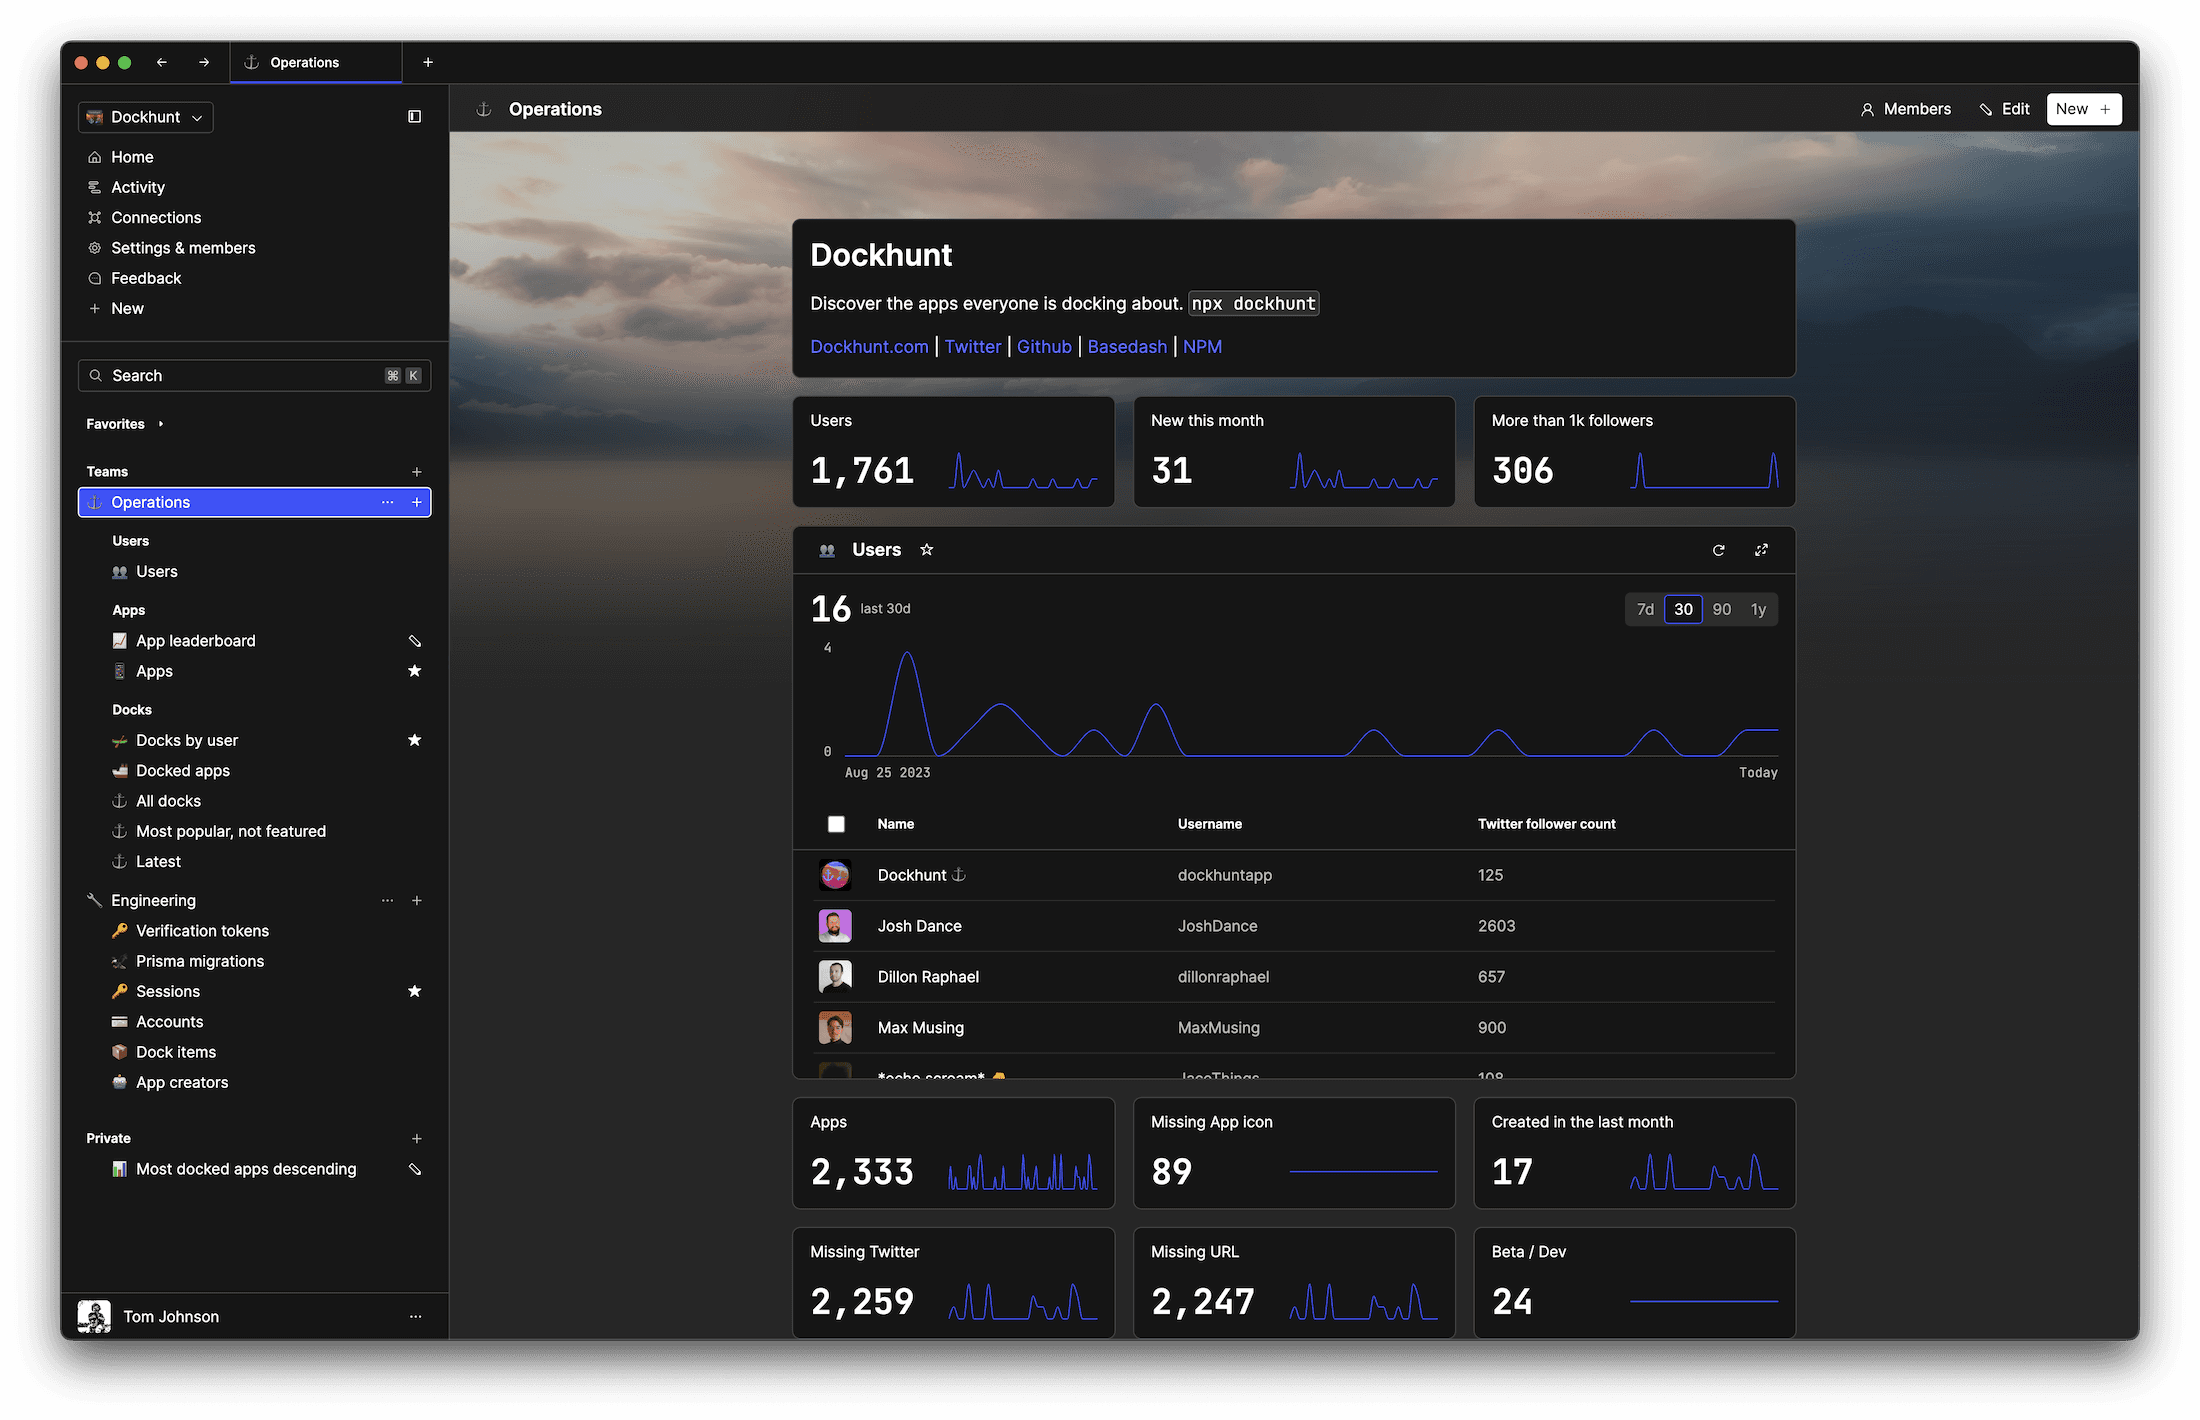
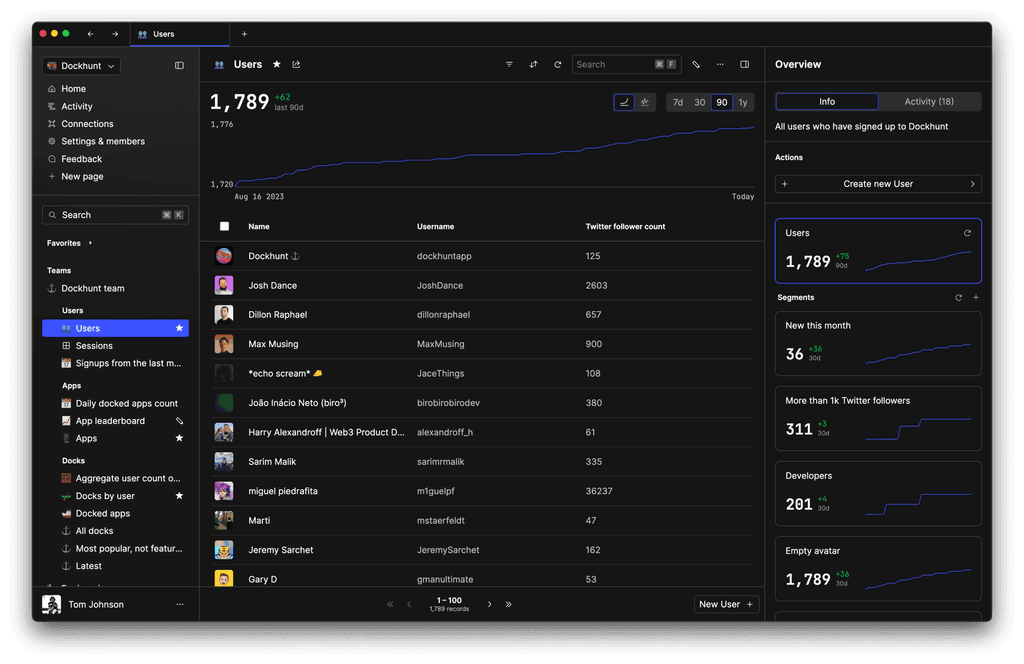
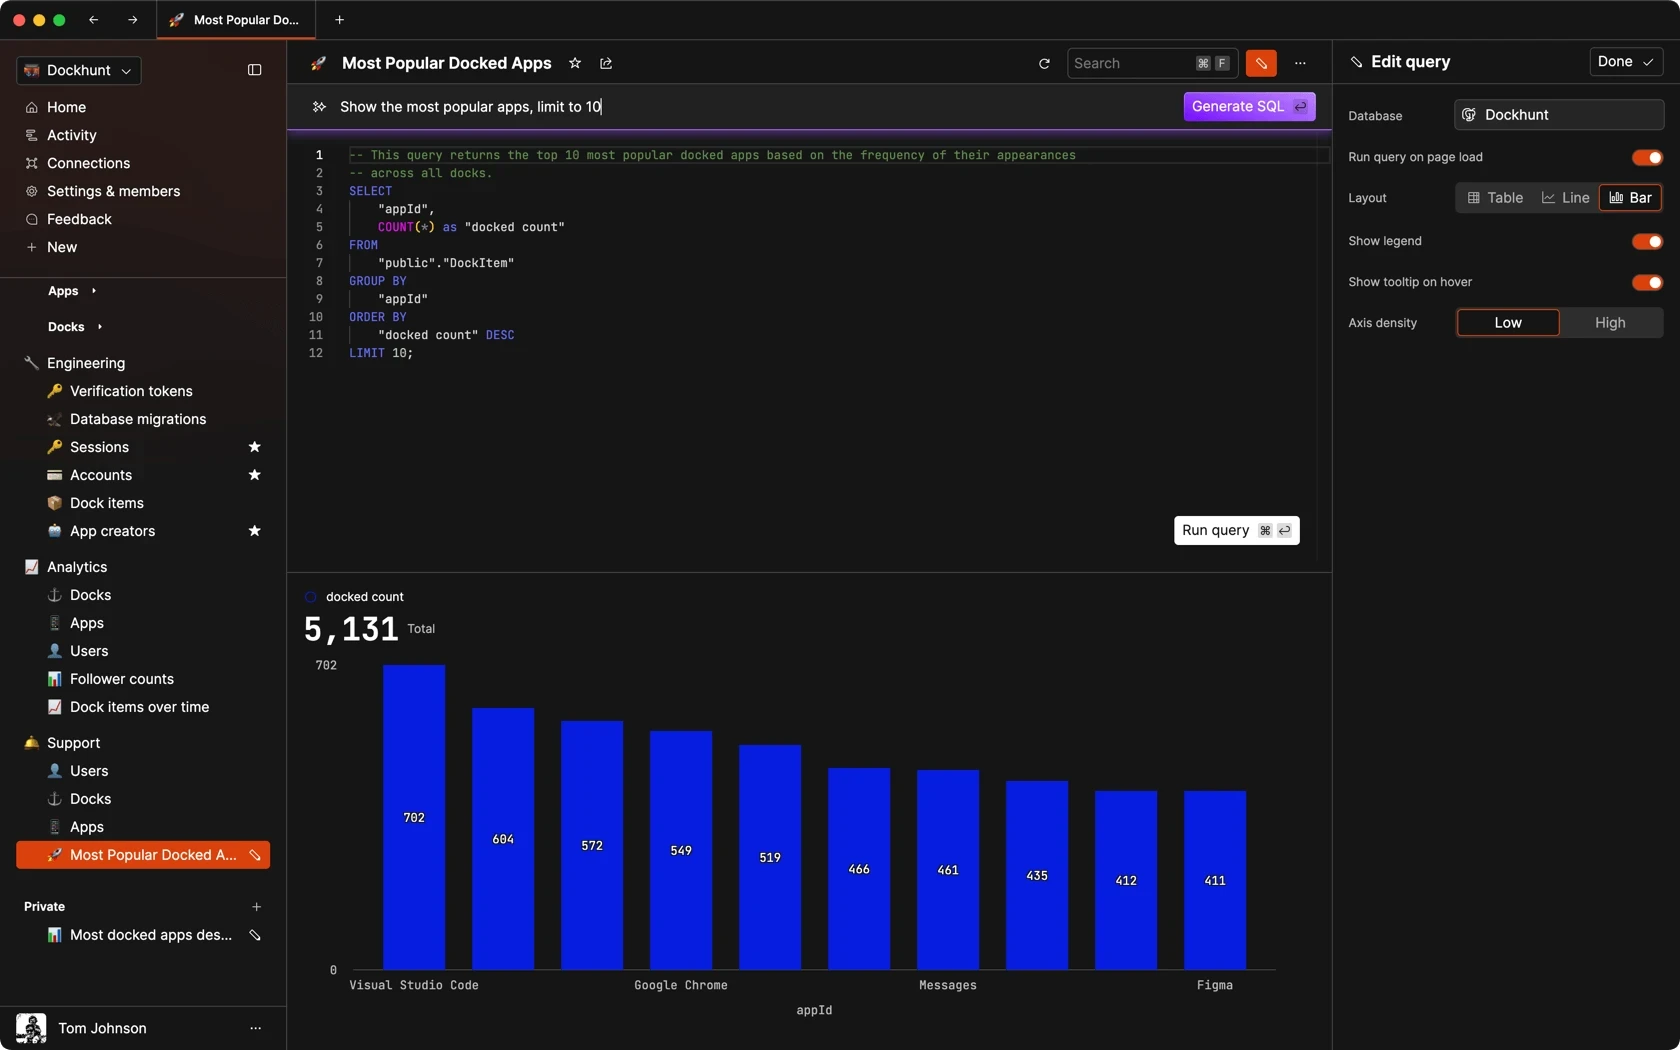
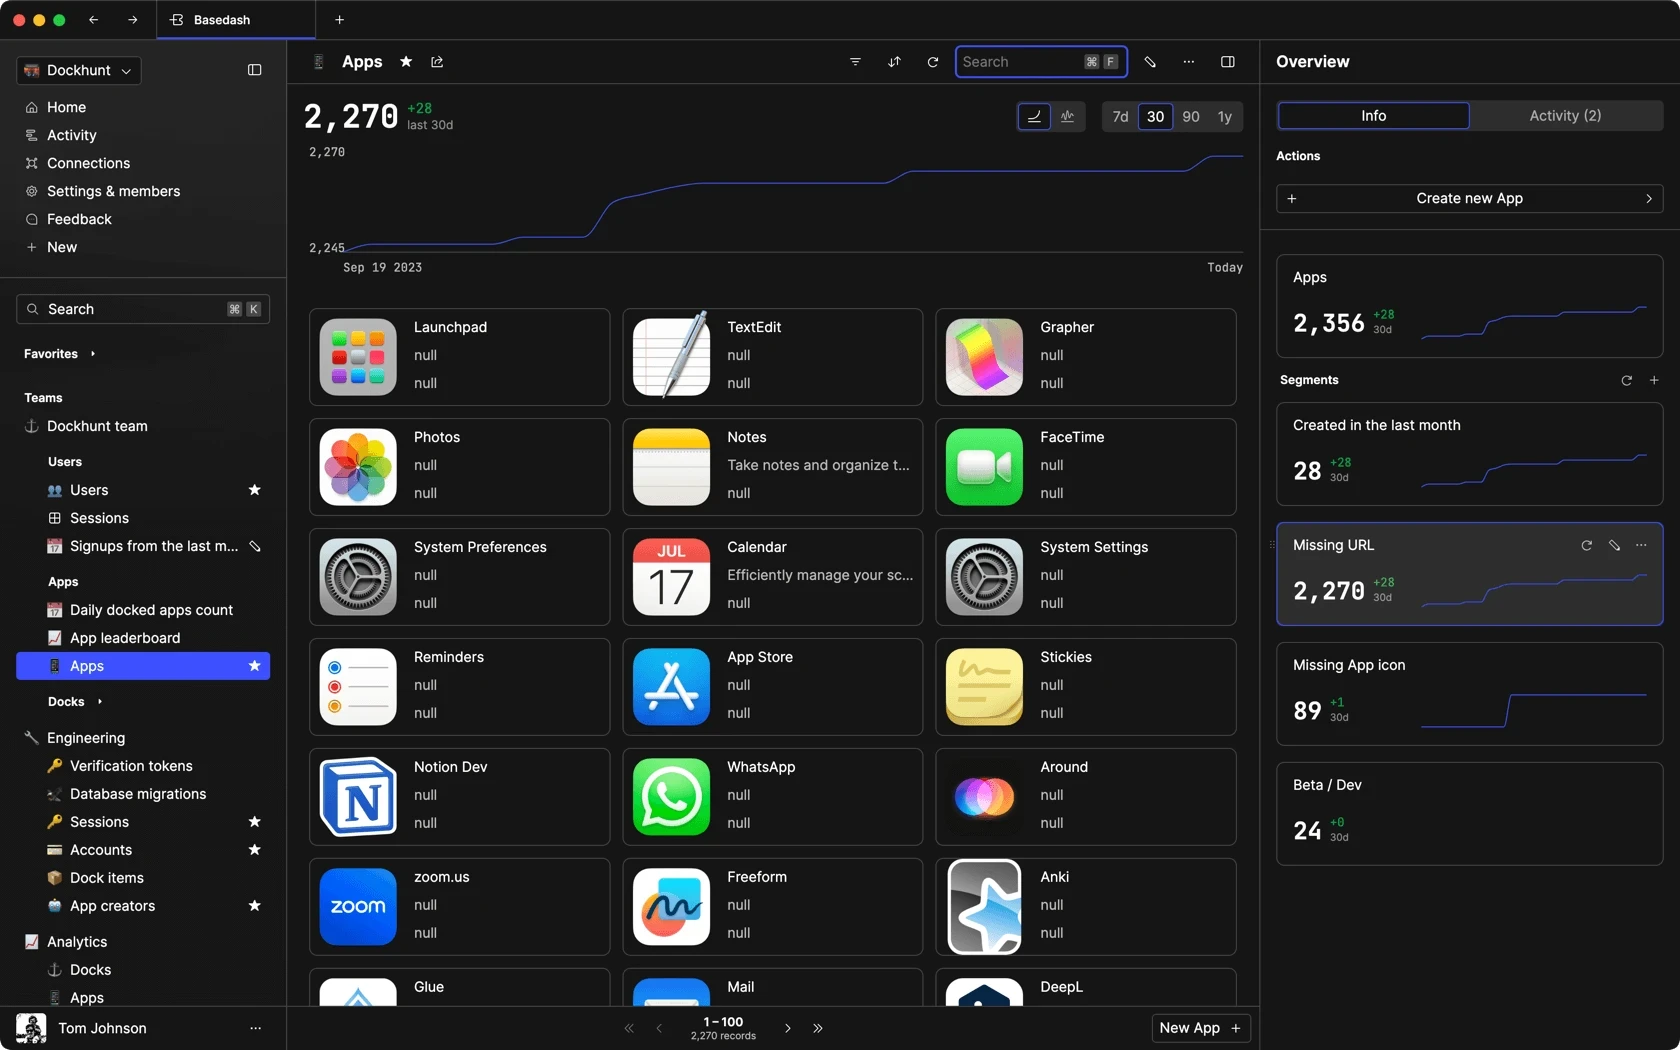
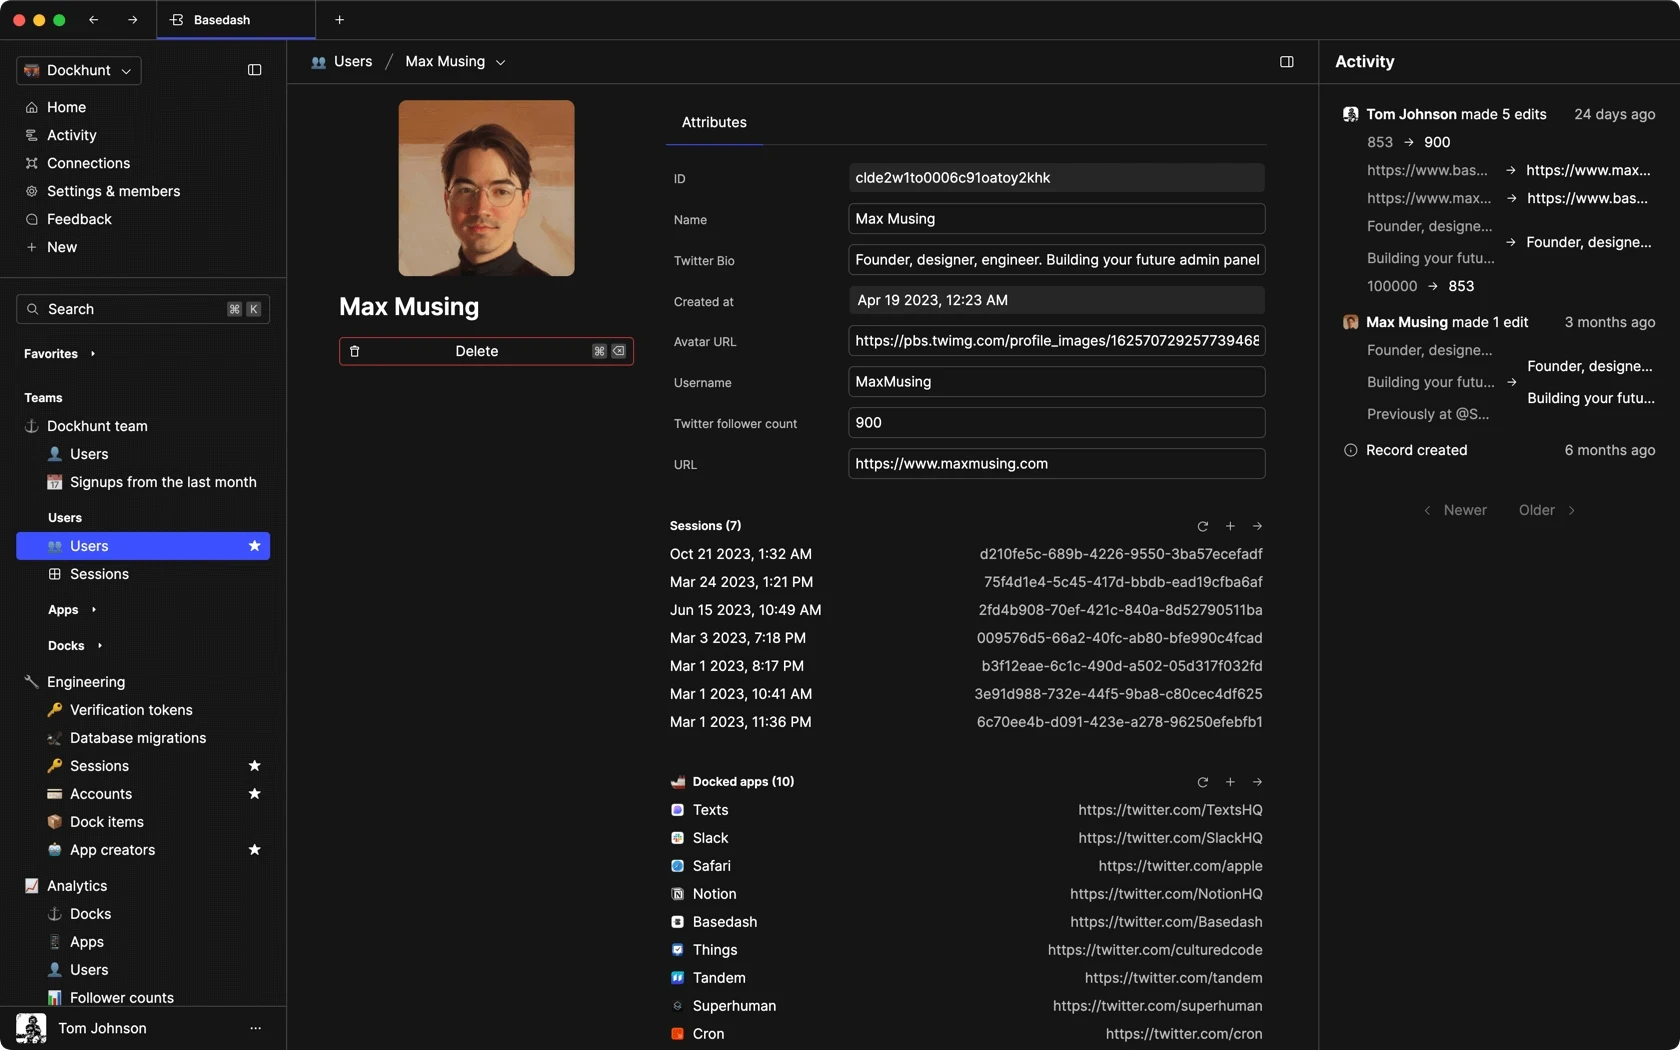
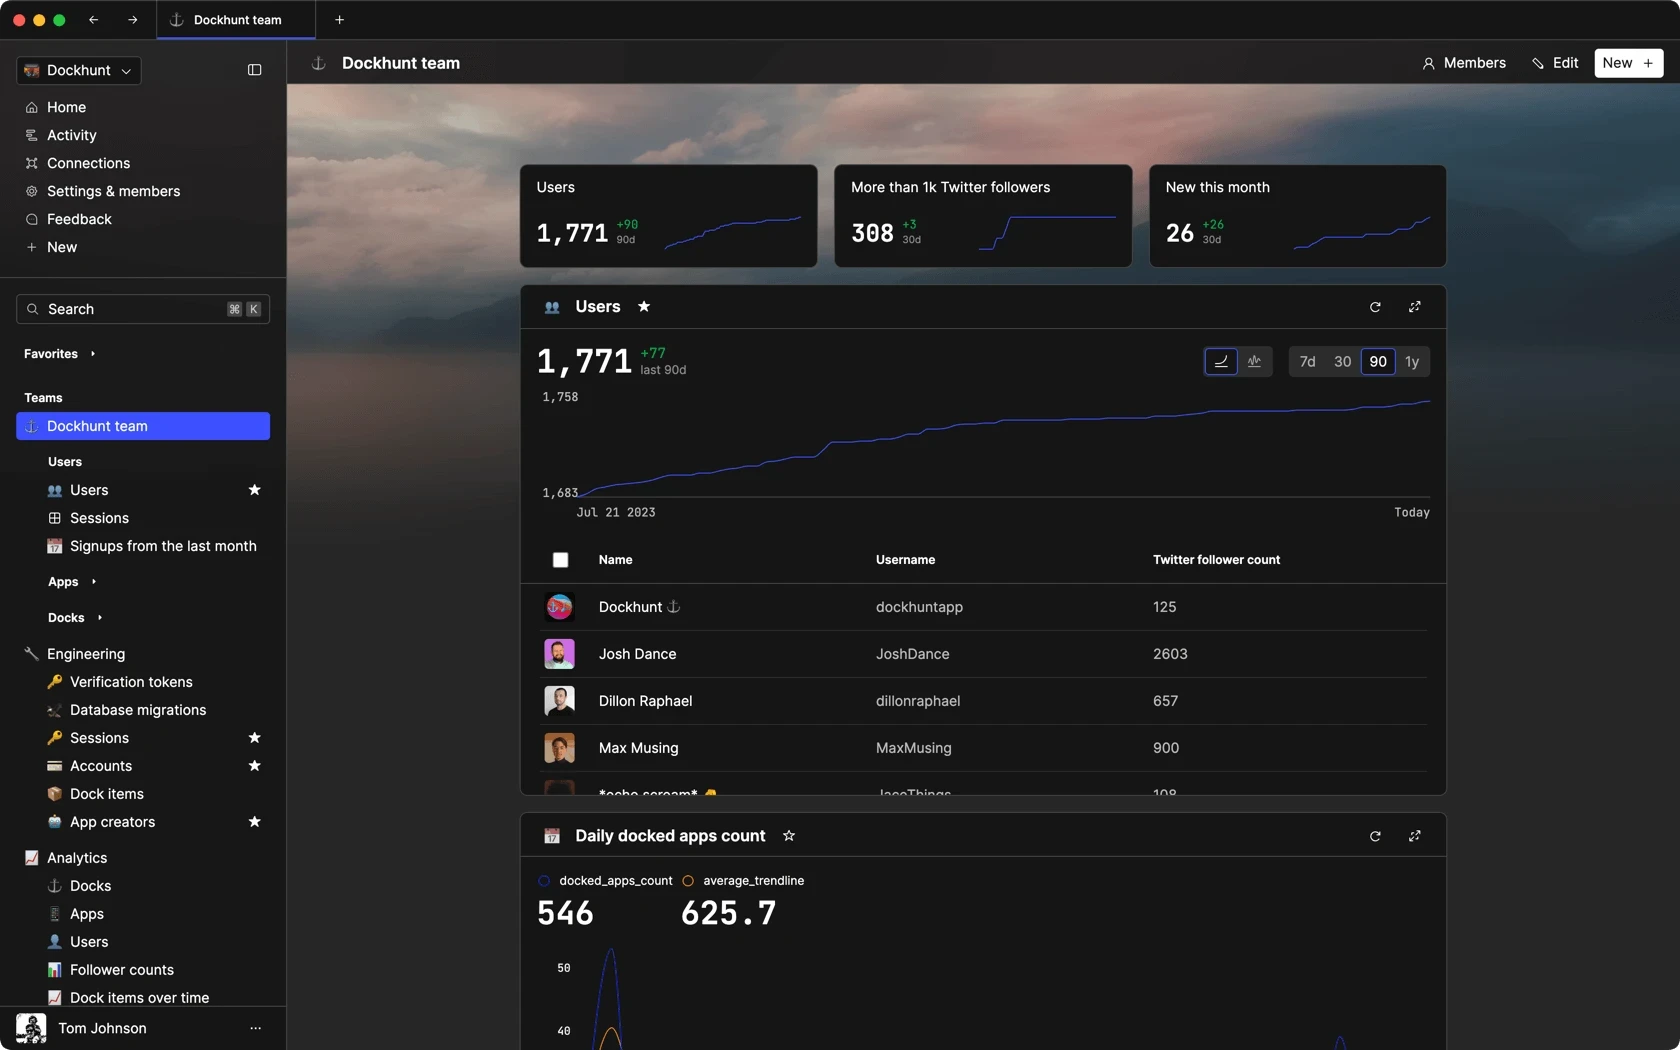
- If integrating email functionality into a larger application using a database, consider using a service like Basedash to keep track of email logs, user actions, or other related data from your database. This will give you a clear view of the emails sent, failed deliveries, and user interactions.
With the knowledge acquired from this guide, you can confidently send and receive emails in your Node.js applications. Always stay updated with the documentation of the used packages for any changes or updates.
You could ship faster.
Imagine the time you'd save if you never had to build another internal tool, write a SQL report, or manage another admin panel again. Basedash is built by internal tool builders, for internal tool builders. Our mission is to change the way developers work, so you can focus on building your product.
TOC
October 27, 2023
In this guide, we'll delve into how to send and receive emails using Node.js, specifically with the popular nodemailer package for sending and the imap package for receiving.
Setting up your environment
Before diving into the actual process, make sure you have Node.js and npm installed. You'll then need to initiate a new Node project and install the necessary packages.
mkdir email_project
cd email_project
npm init -y
npm install nodemailer imap
Sending email with nodemailer
nodemailer is a widely used package that makes sending emails from Node.js applications straightforward.
Basic setup
First, let's create a simple script to send an email.
const nodemailer = require('nodemailer');

const transporter = nodemailer.createTransport({
    service: 'gmail',
    auth: {
        user: 'your_email@gmail.com',
        pass: 'your_password'
    }
});

const mailOptions = {
    from: 'your_email@gmail.com',
    to: 'recipient_email@example.com',
    subject: 'Hello from Node!',
    text: 'Hello world!'
};

transporter.sendMail(mailOptions, function(error, info){
    if (error) {
        console.log(error);
    } else {
        console.log('Email sent: ' + info.response);
    }
});
Replace 'your_email@gmail.com' and 'your_password' with your actual Gmail credentials. It's advisable to use environment variables or secret management tools to keep your credentials safe.
Using OAuth2
To improve security, especially when using Gmail, you can use OAuth2. Here's a basic setup with OAuth2:
const nodemailer = require('nodemailer');

const transporter = nodemailer.createTransport({
    service: 'gmail',
    auth: {
        type: 'OAuth2',
        user: 'your_email@gmail.com',
        clientId: 'YOUR_CLIENT_ID',
        clientSecret: 'YOUR_CLIENT_SECRET',
        refreshToken: 'YOUR_REFRESH_TOKEN'
    }
});
// ... [rest remains the same]
Make sure to replace placeholders with your actual OAuth2 credentials.
Receiving email with imap
The imap package allows you to access and manage emails in your mailbox using the IMAP protocol.
Basic setup
Here's a basic example to fetch unread emails:
const Imap = require('imap');
const MailParser = require('mailparser').simpleParser;

const imap = new Imap({
  user: 'your_email@gmail.com',
  password: 'your_password',
  host: 'imap.gmail.com',
  port: 993,
  tls: true,
  tlsOptions: { rejectUnauthorized: false }
});

function fetchUnreadMails() {
    imap.once('ready', function() {
        imap.openBox('INBOX', true, function(err, box) {
            if (err) throw err;

            const searchCriteria = ['UNSEEN'];
            const fetchOptions = { bodies: ['HEADER', 'TEXT'], markSeen: true };

            imap.search(searchCriteria, function(err, results) {
                if (err) throw err;

                const mailStream = imap.fetch(results, fetchOptions);

                mailStream.on('message', function(message) {
                    message.on('body', function(stream, info) {
                        simpleParser(stream, (err, mail) => {
                            console.log('Subject:', mail.subject);
                            console.log('Body:', mail.text);
                        });
                    });
                });

                mailStream.once('end', function() {
                    imap.end();
                });
            });
        });
    });

    imap.connect();
}

fetchUnreadMails();
Replace 'your_email@gmail.com' and 'your_password' with your actual credentials. Again, for better security, use environment variables or secret management tools.
Tips and best practices
- Always keep your email credentials secure. Avoid hardcoding them directly in your source code.
- When sending bulk emails, consider using a service like Resend, SendGrid, or Mailgun. These services provide better deliverability and handle issues like rate limiting.
- If integrating email functionality into a larger application using a database, consider using a service like Basedash to keep track of email logs, user actions, or other related data from your database. This will give you a clear view of the emails sent, failed deliveries, and user interactions.
With the knowledge acquired from this guide, you can confidently send and receive emails in your Node.js applications. Always stay updated with the documentation of the used packages for any changes or updates.
You could ship faster.
Imagine the time you'd save if you never had to build another internal tool, write a SQL report, or manage another admin panel again. Basedash is built by internal tool builders, for internal tool builders. Our mission is to change the way developers work, so you can focus on building your product.
What is Basedash?
What is Basedash?
What is Basedash?
Understand your users with Basedash
Understand your users with Basedash
Understand your users with Basedash
Basedash lets you understand your users like never before. See how they're using your product, get real product data, and collaborate with developers all in one tool.
Basedash lets you understand your users like never before. See how they're using your product, get real product data, and collaborate with developers all in one tool.
Basedash lets you understand your users like never before. See how they're using your product, get real product data, and collaborate with developers all in one tool.
Dashboards and charts
Edit data, create records, oversee how your product is running without the need to build or manage custom software.
USER CRM
ADMIN PANEL
SQL COMPOSER WITH AI