
Creating a MariaDB database on DigitalOcean

December 16, 2022
DigitalOcean doesn’t offer the possibility to create a managed instance of a MariaDB database, so you may want to set up your own instance on a DigitalOcean droplet.
Create a Ubuntu droplet
For the sake of this tutorial, we will create a Ubuntu 22.10 server. We will add our SSH keys to the server to allow us to SSH into the droplet in order to setup mariadb.
Setup MariaDB on server
Follow the steps in this DigitalOcean guide to start the MariaDB server on the droplet:
- SSH into the droplet
ssh root@<droplet_ip_address>
- Install/start MariaDB server and restrict server access.
sudo apt update
sudo apt install mariadb-server
sudo mysql_secure_installation
- Setup a database with mock data (optional).
Open the MariaDB prompt:
mariadb
Run the following SQL command to create a mock database:
CREATE DATABASE application;

USE application;

CREATE TABLE todos (
  created_at TIMESTAMP,
  updated_at TIMESTAMP,
  title TEXT,
  description TEXT,
  completed BOOLEAN
);

INSERT INTO todos (created_at, updated_at, title, description, completed)
VALUES
  (CURRENT_TIMESTAMP, CURRENT_TIMESTAMP, 'Task 1', 'This is the first task', FALSE),
  (CURRENT_TIMESTAMP, CURRENT_TIMESTAMP, 'Task 2', 'This is the second task', FALSE),
  (CURRENT_TIMESTAMP, CURRENT_TIMESTAMP, 'Task 3', 'This is the third task', FALSE);
Connecting to MariaDB from remote server
You will likely want to configure your server to allow for remote connections to your database.
Create a MariaDB user which will have access via a remote server. In this case we will use the Basedash IP address in case you’d like to allow Basedash to connect to your MariaDB database. From the mariadb, prompt, run the following command:
CREATE USER 'admin'@'138.197.164.114' IDENTIFIED BY 'password';
💡 You can use
%instead of an IP address if you want the user to have remote access from any host.Next, grant the user all privileges on all databases:
GRANT ALL ON * to 'admin'@'138.197.164.114' IDENTIFIED BY 'password' WITH GRANT OPTION;
💡 You may want to only grant all privileges for the user on a specific database, which can be done as follows:
GRANT ALL ON application.* to 'admin'@'138.197.164.114' IDENTIFIED BY 'password' WITH GRANT OPTION;Where
application.*grants all privileges to theadminuser on all database tables in theapplicationdatabase.Flush privileges to make the changes take effect:
FLUSH PRIVILEGES;
Next, we will need to configure the firewall on the droplet to allow connections to port 3306 (default mariadb port) from our remote IP (in this example it is 138.197.164.114):
sudo ufw allow from 138.197.164.114 to any port 3306
If you want to let the firewall allow connections from any IP address, you can run the following command:
sudo ufw allow 3306
Reload the firewall to have the changes take effect:
sudo ufw reload
The last thing to do is to change some of the default configuration specified by mariaDB. Modify the file found at /etc/mysql/mariadb.conf.d/50-server.cnf so that the line that contains the bind-address setting is set to 0.0.0.0 instead of the default 127.0.0.1.
bind-address = 0.0.0.0
That way we will allow connections other than localhost (i.e. 127.0.0.1) to connect to our mariadb database.
Restart mariadb using sudo systemctl restart mariadb.service. You should now be able to connect remotely to the mariadb instance.
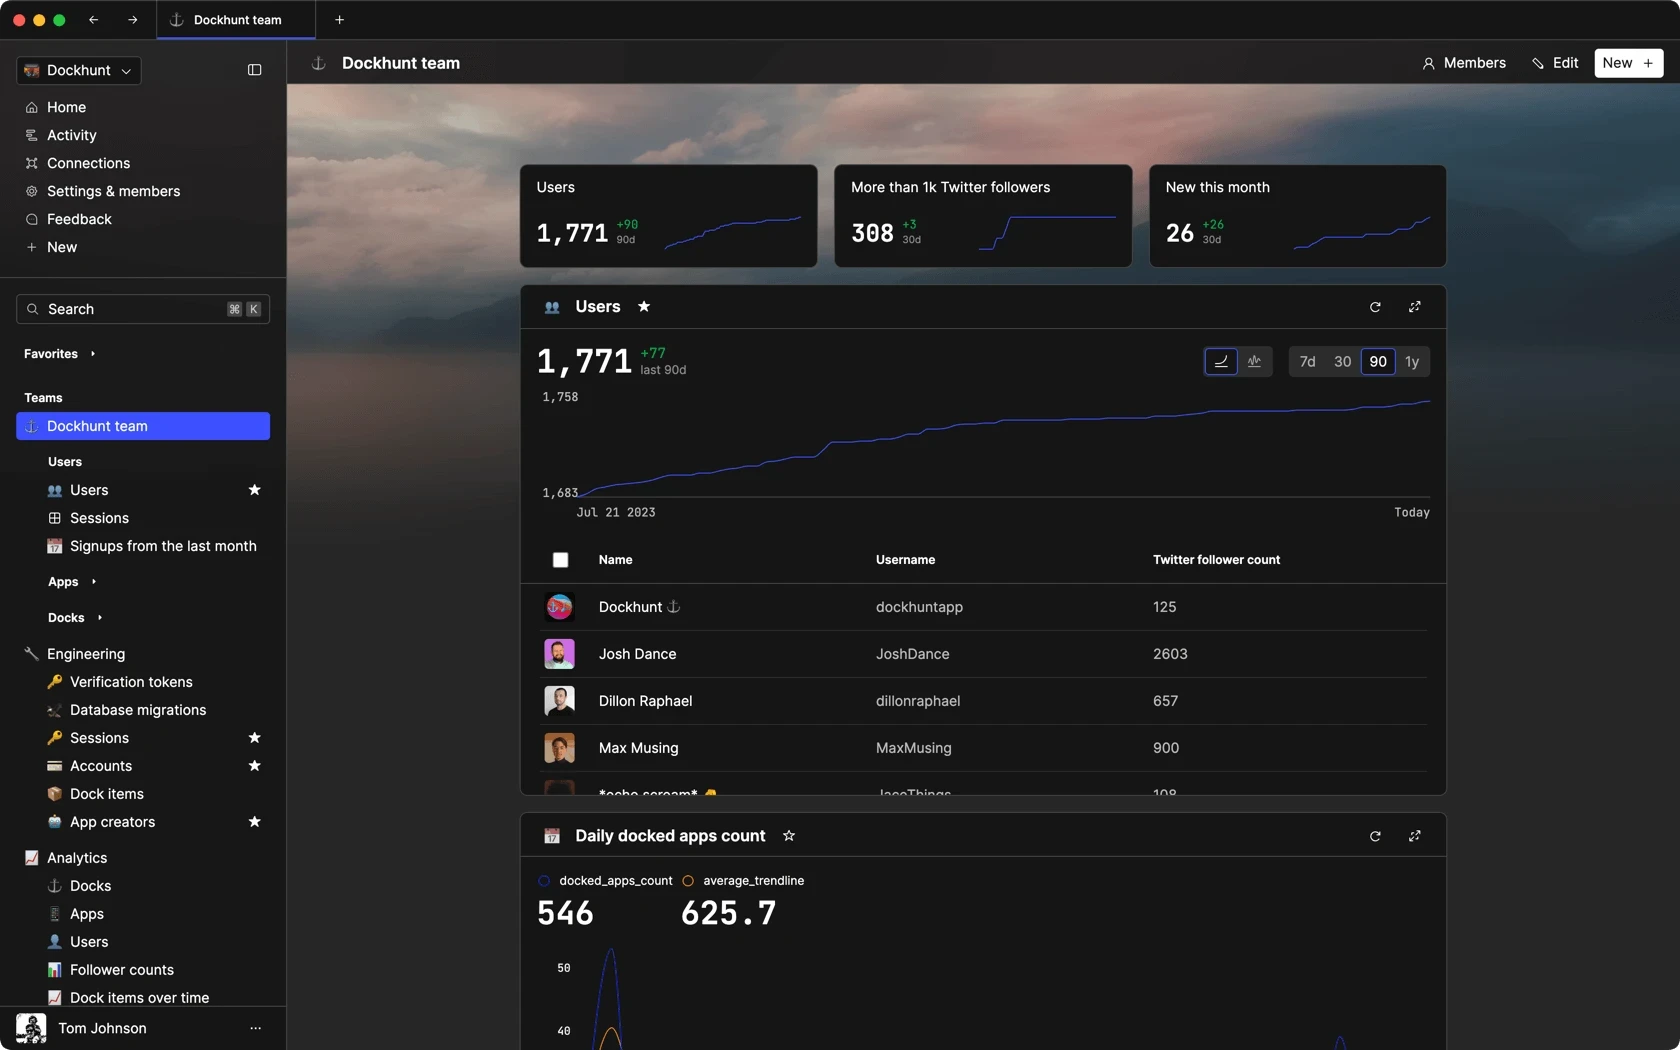
Here’s how the credentials look like when trying to connect to the mariadb database from Basedash:
Related articles
You could ship faster.
Imagine the time you'd save if you never had to build another internal tool, write a SQL report, or manage another admin panel again. Basedash is built by internal tool builders, for internal tool builders. Our mission is to change the way developers work, so you can focus on building your product.
TOC
December 16, 2022
DigitalOcean doesn’t offer the possibility to create a managed instance of a MariaDB database, so you may want to set up your own instance on a DigitalOcean droplet.
Create a Ubuntu droplet
For the sake of this tutorial, we will create a Ubuntu 22.10 server. We will add our SSH keys to the server to allow us to SSH into the droplet in order to setup mariadb.
Setup MariaDB on server
Follow the steps in this DigitalOcean guide to start the MariaDB server on the droplet:
- SSH into the droplet
ssh root@<droplet_ip_address>
- Install/start MariaDB server and restrict server access.
sudo apt update
sudo apt install mariadb-server
sudo mysql_secure_installation
- Setup a database with mock data (optional).
Open the MariaDB prompt:
mariadb
Run the following SQL command to create a mock database:
CREATE DATABASE application;

USE application;

CREATE TABLE todos (
  created_at TIMESTAMP,
  updated_at TIMESTAMP,
  title TEXT,
  description TEXT,
  completed BOOLEAN
);

INSERT INTO todos (created_at, updated_at, title, description, completed)
VALUES
  (CURRENT_TIMESTAMP, CURRENT_TIMESTAMP, 'Task 1', 'This is the first task', FALSE),
  (CURRENT_TIMESTAMP, CURRENT_TIMESTAMP, 'Task 2', 'This is the second task', FALSE),
  (CURRENT_TIMESTAMP, CURRENT_TIMESTAMP, 'Task 3', 'This is the third task', FALSE);
Connecting to MariaDB from remote server
You will likely want to configure your server to allow for remote connections to your database.
Create a MariaDB user which will have access via a remote server. In this case we will use the Basedash IP address in case you’d like to allow Basedash to connect to your MariaDB database. From the mariadb, prompt, run the following command:
CREATE USER 'admin'@'138.197.164.114' IDENTIFIED BY 'password';
💡 You can use
%instead of an IP address if you want the user to have remote access from any host.Next, grant the user all privileges on all databases:
GRANT ALL ON * to 'admin'@'138.197.164.114' IDENTIFIED BY 'password' WITH GRANT OPTION;
💡 You may want to only grant all privileges for the user on a specific database, which can be done as follows:
GRANT ALL ON application.* to 'admin'@'138.197.164.114' IDENTIFIED BY 'password' WITH GRANT OPTION;Where
application.*grants all privileges to theadminuser on all database tables in theapplicationdatabase.Flush privileges to make the changes take effect:
FLUSH PRIVILEGES;
Next, we will need to configure the firewall on the droplet to allow connections to port 3306 (default mariadb port) from our remote IP (in this example it is 138.197.164.114):
sudo ufw allow from 138.197.164.114 to any port 3306
If you want to let the firewall allow connections from any IP address, you can run the following command:
sudo ufw allow 3306
Reload the firewall to have the changes take effect:
sudo ufw reload
The last thing to do is to change some of the default configuration specified by mariaDB. Modify the file found at /etc/mysql/mariadb.conf.d/50-server.cnf so that the line that contains the bind-address setting is set to 0.0.0.0 instead of the default 127.0.0.1.
bind-address = 0.0.0.0
That way we will allow connections other than localhost (i.e. 127.0.0.1) to connect to our mariadb database.
Restart mariadb using sudo systemctl restart mariadb.service. You should now be able to connect remotely to the mariadb instance.
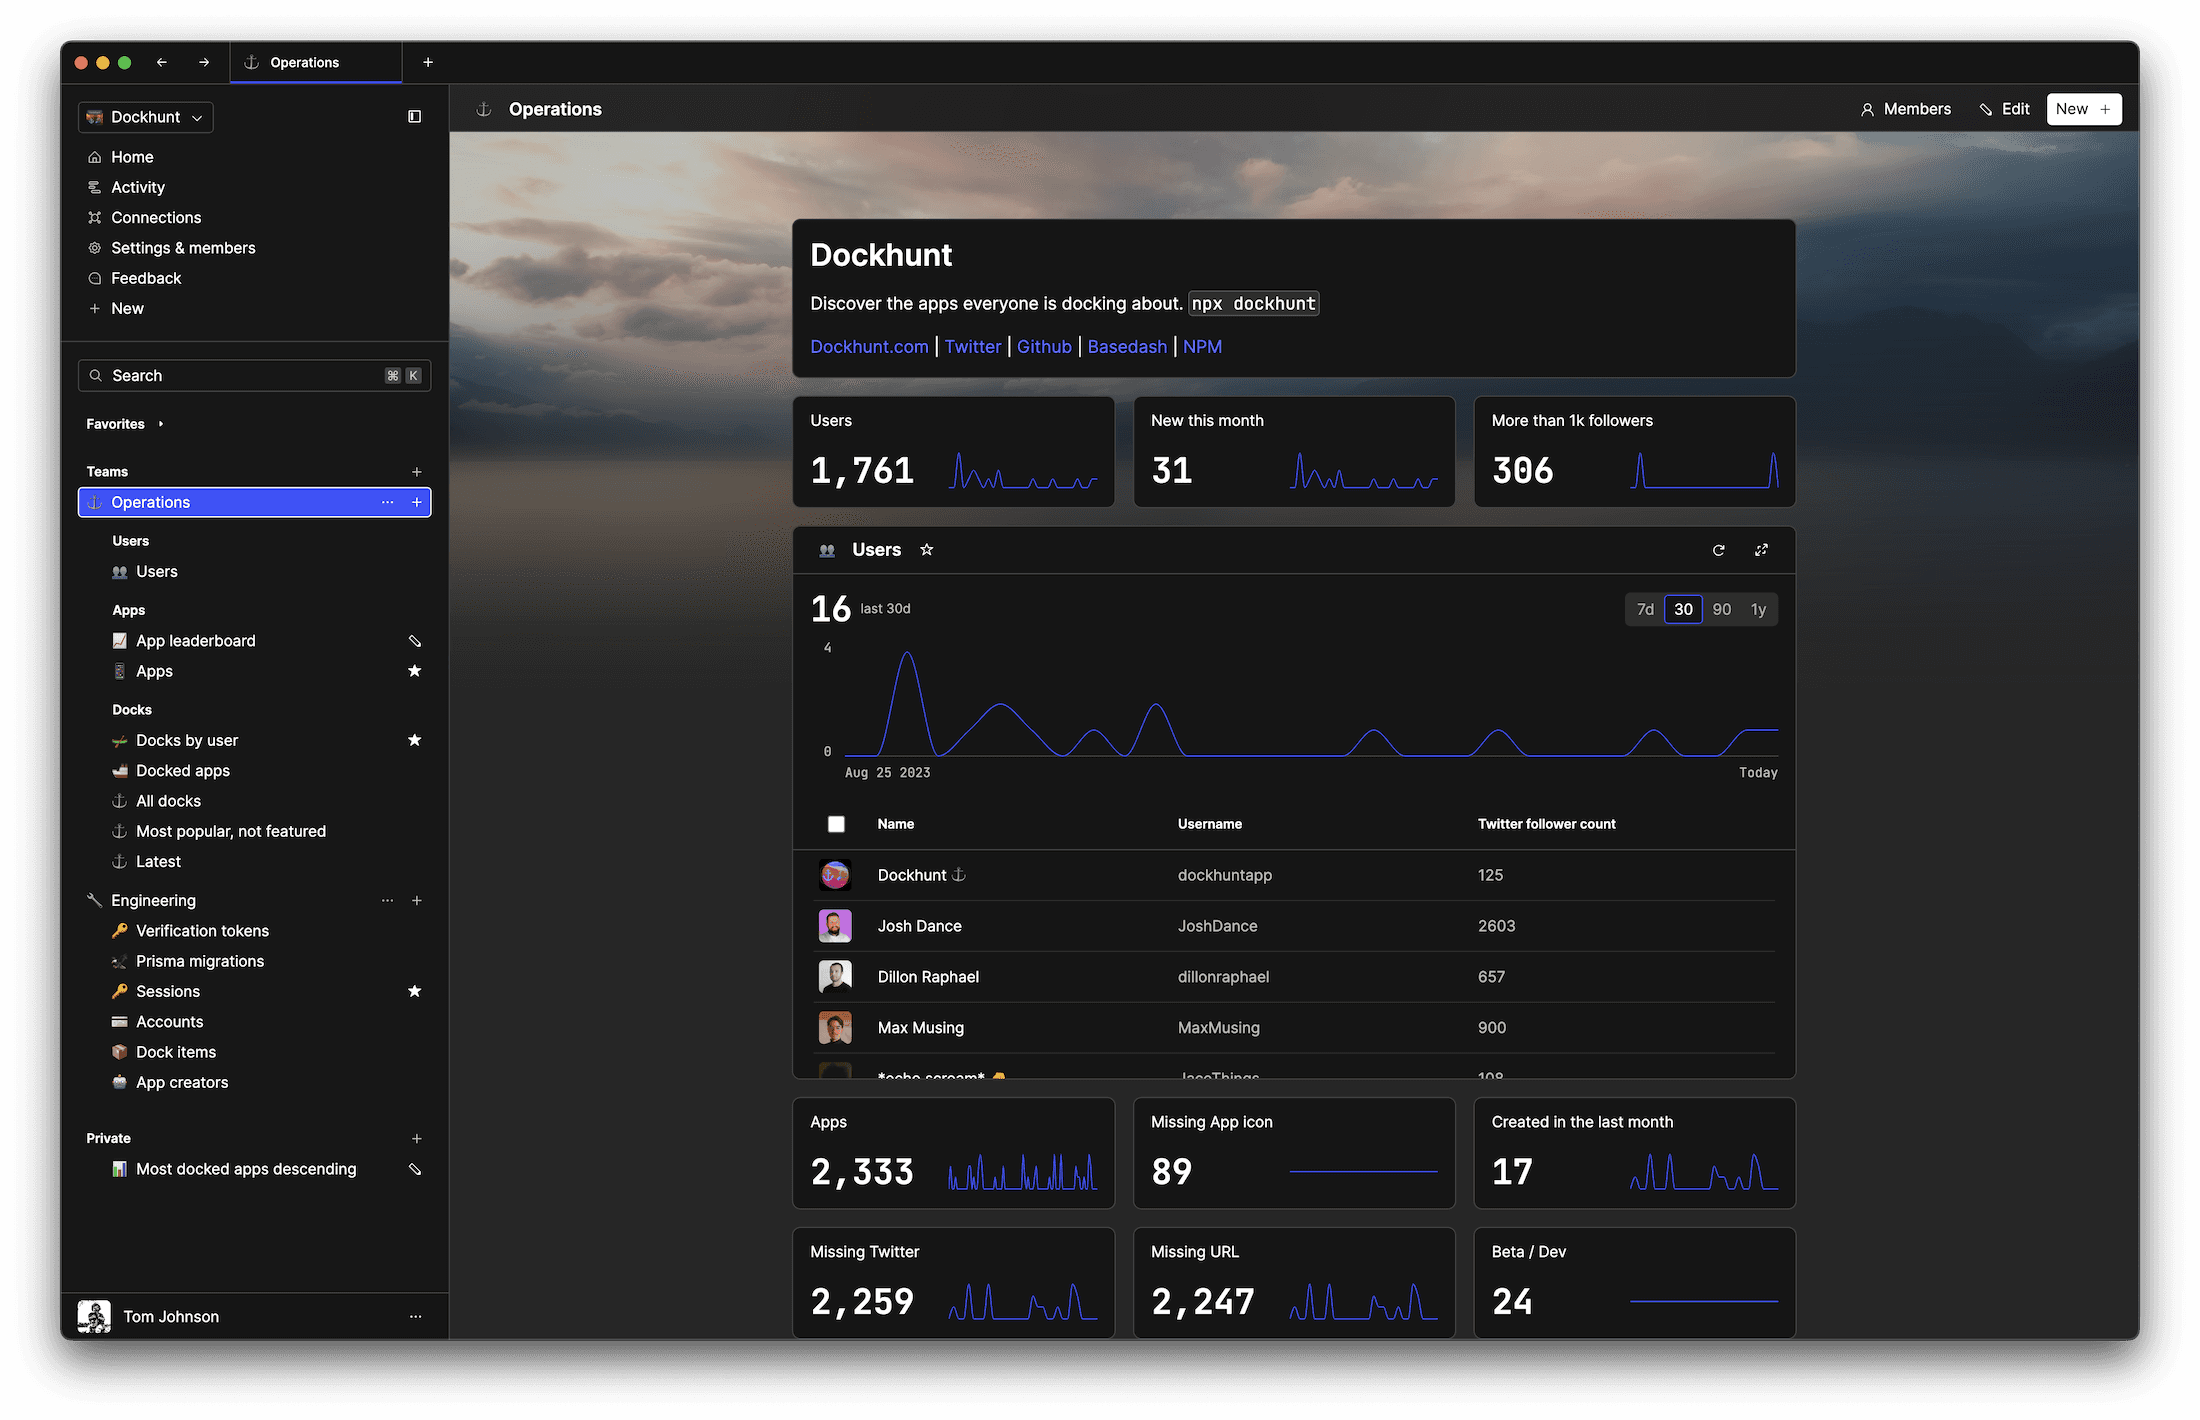
Here’s how the credentials look like when trying to connect to the mariadb database from Basedash:
Related articles
You could ship faster.
Imagine the time you'd save if you never had to build another internal tool, write a SQL report, or manage another admin panel again. Basedash is built by internal tool builders, for internal tool builders. Our mission is to change the way developers work, so you can focus on building your product.
December 16, 2022
DigitalOcean doesn’t offer the possibility to create a managed instance of a MariaDB database, so you may want to set up your own instance on a DigitalOcean droplet.
Create a Ubuntu droplet
For the sake of this tutorial, we will create a Ubuntu 22.10 server. We will add our SSH keys to the server to allow us to SSH into the droplet in order to setup mariadb.
Setup MariaDB on server
Follow the steps in this DigitalOcean guide to start the MariaDB server on the droplet:
- SSH into the droplet
ssh root@<droplet_ip_address>
- Install/start MariaDB server and restrict server access.
sudo apt update
sudo apt install mariadb-server
sudo mysql_secure_installation
- Setup a database with mock data (optional).
Open the MariaDB prompt:
mariadb
Run the following SQL command to create a mock database:
CREATE DATABASE application;

USE application;

CREATE TABLE todos (
  created_at TIMESTAMP,
  updated_at TIMESTAMP,
  title TEXT,
  description TEXT,
  completed BOOLEAN
);

INSERT INTO todos (created_at, updated_at, title, description, completed)
VALUES
  (CURRENT_TIMESTAMP, CURRENT_TIMESTAMP, 'Task 1', 'This is the first task', FALSE),
  (CURRENT_TIMESTAMP, CURRENT_TIMESTAMP, 'Task 2', 'This is the second task', FALSE),
  (CURRENT_TIMESTAMP, CURRENT_TIMESTAMP, 'Task 3', 'This is the third task', FALSE);
Connecting to MariaDB from remote server
You will likely want to configure your server to allow for remote connections to your database.
Create a MariaDB user which will have access via a remote server. In this case we will use the Basedash IP address in case you’d like to allow Basedash to connect to your MariaDB database. From the mariadb, prompt, run the following command:
CREATE USER 'admin'@'138.197.164.114' IDENTIFIED BY 'password';
💡 You can use
%instead of an IP address if you want the user to have remote access from any host.Next, grant the user all privileges on all databases:
GRANT ALL ON * to 'admin'@'138.197.164.114' IDENTIFIED BY 'password' WITH GRANT OPTION;
💡 You may want to only grant all privileges for the user on a specific database, which can be done as follows:
GRANT ALL ON application.* to 'admin'@'138.197.164.114' IDENTIFIED BY 'password' WITH GRANT OPTION;Where
application.*grants all privileges to theadminuser on all database tables in theapplicationdatabase.Flush privileges to make the changes take effect:
FLUSH PRIVILEGES;
Next, we will need to configure the firewall on the droplet to allow connections to port 3306 (default mariadb port) from our remote IP (in this example it is 138.197.164.114):
sudo ufw allow from 138.197.164.114 to any port 3306
If you want to let the firewall allow connections from any IP address, you can run the following command:
sudo ufw allow 3306
Reload the firewall to have the changes take effect:
sudo ufw reload
The last thing to do is to change some of the default configuration specified by mariaDB. Modify the file found at /etc/mysql/mariadb.conf.d/50-server.cnf so that the line that contains the bind-address setting is set to 0.0.0.0 instead of the default 127.0.0.1.
bind-address = 0.0.0.0
That way we will allow connections other than localhost (i.e. 127.0.0.1) to connect to our mariadb database.
Restart mariadb using sudo systemctl restart mariadb.service. You should now be able to connect remotely to the mariadb instance.
Here’s how the credentials look like when trying to connect to the mariadb database from Basedash:
Related articles
You could ship faster.
Imagine the time you'd save if you never had to build another internal tool, write a SQL report, or manage another admin panel again. Basedash is built by internal tool builders, for internal tool builders. Our mission is to change the way developers work, so you can focus on building your product.
What is Basedash?
What is Basedash?
What is Basedash?
Ship faster, worry less with Basedash
Ship faster, worry less with Basedash
Ship faster, worry less with Basedash
You're busy enough with product work to be weighed down building, maintaining, scoping and developing internal apps and admin panels. Forget all of that, and give your team the admin panel that you don't have to build. Launch in less time than it takes to run a standup.
You're busy enough with product work to be weighed down building, maintaining, scoping and developing internal apps and admin panels. Forget all of that, and give your team the admin panel that you don't have to build. Launch in less time than it takes to run a standup.
You're busy enough with product work to be weighed down building, maintaining, scoping and developing internal apps and admin panels. Forget all of that, and give your team the admin panel that you don't have to build. Launch in less time than it takes to run a standup.
Dashboards and charts
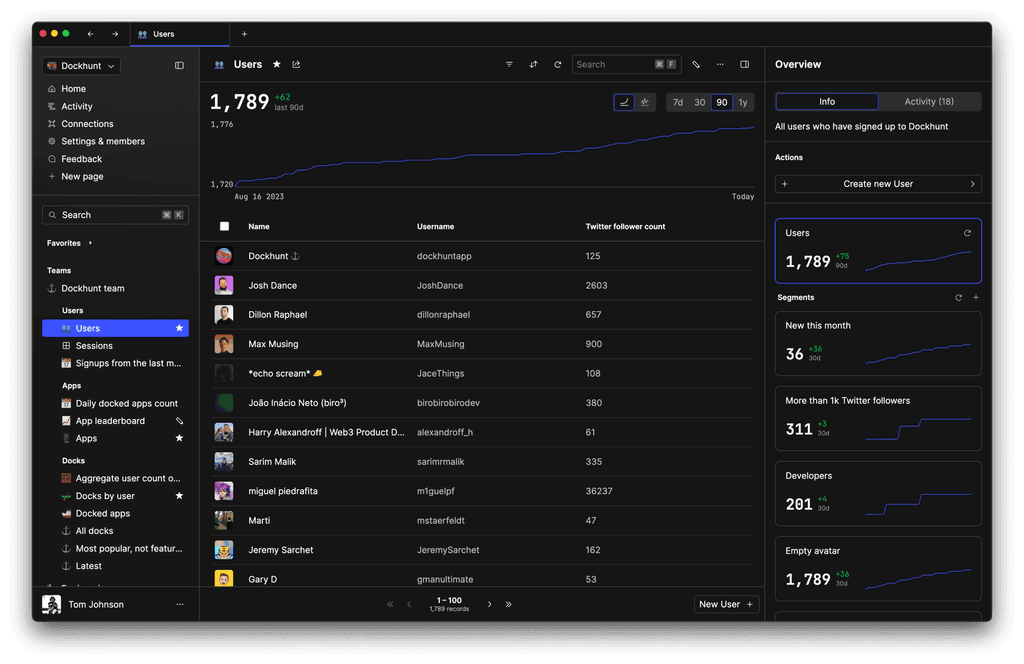
Edit data, create records, oversee how your product is running without the need to build or manage custom software.
USER CRM
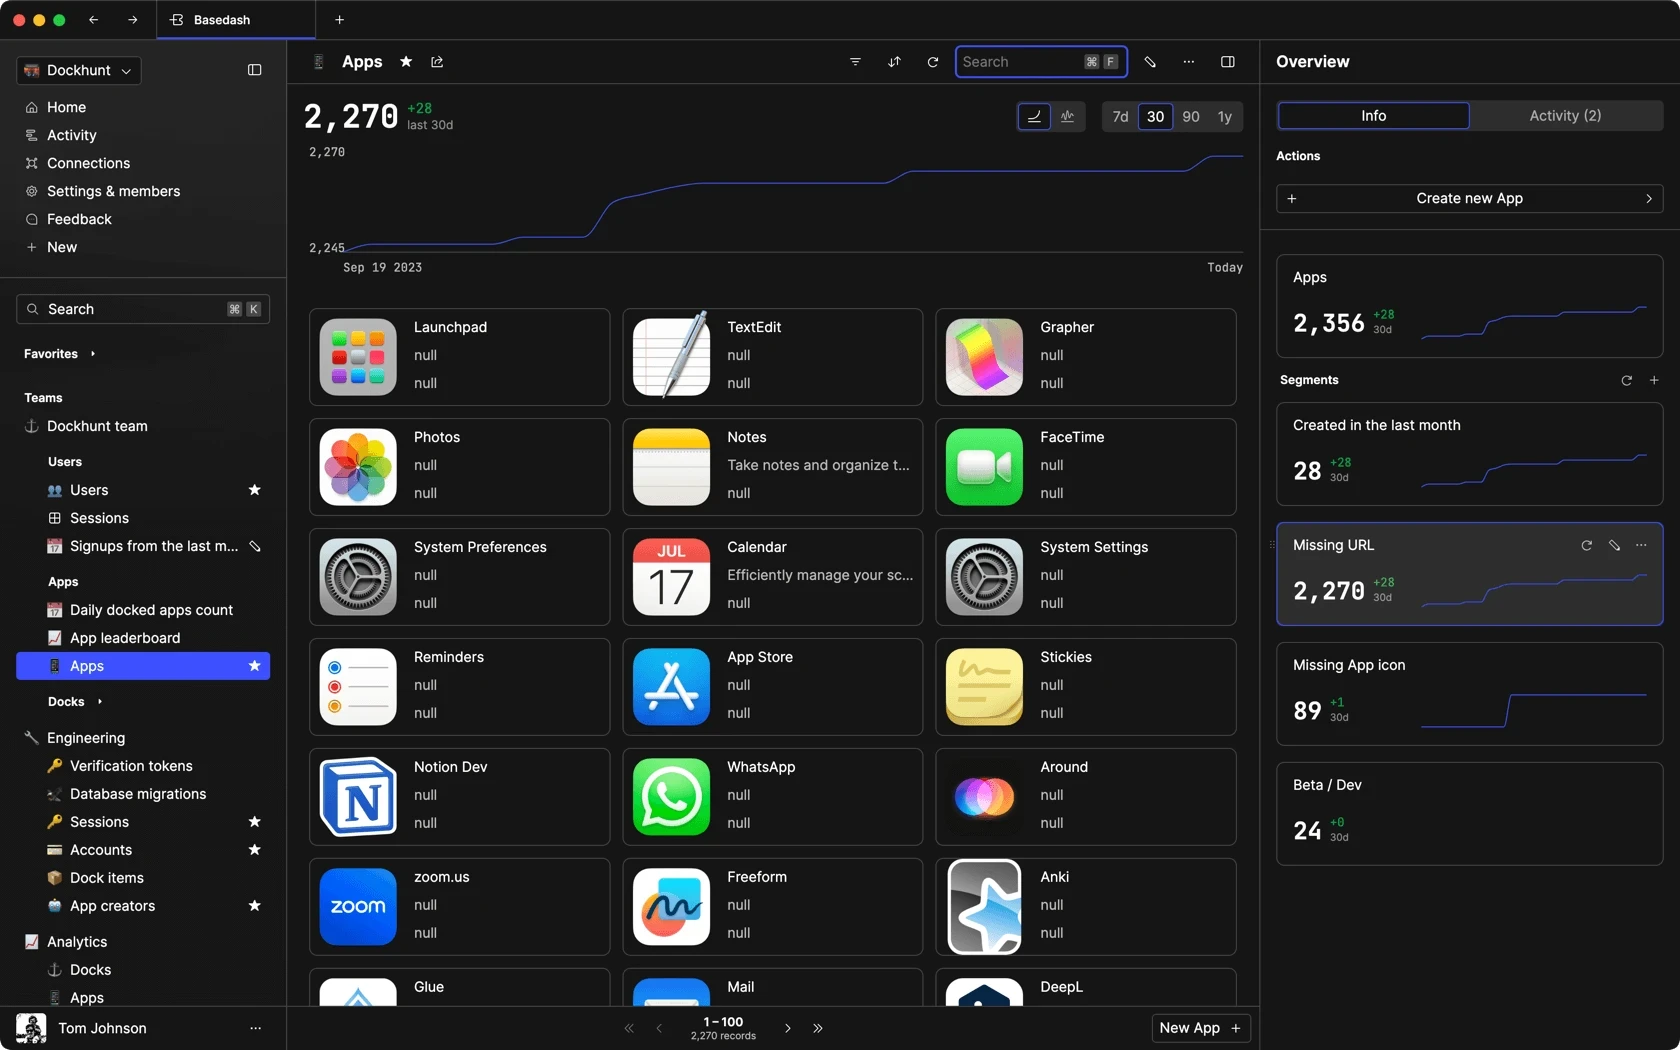
ADMIN PANEL
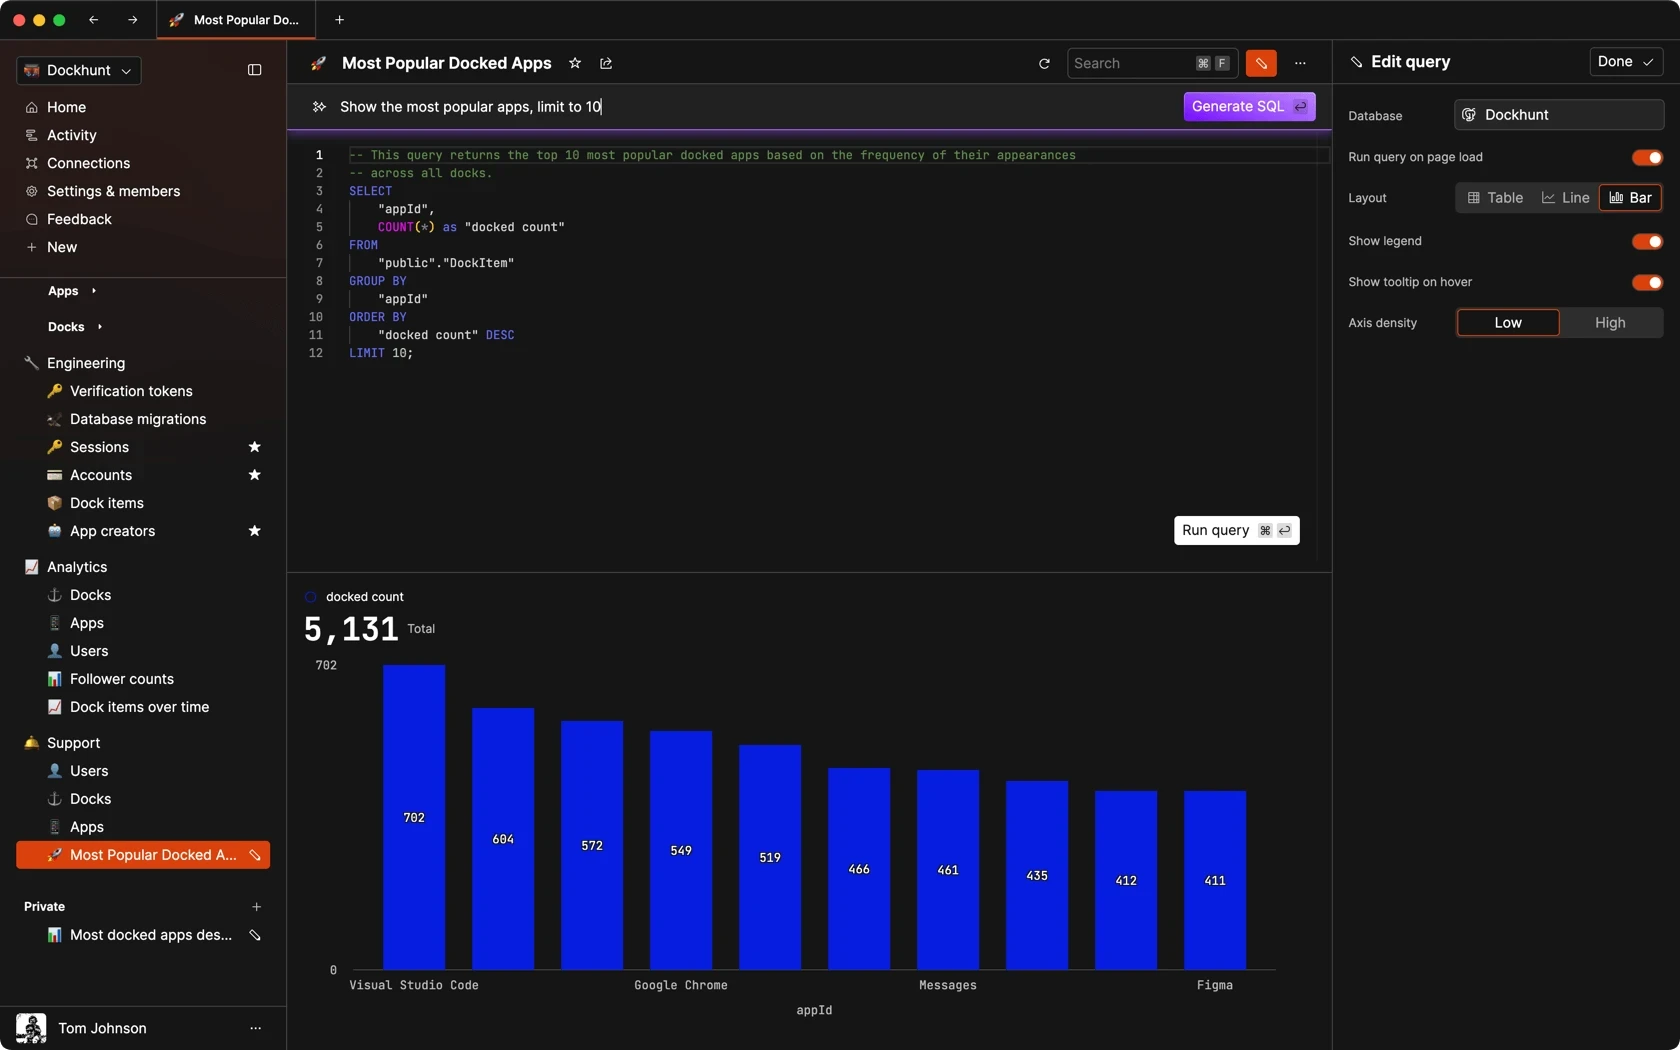
SQL COMPOSER WITH AI
Related posts
Related posts
Related posts

How to Center a Table in HTML with CSS
Jeremy Sarchet

Adjusting HTML Table Column Width for Better Design
Robert Cooper

How to Link Multiple CSS Stylesheets in HTML
Robert Cooper

Mastering HTML Table Inline Styling: A Guide
Max Musing

HTML Multiple Style Attributes: A Quick Guide
Max Musing

How to Set HTML Table Width for Responsive Design
Max Musing