
How to build an React Electron app in TypeScript

October 27, 2023
Building a TypeScript Electron React app allows you to harness the power of React for UI development, TypeScript for type-safety, and Electron for cross-platform desktop applications.
Setting up your project
Start by initializing a new Node.js project and installing necessary dependencies.
mkdir electron-ts-react-app && cd electron-ts-react-app
npm init -y
npm install --save react react-dom electron typescript @types/react @types/react-dom
npm install --save-dev webpack webpack-cli webpack-dev-server ts-loader html-webpack-plugin @types/webpack @types/webpack-dev-server
Configuring TypeScript
Create a tsconfig.json file in the root of your project to configure TypeScript.
{
  "compilerOptions": {
    "target": "es6",
    "module": "commonjs",
    "jsx": "react",
    "outDir": "dist",
    "strict": true,
    "esModuleInterop": true,
    "skipLibCheck": true,
    "forceConsistentCasingInFileNames": true
  },
  "include": [
    "src/**/*.ts",
    "src/**/*.tsx"
  ],
  "exclude": [
    "node_modules"
  ]
}
Setting up Webpack
Webpack will bundle your TypeScript and React code. Create a webpack.config.js in the root of your project.
const path = require('path');
const HtmlWebpackPlugin = require('html-webpack-plugin');

module.exports = {
  entry: './src/index.tsx',
  module: {
    rules: [
      {
        test: /\\.tsx?$/,
        use: 'ts-loader',
        exclude: /node_modules/
      }
    ]
  },
  resolve: {
    extensions: ['.tsx', '.ts', '.js']
  },
  output: {
    filename: 'bundle.js',
    path: path.resolve(__dirname, 'dist')
  },
  plugins: [
    new HtmlWebpackPlugin({
      template: './src/index.html'
    })
  ]
};
Creating the app structure
Organize your project with this structure:
electron-ts-react-app/
|-- src/
    |-- index.tsx
    |-- index.html
|-- main.js
|-- package.json
|-- tsconfig.json
|-- webpack.config.js
In src/index.html:
<!DOCTYPE html>
<html lang="en">
<head>
    <meta charset="UTF-8">
    <meta name="viewport" content="width=device-width, initial-scale=1.0">
    <title>Electron TypeScript React App</title>
</head>
<body>
    <div id="app"></div>
</body>
</html>
In src/index.tsx:
import React from 'react';
import ReactDOM from 'react-dom';

const App = () => {
  return <h1>Hello Electron TypeScript React App!</h1>;
};

ReactDOM.render(<App />, document.getElementById('app'));
You could ship faster.
Imagine the time you'd save if you never had to build another internal tool, write a SQL report, or manage another admin panel again. Basedash is built by internal tool builders, for internal tool builders. Our mission is to change the way developers work, so you can focus on building your product.
Setting up Electron
In your main.js:
const { app, BrowserWindow } = require('electron');
const path = require('path');

let mainWindow;

function createWindow() {
  mainWindow = new BrowserWindow({
    width: 800,
    height: 600,
    webPreferences: {
      nodeIntegration: true
    }
  });

  mainWindow.loadFile(path.join(__dirname, 'dist/index.html'));
}

app.whenReady().then(createWindow);

app.on('window-all-closed', () => {
  if (process.platform !== 'darwin') app.quit();
});

app.on('activate', () => {
  if (mainWindow === null) createWindow();
});
NPM scripts
In your package.json, add the following scripts:
"scripts": {
  "start": "webpack-dev-server --mode development",
  "build": "webpack --mode production",
  "electron-start": "electron ."
}
Running your app
First, compile and bundle your React code:
npm run build
Then, run your Electron app:
npm run electron-start
You should now see an Electron window displaying the message "Hello Electron TypeScript React App!"
Integrating with databases and external services
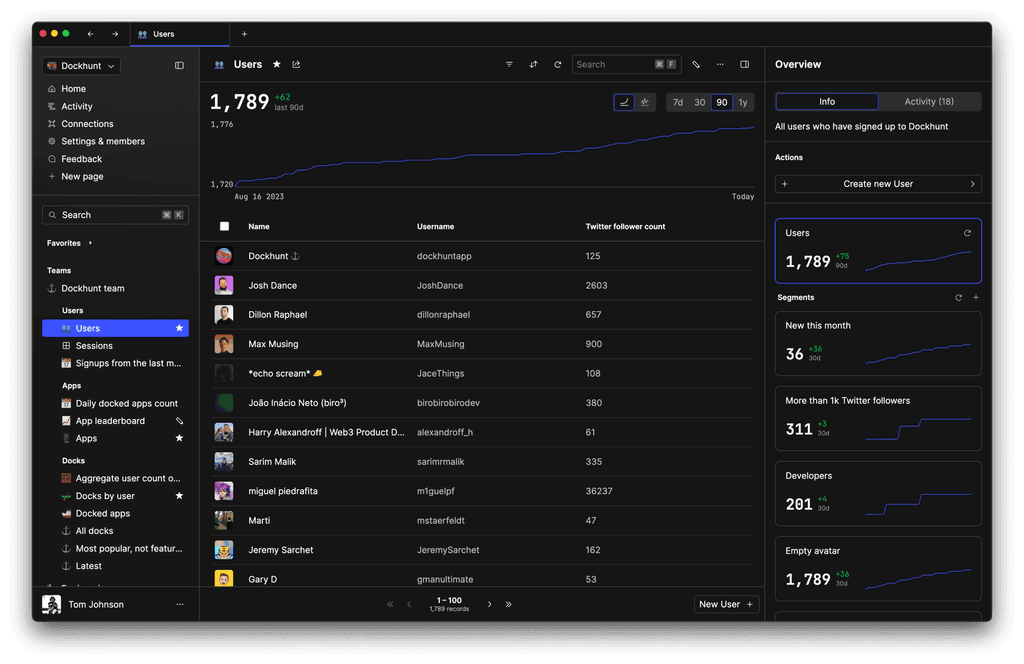
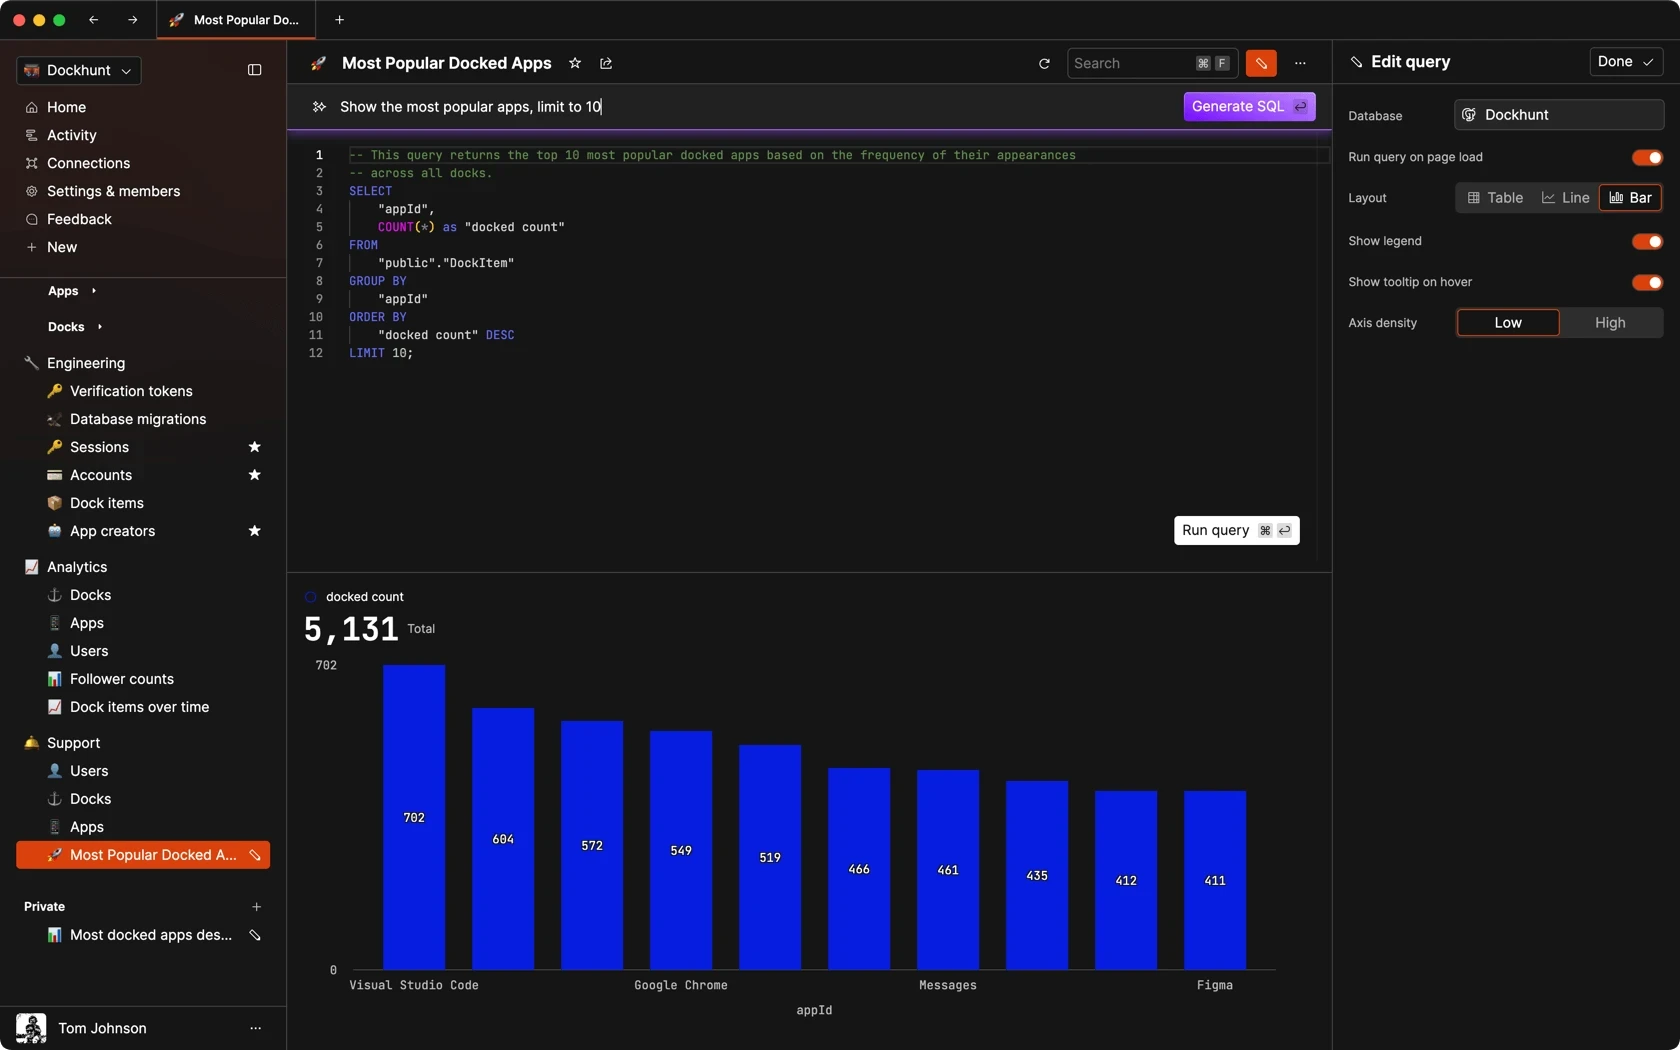
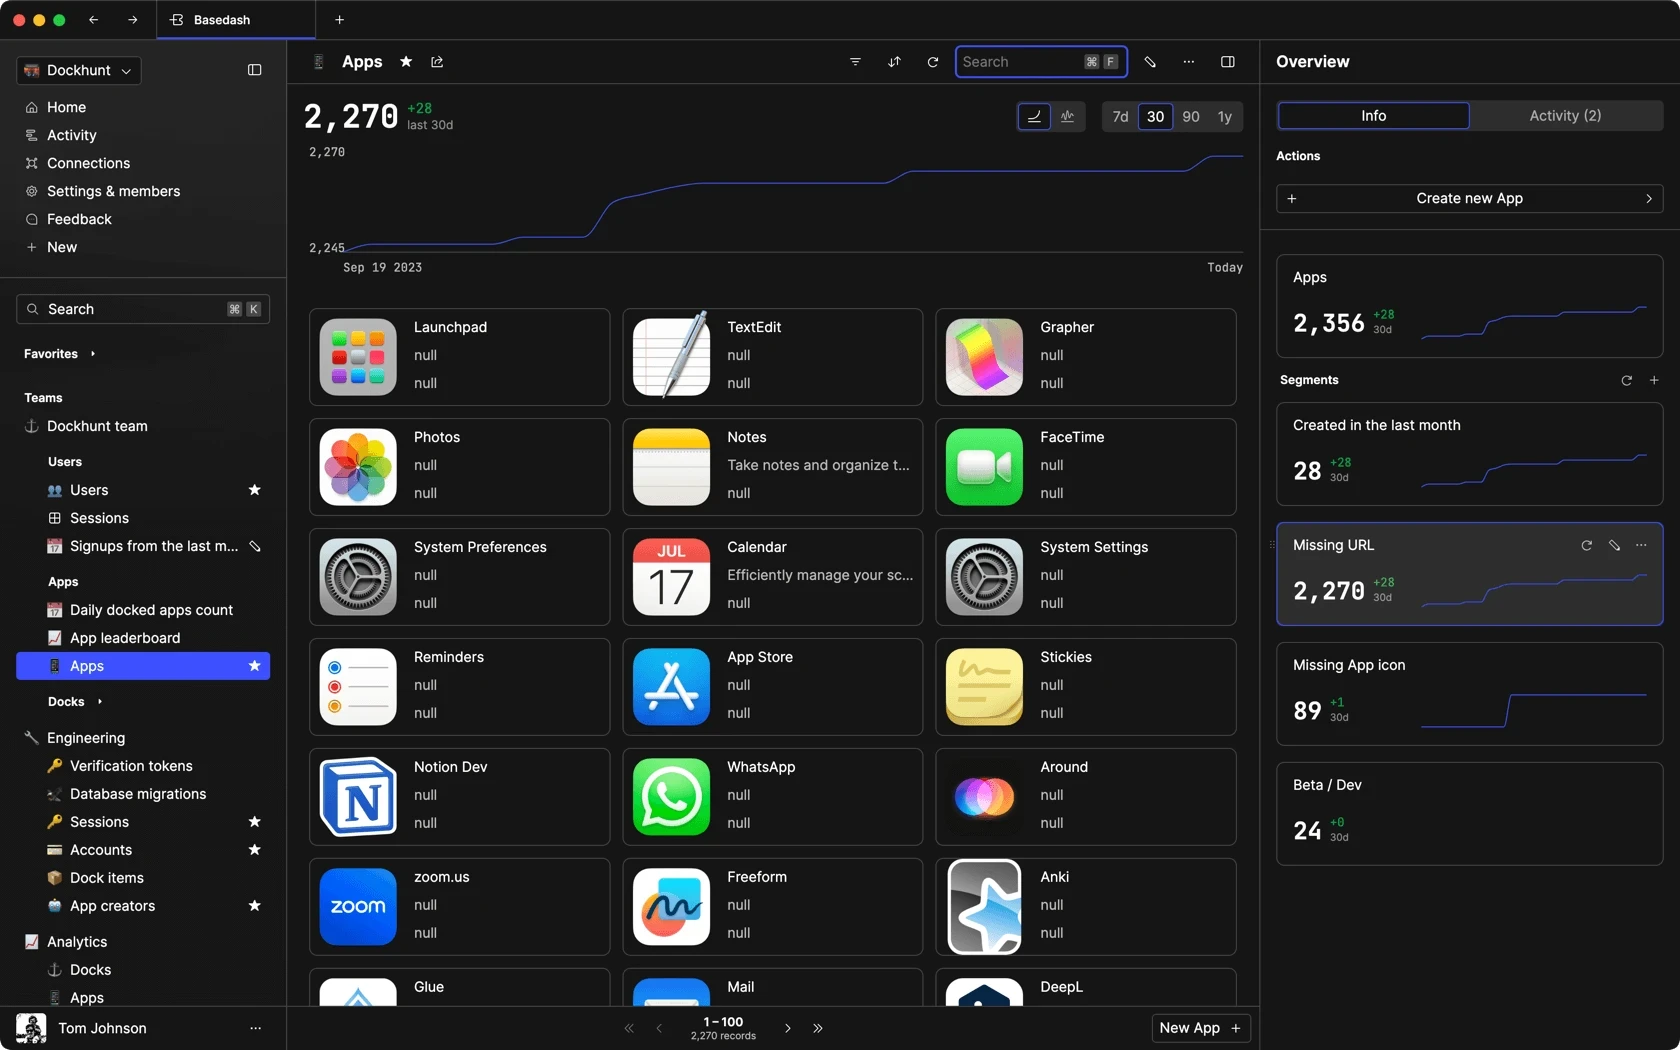
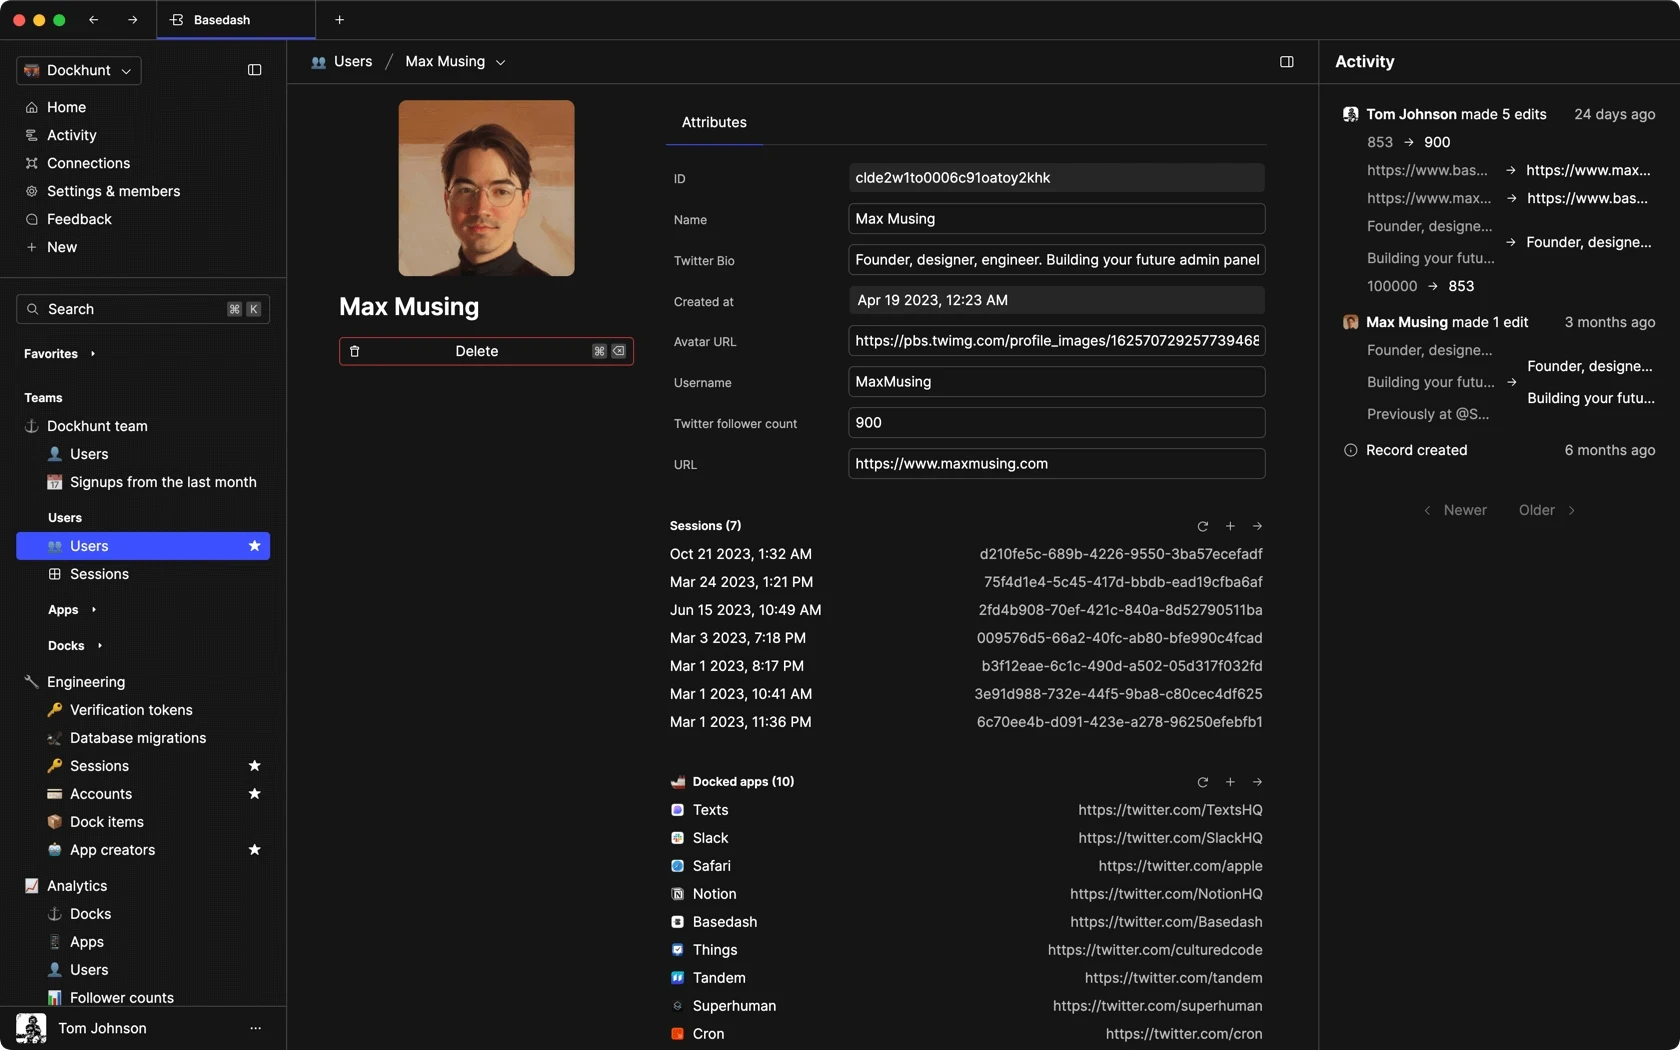
While this guide focused on setting up a TypeScript Electron React app, you may also want to integrate with databases or external services. For a quick and efficient way to set up an admin panel for managing your database content, consider using Basedash. It helps you view and edit data, share access with your team, write SQL queries with AI assistance, and create data-driven charts and dashboards. Integrating such a tool can save you a significant amount of time and effort in application development.
TOC
October 27, 2023
Building a TypeScript Electron React app allows you to harness the power of React for UI development, TypeScript for type-safety, and Electron for cross-platform desktop applications.
Setting up your project
Start by initializing a new Node.js project and installing necessary dependencies.
mkdir electron-ts-react-app && cd electron-ts-react-app
npm init -y
npm install --save react react-dom electron typescript @types/react @types/react-dom
npm install --save-dev webpack webpack-cli webpack-dev-server ts-loader html-webpack-plugin @types/webpack @types/webpack-dev-server
Configuring TypeScript
Create a tsconfig.json file in the root of your project to configure TypeScript.
{
  "compilerOptions": {
    "target": "es6",
    "module": "commonjs",
    "jsx": "react",
    "outDir": "dist",
    "strict": true,
    "esModuleInterop": true,
    "skipLibCheck": true,
    "forceConsistentCasingInFileNames": true
  },
  "include": [
    "src/**/*.ts",
    "src/**/*.tsx"
  ],
  "exclude": [
    "node_modules"
  ]
}
Setting up Webpack
Webpack will bundle your TypeScript and React code. Create a webpack.config.js in the root of your project.
const path = require('path');
const HtmlWebpackPlugin = require('html-webpack-plugin');

module.exports = {
  entry: './src/index.tsx',
  module: {
    rules: [
      {
        test: /\\.tsx?$/,
        use: 'ts-loader',
        exclude: /node_modules/
      }
    ]
  },
  resolve: {
    extensions: ['.tsx', '.ts', '.js']
  },
  output: {
    filename: 'bundle.js',
    path: path.resolve(__dirname, 'dist')
  },
  plugins: [
    new HtmlWebpackPlugin({
      template: './src/index.html'
    })
  ]
};
Creating the app structure
Organize your project with this structure:
electron-ts-react-app/
|-- src/
    |-- index.tsx
    |-- index.html
|-- main.js
|-- package.json
|-- tsconfig.json
|-- webpack.config.js
In src/index.html:
<!DOCTYPE html>
<html lang="en">
<head>
    <meta charset="UTF-8">
    <meta name="viewport" content="width=device-width, initial-scale=1.0">
    <title>Electron TypeScript React App</title>
</head>
<body>
    <div id="app"></div>
</body>
</html>
In src/index.tsx:
import React from 'react';
import ReactDOM from 'react-dom';

const App = () => {
  return <h1>Hello Electron TypeScript React App!</h1>;
};

ReactDOM.render(<App />, document.getElementById('app'));
You could ship faster.
Imagine the time you'd save if you never had to build another internal tool, write a SQL report, or manage another admin panel again. Basedash is built by internal tool builders, for internal tool builders. Our mission is to change the way developers work, so you can focus on building your product.
Setting up Electron
In your main.js:
const { app, BrowserWindow } = require('electron');
const path = require('path');

let mainWindow;

function createWindow() {
  mainWindow = new BrowserWindow({
    width: 800,
    height: 600,
    webPreferences: {
      nodeIntegration: true
    }
  });

  mainWindow.loadFile(path.join(__dirname, 'dist/index.html'));
}

app.whenReady().then(createWindow);

app.on('window-all-closed', () => {
  if (process.platform !== 'darwin') app.quit();
});

app.on('activate', () => {
  if (mainWindow === null) createWindow();
});
NPM scripts
In your package.json, add the following scripts:
"scripts": {
  "start": "webpack-dev-server --mode development",
  "build": "webpack --mode production",
  "electron-start": "electron ."
}
Running your app
First, compile and bundle your React code:
npm run build
Then, run your Electron app:
npm run electron-start
You should now see an Electron window displaying the message "Hello Electron TypeScript React App!"
Integrating with databases and external services
While this guide focused on setting up a TypeScript Electron React app, you may also want to integrate with databases or external services. For a quick and efficient way to set up an admin panel for managing your database content, consider using Basedash. It helps you view and edit data, share access with your team, write SQL queries with AI assistance, and create data-driven charts and dashboards. Integrating such a tool can save you a significant amount of time and effort in application development.
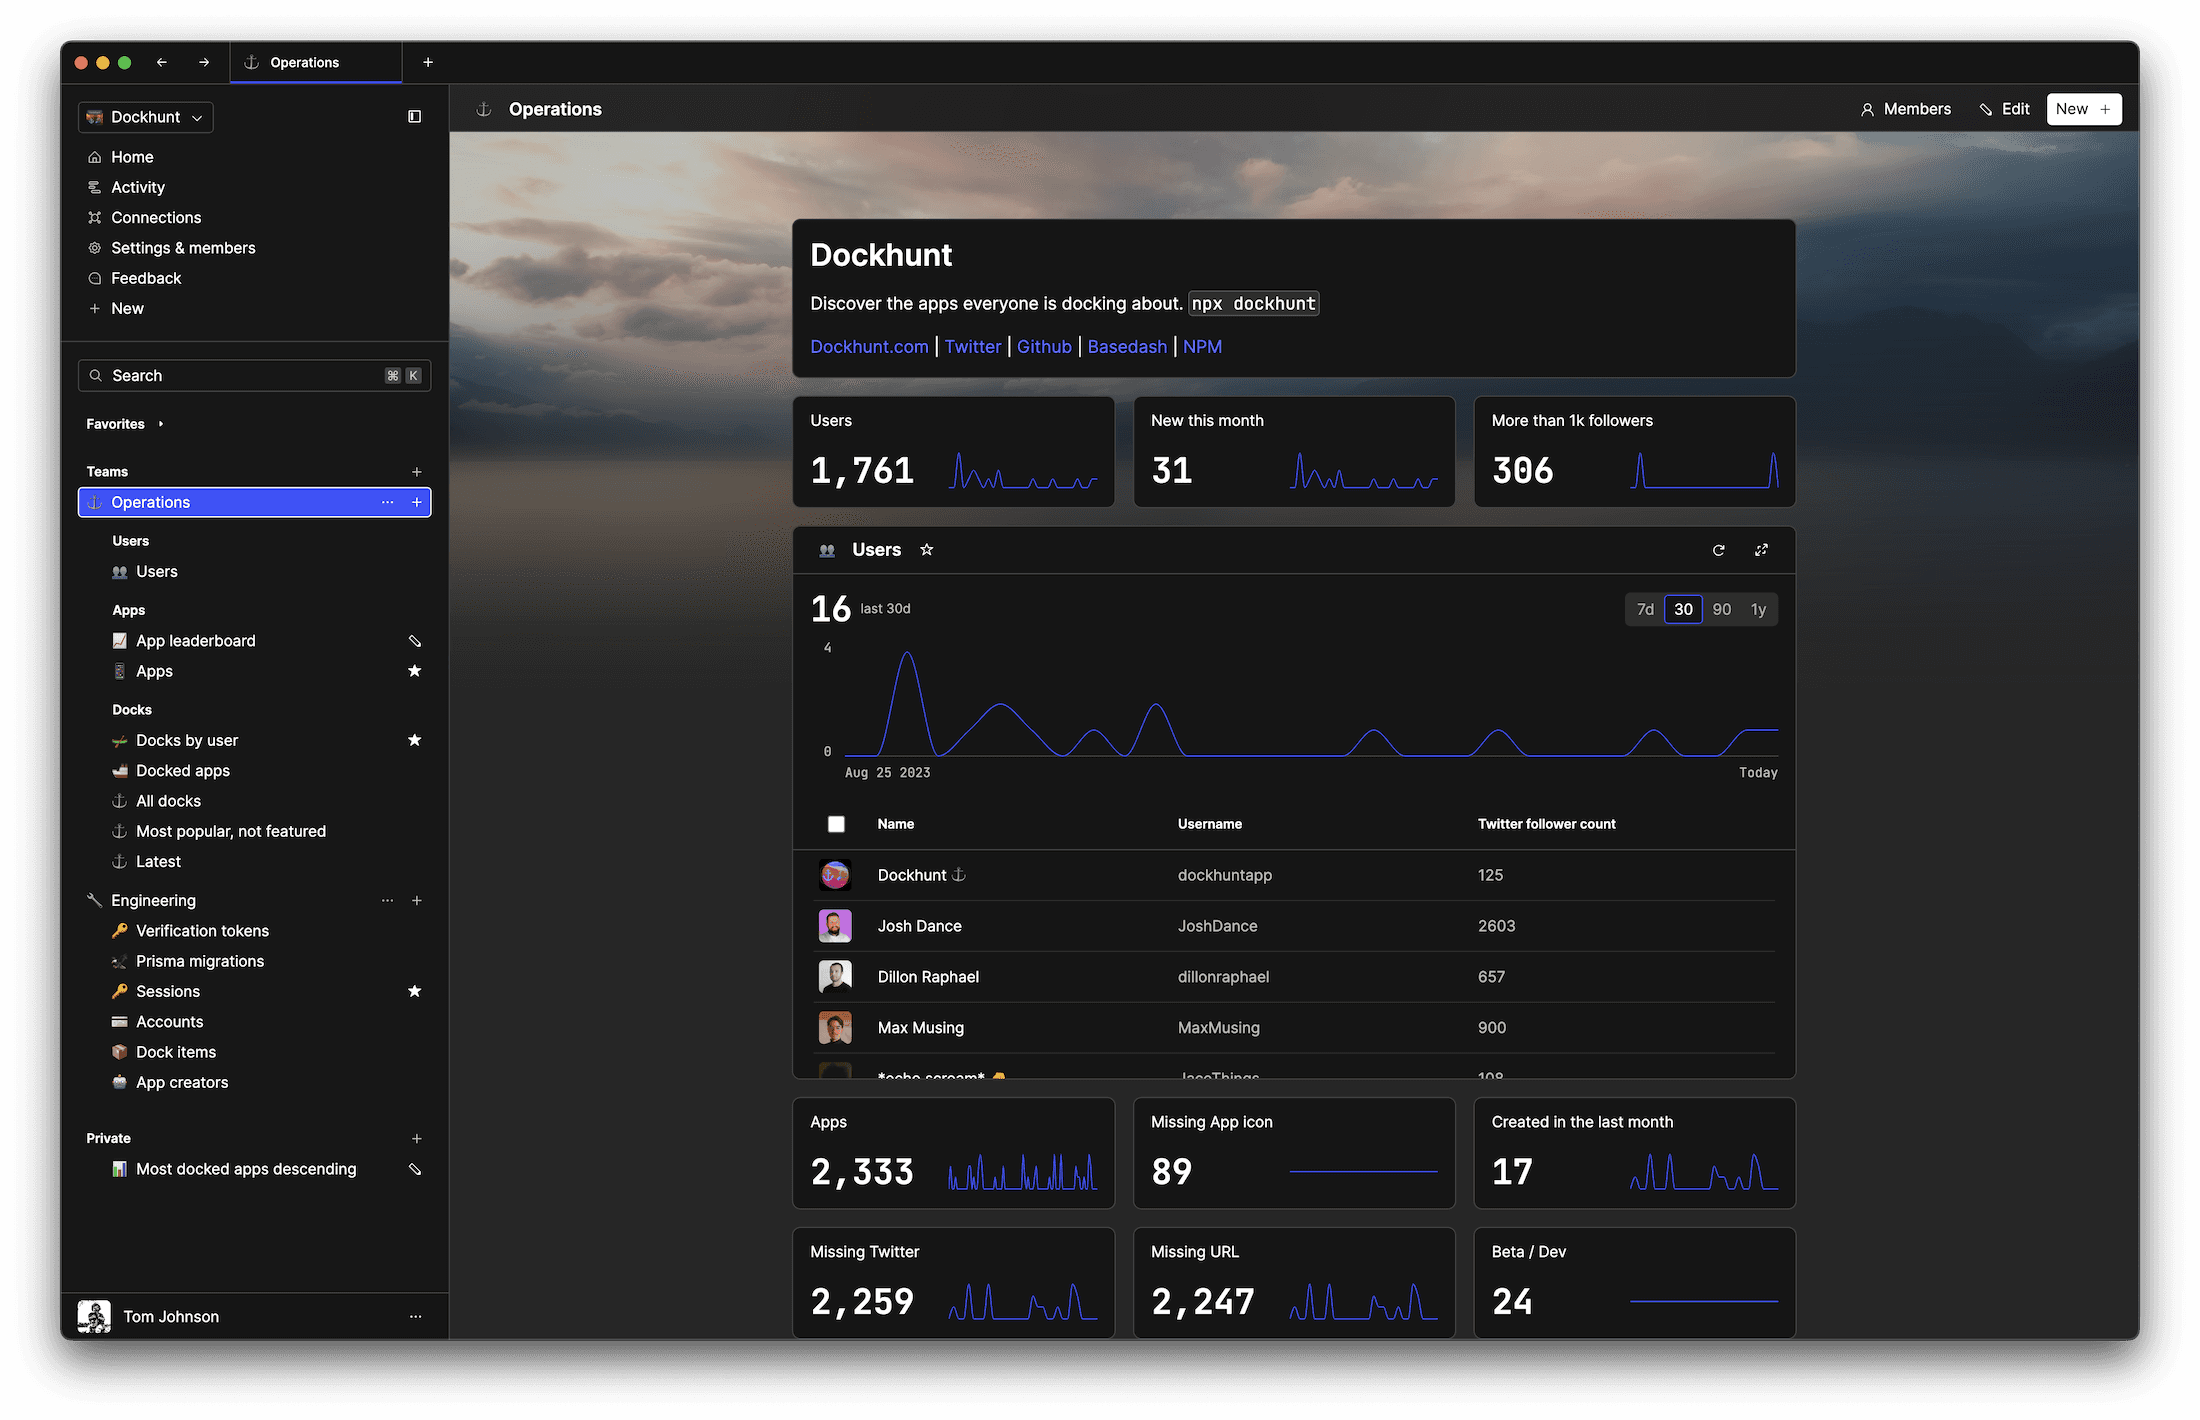
What is Basedash?
What is Basedash?
What is Basedash?
Ship faster, worry less with Basedash
Ship faster, worry less with Basedash
You're busy enough with product work to be weighed down building, maintaining, scoping and developing internal apps and admin panels. Forget all of that, and give your team the admin panel that you don't have to build. Launch in less time than it takes to run a standup.
You're busy enough with product work to be weighed down building, maintaining, scoping and developing internal apps and admin panels. Forget all of that, and give your team the admin panel that you don't have to build. Launch in less time than it takes to run a standup.
You're busy enough with product work to be weighed down building, maintaining, scoping and developing internal apps and admin panels. Forget all of that, and give your team the admin panel that you don't have to build. Launch in less time than it takes to run a standup.
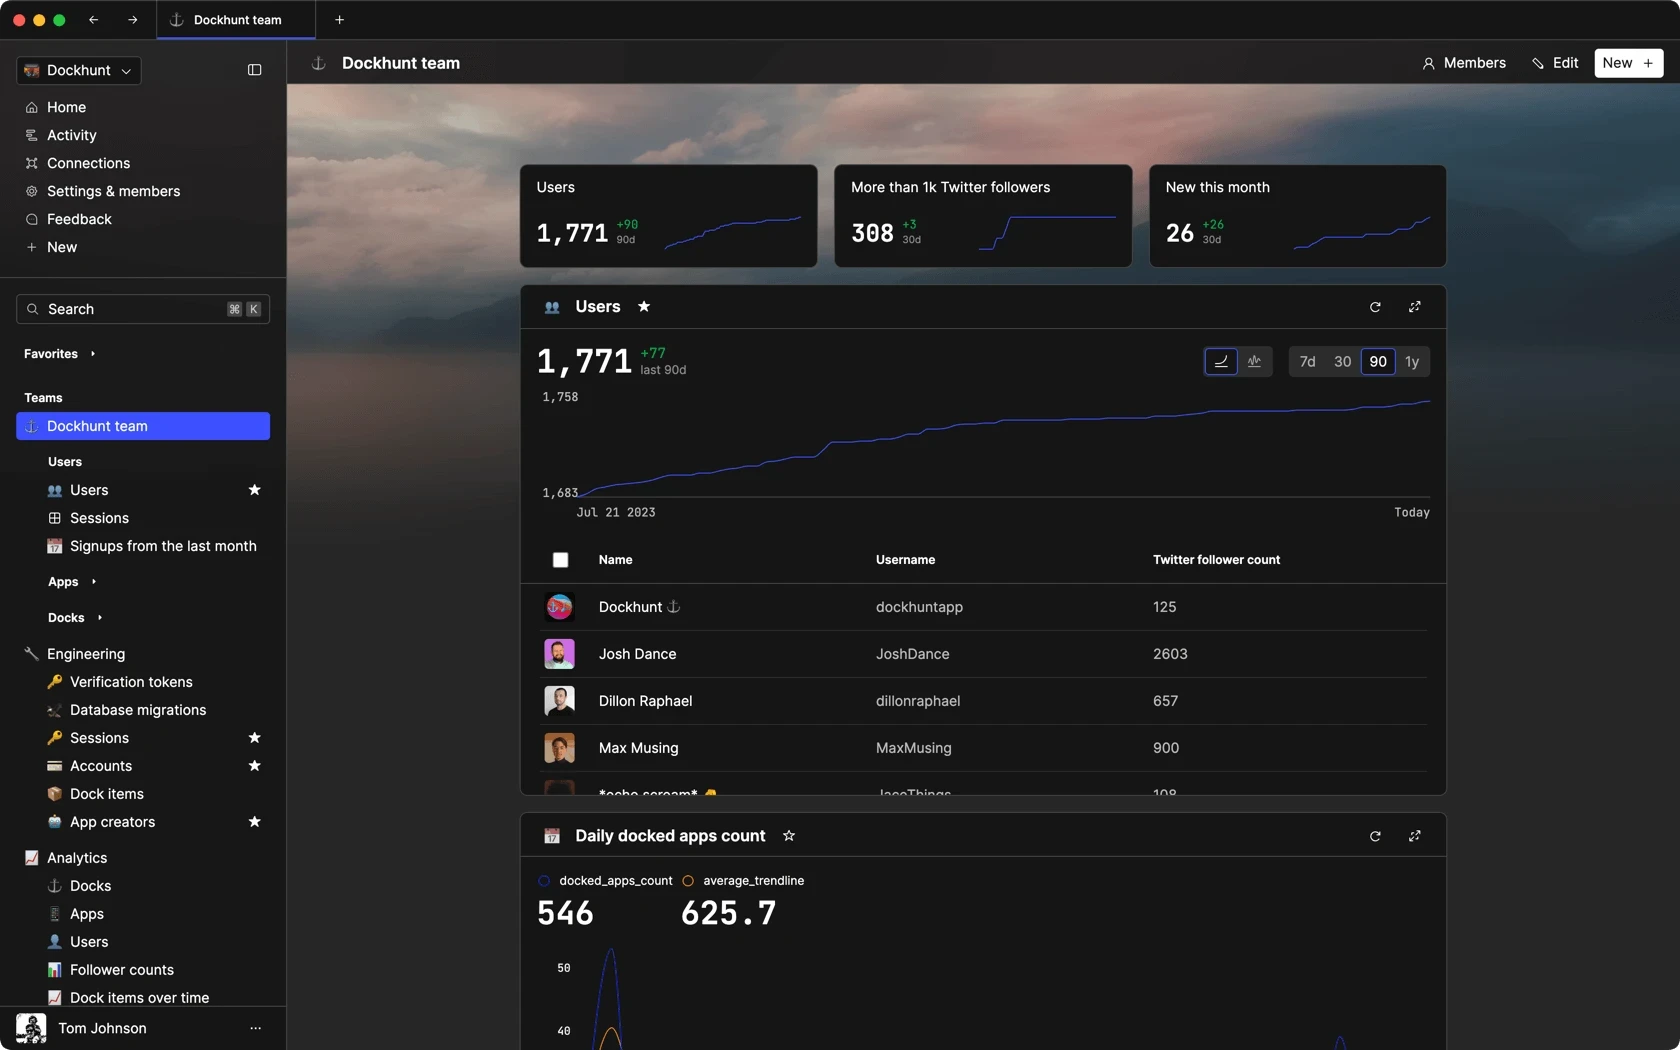
Dashboards and charts
Edit data, create records, oversee how your product is running without the need to build or manage custom software.
USER CRM
ADMIN PANEL
SQL COMPOSER WITH AI
Related posts
Related posts
Related posts

How to turn webpages into editable canvases with a JavaScript bookmarklet
Kris Lachance

How to fix the "not all code paths return a value" issue in TypeScript
Kris Lachance

Working with WebSockets in Node.js using TypeScript
Kris Lachance

Type Annotations Can Only Be Used in TypeScript Files
Kris Lachance

Guide to TypeScript Recursive Type
Kris Lachance

How to Configure Knex.js with TypeScript
Kris Lachance