
How to Connect MySQL to Visual Studio
November 13, 2023
Connecting MySQL to Visual Studio involves setting up a MySQL database connection within the Visual Studio environment. This will let you manage MySQL databases directly through Visual Studio, streamlining database management and development within a single integrated environment.
Understanding the requirements
Before connecting MySQL to Visual Studio, ensure you have the following:
- Visual Studio installed on your system.
- MySQL Server and MySQL Workbench installed.
- MySQL Connector/Net, a fully managed ADO.NET driver for MySQL.
Installing MySQL Connector/Net
MySQL Connector/Net is essential for enabling communication between MySQL and Visual Studio.
- Download MySQL Connector/Net from the official MySQL website.
- Run the installer and follow the prompts to install the connector.
Configuring MySQL database
Set up your MySQL database:
CREATE DATABASE myDatabase;
USE myDatabase;
-- Add your database tables and data here
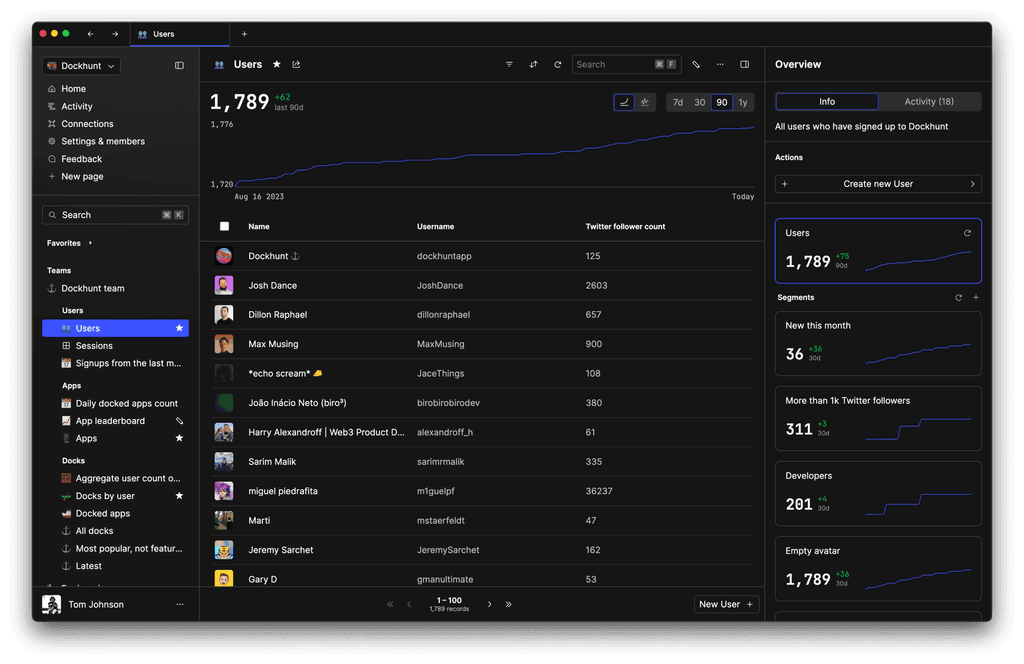
You could ship faster.
Imagine the time you'd save if you never had to build another internal tool, write a SQL report, or manage another admin panel again. Basedash is built by internal tool builders, for internal tool builders. Our mission is to change the way developers work, so you can focus on building your product.
Integrating MySQL with Visual Studio
Open Visual Studio and follow these steps:
Adding a new data connection
- Go to
View>Server Explorer. - Right-click on
Data Connectionsand selectAdd Connection.... - If MySQL Database is not in the list of data sources, click
Changeand select it.
Configuring the connection properties
- In the
Connection Propertiesdialog, enter your MySQL server's details:- Server name: typically
localhostif the server is on your local machine. - Port number: default is
3306. - User name and password: credentials for your MySQL server.
- Server name: typically
- Select the database you want to connect to from the dropdown menu.
- Test the connection to ensure everything is set up correctly.
Accessing the database
Once connected, you can access and manage your MySQL database through the Server Explorer in Visual Studio. This includes creating tables, running queries, and modifying data.
Using the database in a Visual Studio project
You can now incorporate the MySQL database into your Visual Studio projects:
using MySql.Data.MySqlClient;

string connectionString = "server=localhost;port=3306;user=root;password=your_password;database=myDatabase";
using (var connection = new MySqlConnection(connectionString))
{
    connection.Open();
    // Perform database operations
}
Common issues
- If you encounter connection issues, check your MySQL server status and ensure that the MySQL service is running.
- Verify that the MySQL port is open and not blocked by a firewall.
- Ensure that the MySQL user has appropriate permissions for the database.
Check out Basedash
Check out Basedash for database management. It allows you to generate an admin panel, share access with your team, write and share SQL queries, and create charts and dashboards from your data.
TOC
November 13, 2023
Connecting MySQL to Visual Studio involves setting up a MySQL database connection within the Visual Studio environment. This will let you manage MySQL databases directly through Visual Studio, streamlining database management and development within a single integrated environment.
Understanding the requirements
Before connecting MySQL to Visual Studio, ensure you have the following:
- Visual Studio installed on your system.
- MySQL Server and MySQL Workbench installed.
- MySQL Connector/Net, a fully managed ADO.NET driver for MySQL.
Installing MySQL Connector/Net
MySQL Connector/Net is essential for enabling communication between MySQL and Visual Studio.
- Download MySQL Connector/Net from the official MySQL website.
- Run the installer and follow the prompts to install the connector.
Configuring MySQL database
Set up your MySQL database:
CREATE DATABASE myDatabase;
USE myDatabase;
-- Add your database tables and data here
You could ship faster.
Imagine the time you'd save if you never had to build another internal tool, write a SQL report, or manage another admin panel again. Basedash is built by internal tool builders, for internal tool builders. Our mission is to change the way developers work, so you can focus on building your product.

Integrating MySQL with Visual Studio
Open Visual Studio and follow these steps:
Adding a new data connection
- Go to
View>Server Explorer. - Right-click on
Data Connectionsand selectAdd Connection.... - If MySQL Database is not in the list of data sources, click
Changeand select it.
Configuring the connection properties
- In the
Connection Propertiesdialog, enter your MySQL server's details:- Server name: typically
localhostif the server is on your local machine. - Port number: default is
3306. - User name and password: credentials for your MySQL server.
- Server name: typically
- Select the database you want to connect to from the dropdown menu.
- Test the connection to ensure everything is set up correctly.
Accessing the database
Once connected, you can access and manage your MySQL database through the Server Explorer in Visual Studio. This includes creating tables, running queries, and modifying data.
Using the database in a Visual Studio project
You can now incorporate the MySQL database into your Visual Studio projects:
using MySql.Data.MySqlClient;

string connectionString = "server=localhost;port=3306;user=root;password=your_password;database=myDatabase";
using (var connection = new MySqlConnection(connectionString))
{
    connection.Open();
    // Perform database operations
}
Common issues
- If you encounter connection issues, check your MySQL server status and ensure that the MySQL service is running.
- Verify that the MySQL port is open and not blocked by a firewall.
- Ensure that the MySQL user has appropriate permissions for the database.
Check out Basedash
Check out Basedash for database management. It allows you to generate an admin panel, share access with your team, write and share SQL queries, and create charts and dashboards from your data.
November 13, 2023
Connecting MySQL to Visual Studio involves setting up a MySQL database connection within the Visual Studio environment. This will let you manage MySQL databases directly through Visual Studio, streamlining database management and development within a single integrated environment.
Understanding the requirements
Before connecting MySQL to Visual Studio, ensure you have the following:
- Visual Studio installed on your system.
- MySQL Server and MySQL Workbench installed.
- MySQL Connector/Net, a fully managed ADO.NET driver for MySQL.
Installing MySQL Connector/Net
MySQL Connector/Net is essential for enabling communication between MySQL and Visual Studio.
- Download MySQL Connector/Net from the official MySQL website.
- Run the installer and follow the prompts to install the connector.
Configuring MySQL database
Set up your MySQL database:
CREATE DATABASE myDatabase;
USE myDatabase;
-- Add your database tables and data here
You could ship faster.
Imagine the time you'd save if you never had to build another internal tool, write a SQL report, or manage another admin panel again. Basedash is built by internal tool builders, for internal tool builders. Our mission is to change the way developers work, so you can focus on building your product.

Integrating MySQL with Visual Studio
Open Visual Studio and follow these steps:
Adding a new data connection
- Go to
View>Server Explorer. - Right-click on
Data Connectionsand selectAdd Connection.... - If MySQL Database is not in the list of data sources, click
Changeand select it.
Configuring the connection properties
- In the
Connection Propertiesdialog, enter your MySQL server's details:- Server name: typically
localhostif the server is on your local machine. - Port number: default is
3306. - User name and password: credentials for your MySQL server.
- Server name: typically
- Select the database you want to connect to from the dropdown menu.
- Test the connection to ensure everything is set up correctly.
Accessing the database
Once connected, you can access and manage your MySQL database through the Server Explorer in Visual Studio. This includes creating tables, running queries, and modifying data.
Using the database in a Visual Studio project
You can now incorporate the MySQL database into your Visual Studio projects:
using MySql.Data.MySqlClient;

string connectionString = "server=localhost;port=3306;user=root;password=your_password;database=myDatabase";
using (var connection = new MySqlConnection(connectionString))
{
    connection.Open();
    // Perform database operations
}
Common issues
- If you encounter connection issues, check your MySQL server status and ensure that the MySQL service is running.
- Verify that the MySQL port is open and not blocked by a firewall.
- Ensure that the MySQL user has appropriate permissions for the database.
Check out Basedash
Check out Basedash for database management. It allows you to generate an admin panel, share access with your team, write and share SQL queries, and create charts and dashboards from your data.
What is Basedash?
What is Basedash?
What is Basedash?
Basedash is the best MySQL admin panel
Basedash is the best MySQL admin panel
Basedash is the best MySQL admin panel
If you're building with MySQL, you need Basedash. It gives you an instantly generated admin panel to understand, query, build dashboards, edit, and share access to your data.
If you're building with MySQL, you need Basedash. It gives you an instantly generated admin panel to understand, query, build dashboards, edit, and share access to your data.
If you're building with MySQL, you need Basedash. It gives you an instantly generated admin panel to understand, query, build dashboards, edit, and share access to your data.
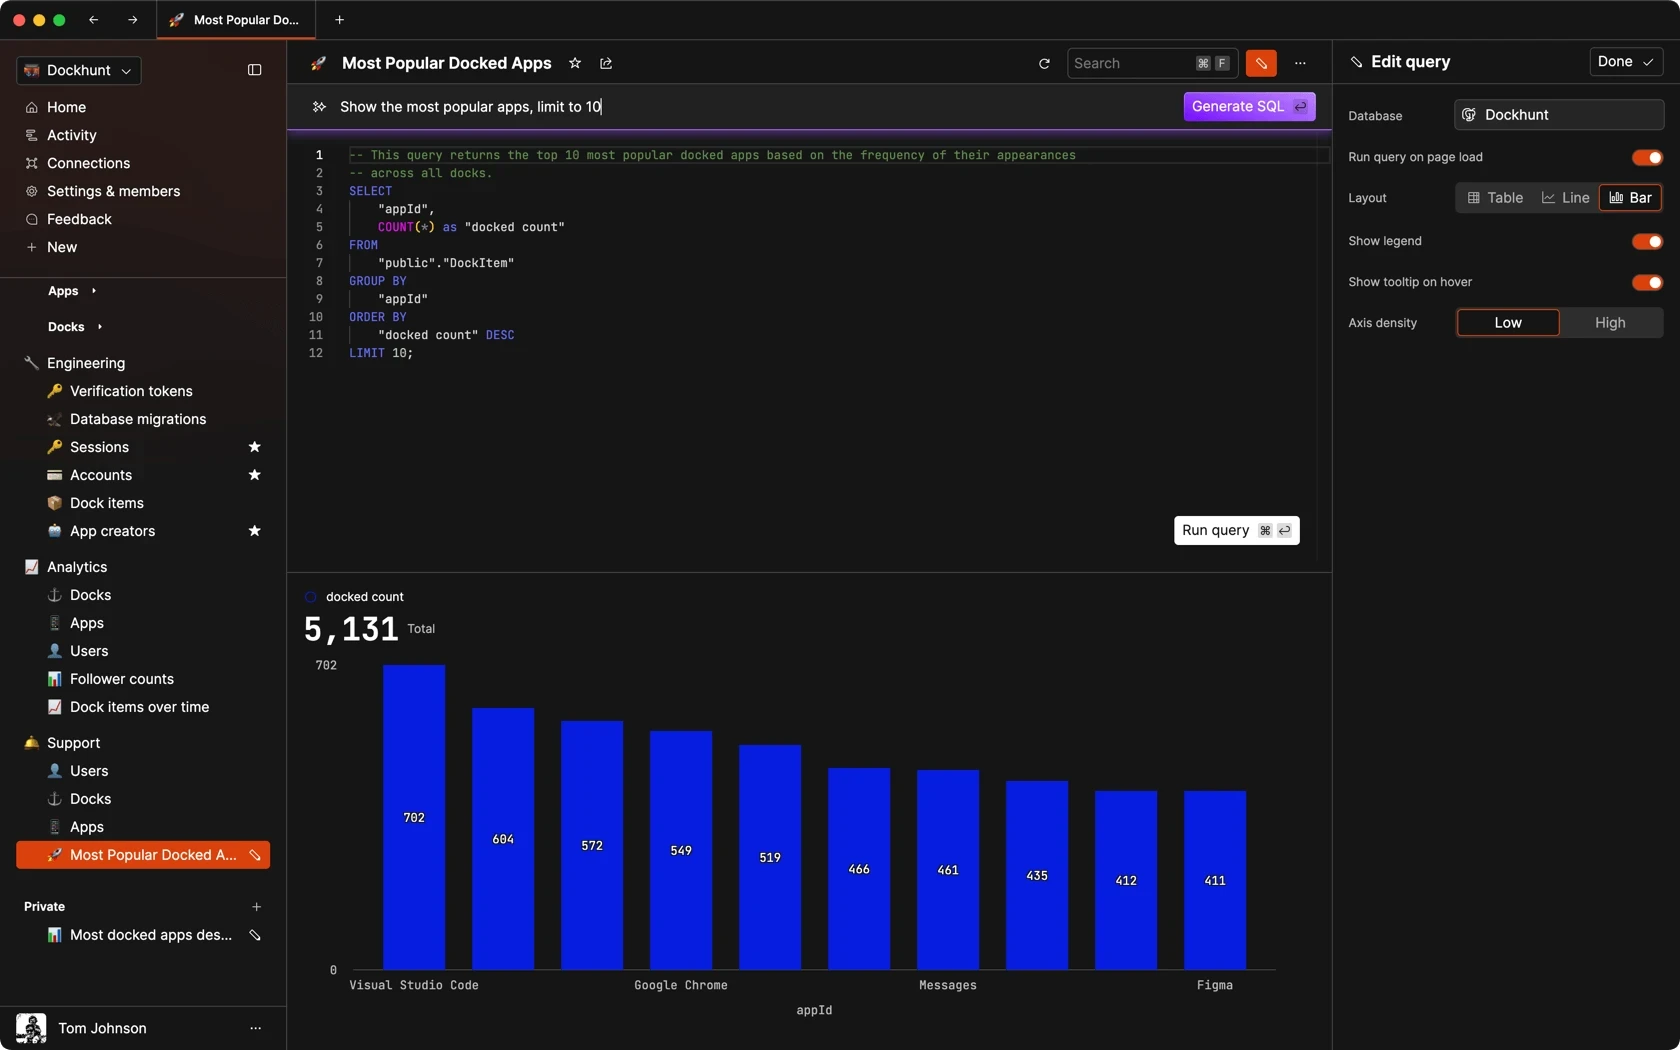
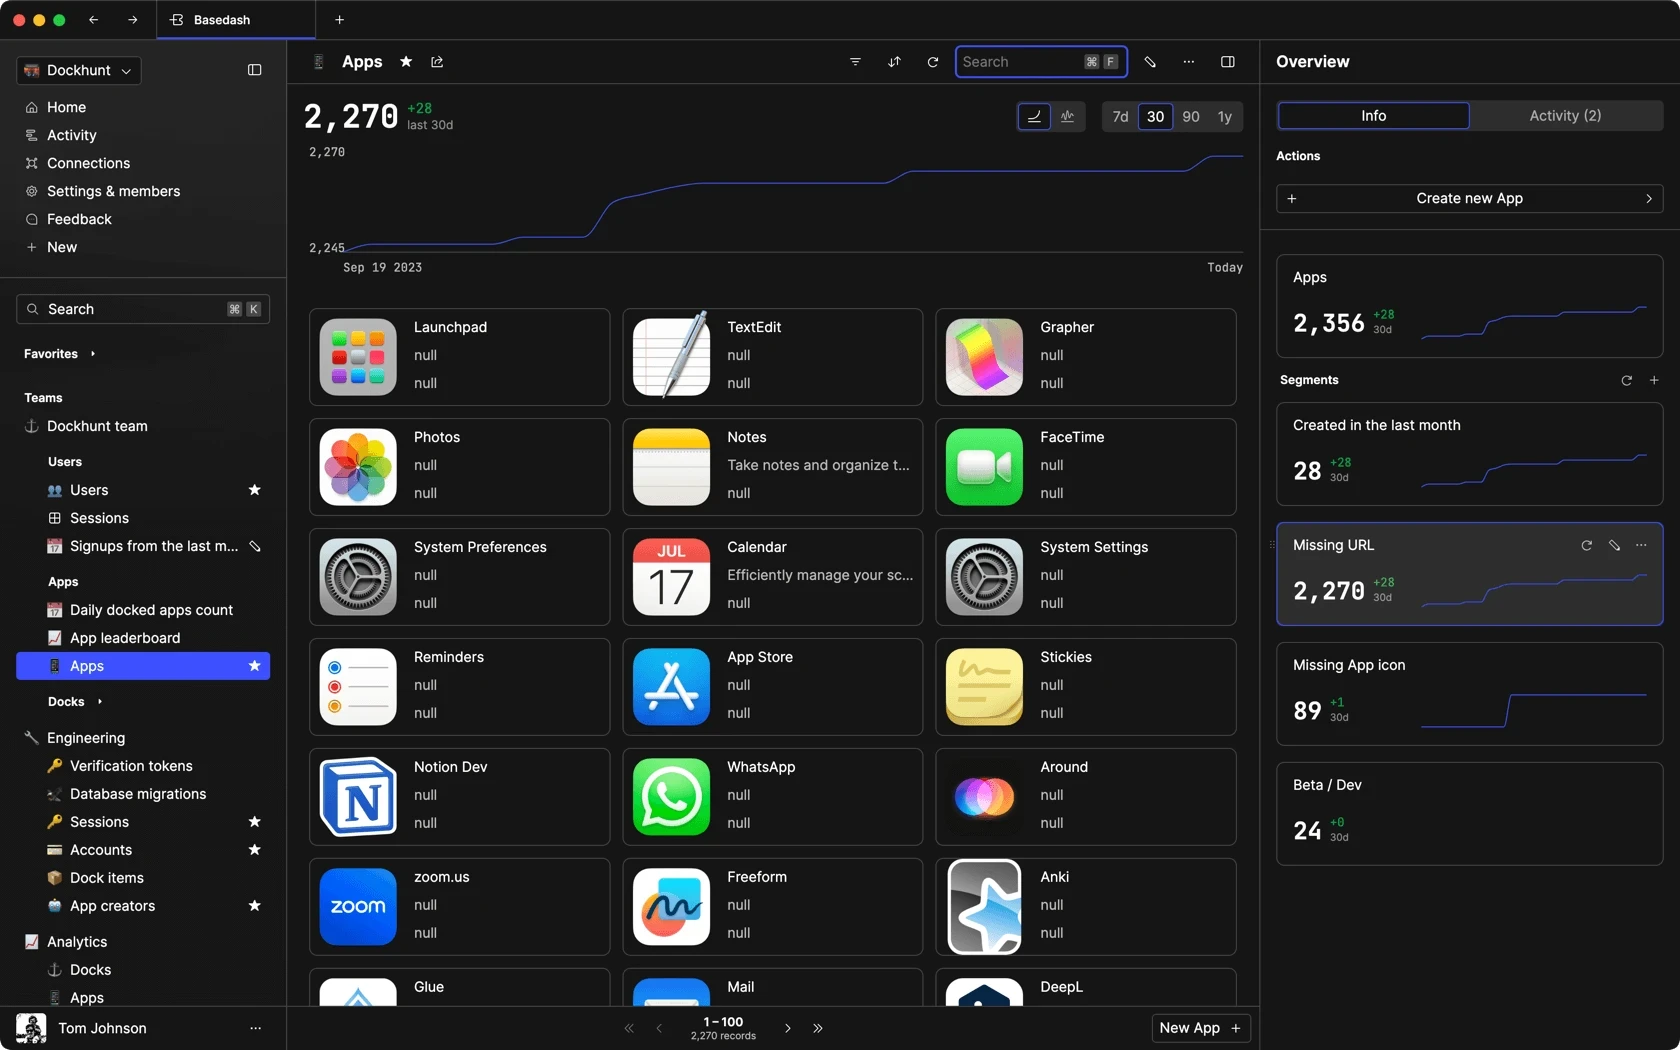
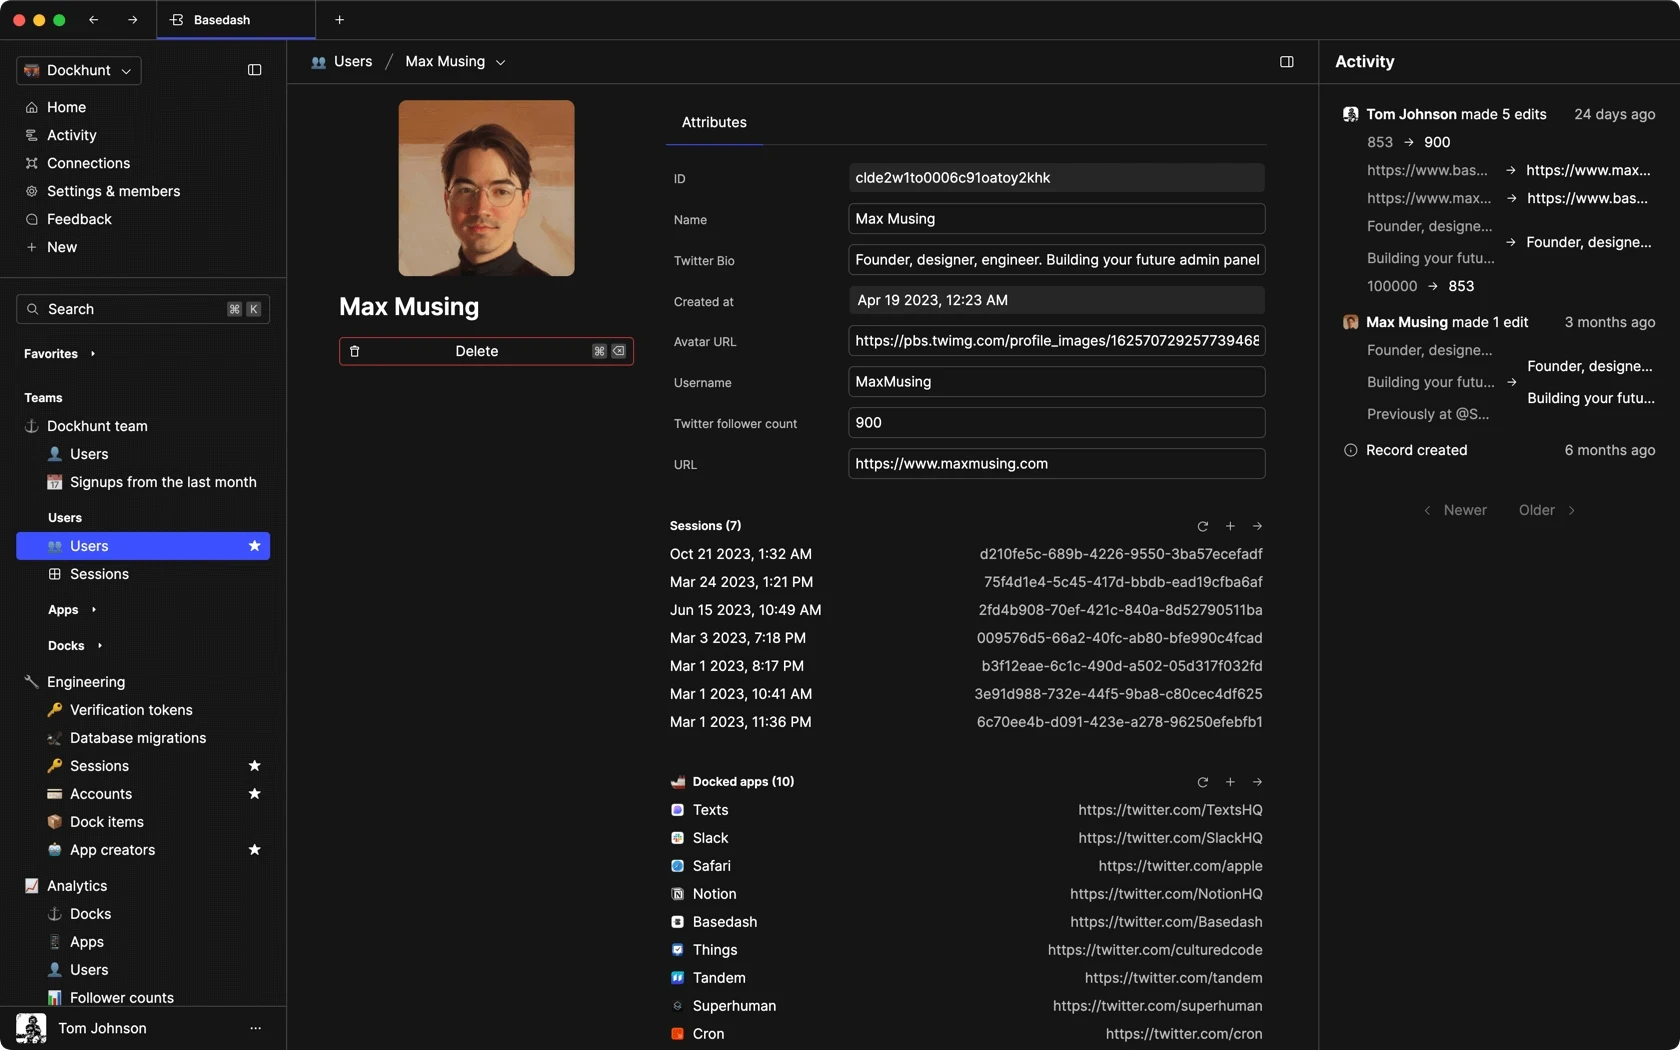
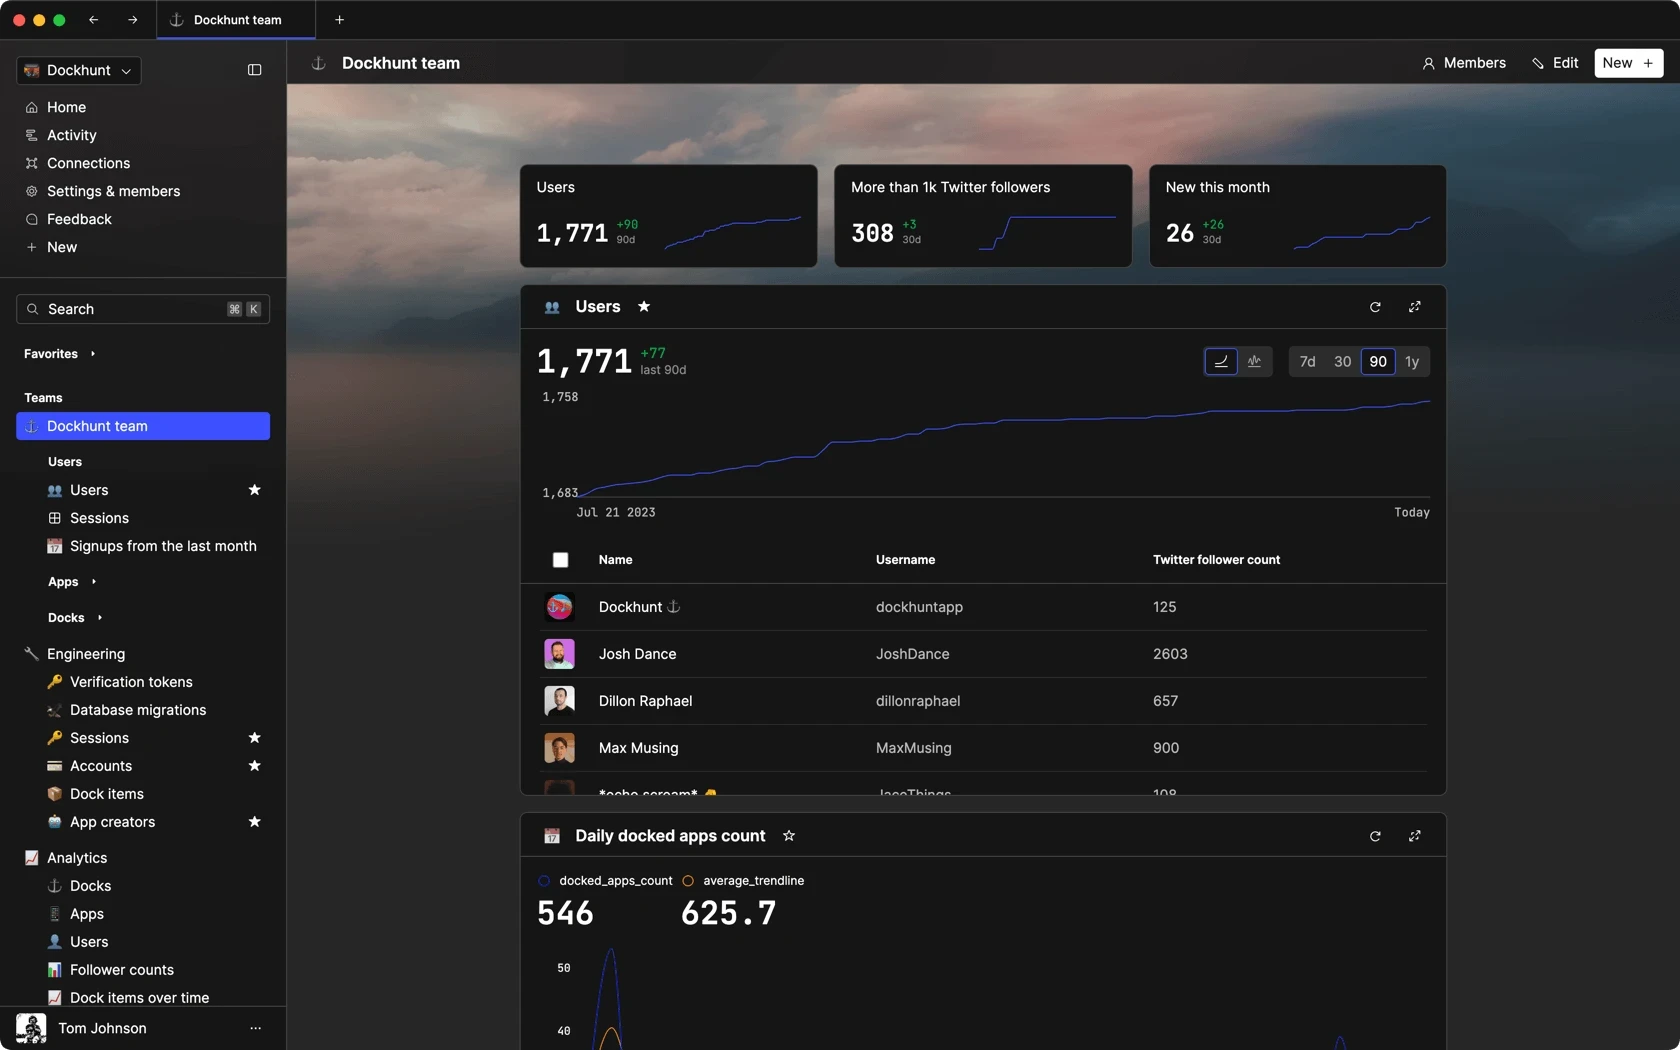
Dashboards and charts
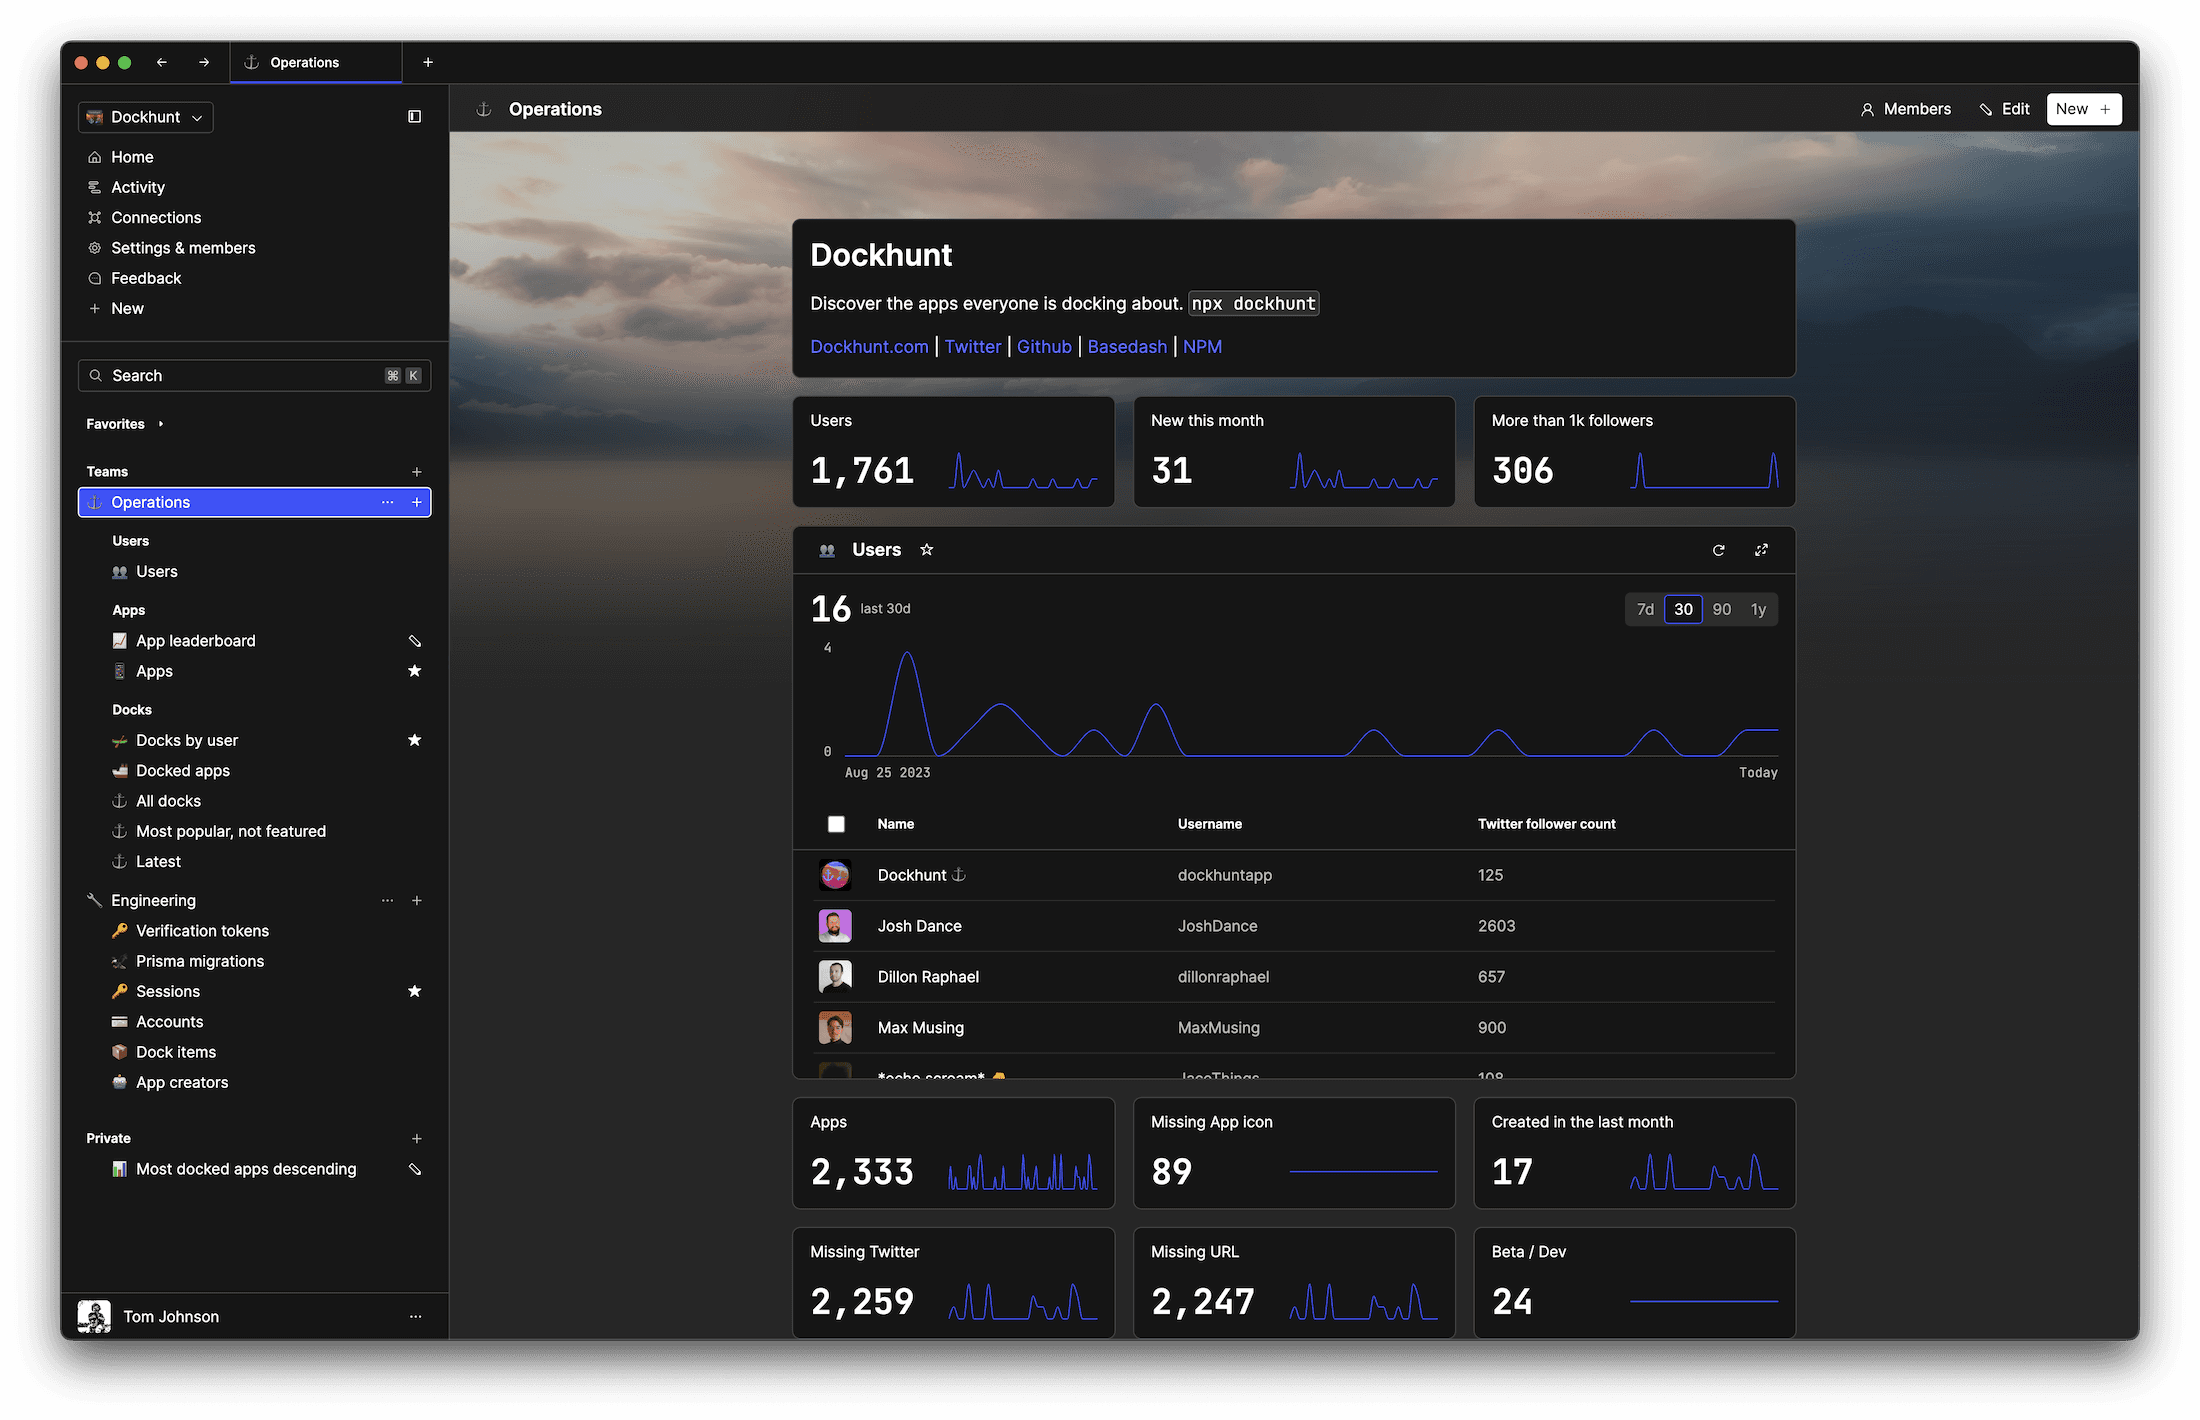
Edit data, create records, oversee how your product is running without the need to build or manage custom software.
USER CRM
ADMIN PANEL
SQL COMPOSER WITH AI
Related posts
Related posts
Related posts


How to Add Columns to MySQL Tables with ALTER TABLE
Robert Cooper


How to Add Columns to Your MySQL Table
Max Musing


Pivot Tables in MySQL
Robert Cooper


How to Rename a Table in MySQL
Max Musing


How to Optimize MySQL Tables for Better Performance
Robert Cooper


How to Display MySQL Table Schema: A Guide
Jeremy Sarchet
