
How to Install and Uninstall MySQL with Brew
November 10, 2023
Brew, a popular package manager for macOS, simplifies the process of installing and managing software like MySQL, a widely-used open-source relational database management system. This guide covers the installation and uninstallation of MySQL using Brew, including the MySQL client and Workbench, in a terminal environment.
Installing MySQL with Brew
Install Homebrew
If Homebrew is not already installed, open the terminal and run:
/bin/bash -c "$(curl -fsSL <https://raw.githubusercontent.com/Homebrew/install/HEAD/install.sh>)"
Install MySQL
To install MySQL using Brew:
brew install mysql
Start MySQL Service
Start the MySQL service:
brew services start mysql
Secure MySQL Installation
Run the security script to secure your MySQL installation:
mysql_secure_installation
Install MySQL Workbench (Optional)
For a GUI interface, install MySQL Workbench:
brew install --cask mysqlworkbench
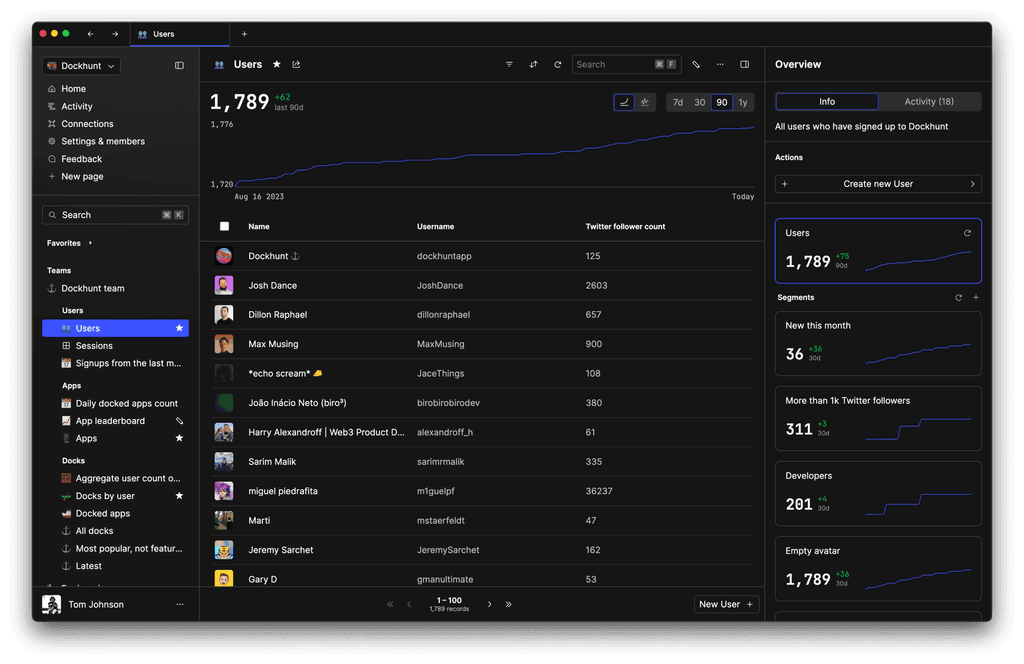
You could ship faster.
Imagine the time you'd save if you never had to build another internal tool, write a SQL report, or manage another admin panel again. Basedash is built by internal tool builders, for internal tool builders. Our mission is to change the way developers work, so you can focus on building your product.
Uninstalling MySQL with Brew
Stop MySQL Service
Before uninstalling, stop the MySQL service:
brew services stop mysql
Uninstall MySQL
To remove MySQL:
brew uninstall mysql
Remove MySQL Data (Optional)
To completely remove MySQL data:
rm -rf /usr/local/var/mysql
Uninstall MySQL Workbench (Optional)
If MySQL Workbench was installed, uninstall it:
brew uninstall --cask mysqlworkbench
Conclusion
Using Homebrew to manage MySQL on macOS offers a streamlined approach for installation, configuration, and uninstallation. This guide should provide engineers with a clear and concise method for handling MySQL on their systems.
TOC
November 10, 2023
Brew, a popular package manager for macOS, simplifies the process of installing and managing software like MySQL, a widely-used open-source relational database management system. This guide covers the installation and uninstallation of MySQL using Brew, including the MySQL client and Workbench, in a terminal environment.
Installing MySQL with Brew
Install Homebrew
If Homebrew is not already installed, open the terminal and run:
/bin/bash -c "$(curl -fsSL <https://raw.githubusercontent.com/Homebrew/install/HEAD/install.sh>)"
Install MySQL
To install MySQL using Brew:
brew install mysql
Start MySQL Service
Start the MySQL service:
brew services start mysql
Secure MySQL Installation
Run the security script to secure your MySQL installation:
mysql_secure_installation
Install MySQL Workbench (Optional)
For a GUI interface, install MySQL Workbench:
brew install --cask mysqlworkbench
You could ship faster.
Imagine the time you'd save if you never had to build another internal tool, write a SQL report, or manage another admin panel again. Basedash is built by internal tool builders, for internal tool builders. Our mission is to change the way developers work, so you can focus on building your product.

Uninstalling MySQL with Brew
Stop MySQL Service
Before uninstalling, stop the MySQL service:
brew services stop mysql
Uninstall MySQL
To remove MySQL:
brew uninstall mysql
Remove MySQL Data (Optional)
To completely remove MySQL data:
rm -rf /usr/local/var/mysql
Uninstall MySQL Workbench (Optional)
If MySQL Workbench was installed, uninstall it:
brew uninstall --cask mysqlworkbench
Conclusion
Using Homebrew to manage MySQL on macOS offers a streamlined approach for installation, configuration, and uninstallation. This guide should provide engineers with a clear and concise method for handling MySQL on their systems.
November 10, 2023
Brew, a popular package manager for macOS, simplifies the process of installing and managing software like MySQL, a widely-used open-source relational database management system. This guide covers the installation and uninstallation of MySQL using Brew, including the MySQL client and Workbench, in a terminal environment.
Installing MySQL with Brew
Install Homebrew
If Homebrew is not already installed, open the terminal and run:
/bin/bash -c "$(curl -fsSL <https://raw.githubusercontent.com/Homebrew/install/HEAD/install.sh>)"
Install MySQL
To install MySQL using Brew:
brew install mysql
Start MySQL Service
Start the MySQL service:
brew services start mysql
Secure MySQL Installation
Run the security script to secure your MySQL installation:
mysql_secure_installation
Install MySQL Workbench (Optional)
For a GUI interface, install MySQL Workbench:
brew install --cask mysqlworkbench
You could ship faster.
Imagine the time you'd save if you never had to build another internal tool, write a SQL report, or manage another admin panel again. Basedash is built by internal tool builders, for internal tool builders. Our mission is to change the way developers work, so you can focus on building your product.

Uninstalling MySQL with Brew
Stop MySQL Service
Before uninstalling, stop the MySQL service:
brew services stop mysql
Uninstall MySQL
To remove MySQL:
brew uninstall mysql
Remove MySQL Data (Optional)
To completely remove MySQL data:
rm -rf /usr/local/var/mysql
Uninstall MySQL Workbench (Optional)
If MySQL Workbench was installed, uninstall it:
brew uninstall --cask mysqlworkbench
Conclusion
Using Homebrew to manage MySQL on macOS offers a streamlined approach for installation, configuration, and uninstallation. This guide should provide engineers with a clear and concise method for handling MySQL on their systems.
What is Basedash?
What is Basedash?
What is Basedash?
Basedash is the best MySQL admin panel
Basedash is the best MySQL admin panel
Basedash is the best MySQL admin panel
If you're building with MySQL, you need Basedash. It gives you an instantly generated admin panel to understand, query, build dashboards, edit, and share access to your data.
If you're building with MySQL, you need Basedash. It gives you an instantly generated admin panel to understand, query, build dashboards, edit, and share access to your data.
If you're building with MySQL, you need Basedash. It gives you an instantly generated admin panel to understand, query, build dashboards, edit, and share access to your data.
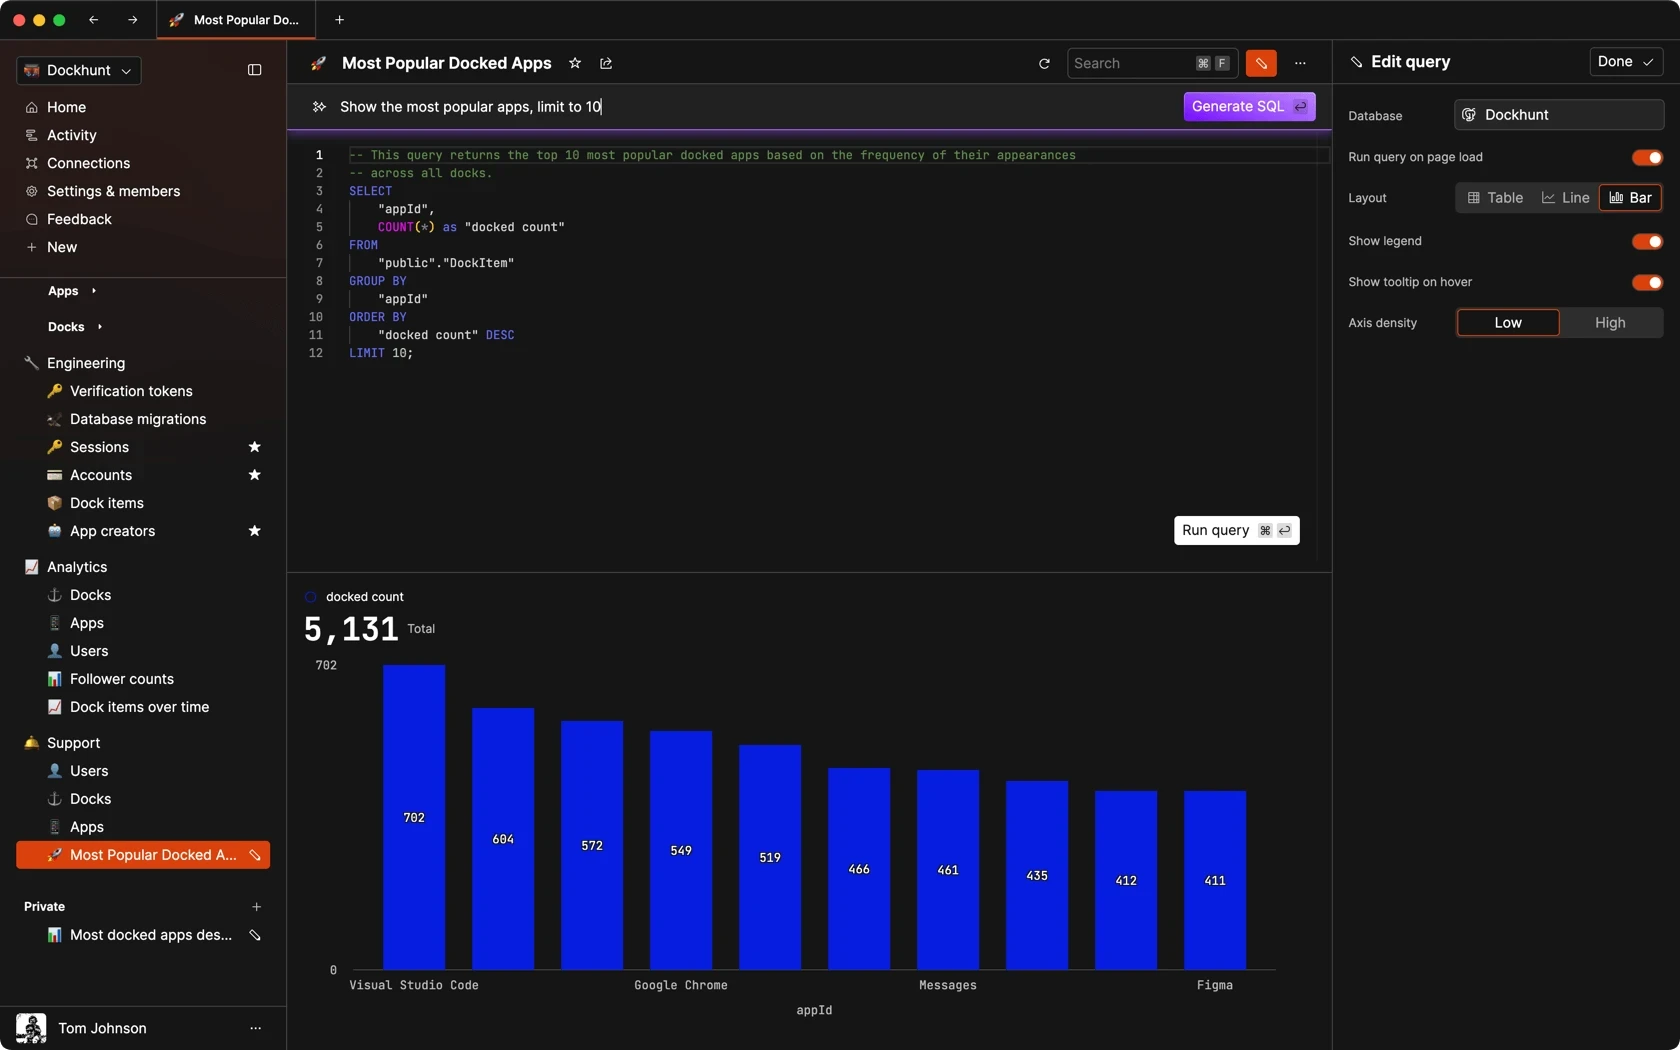
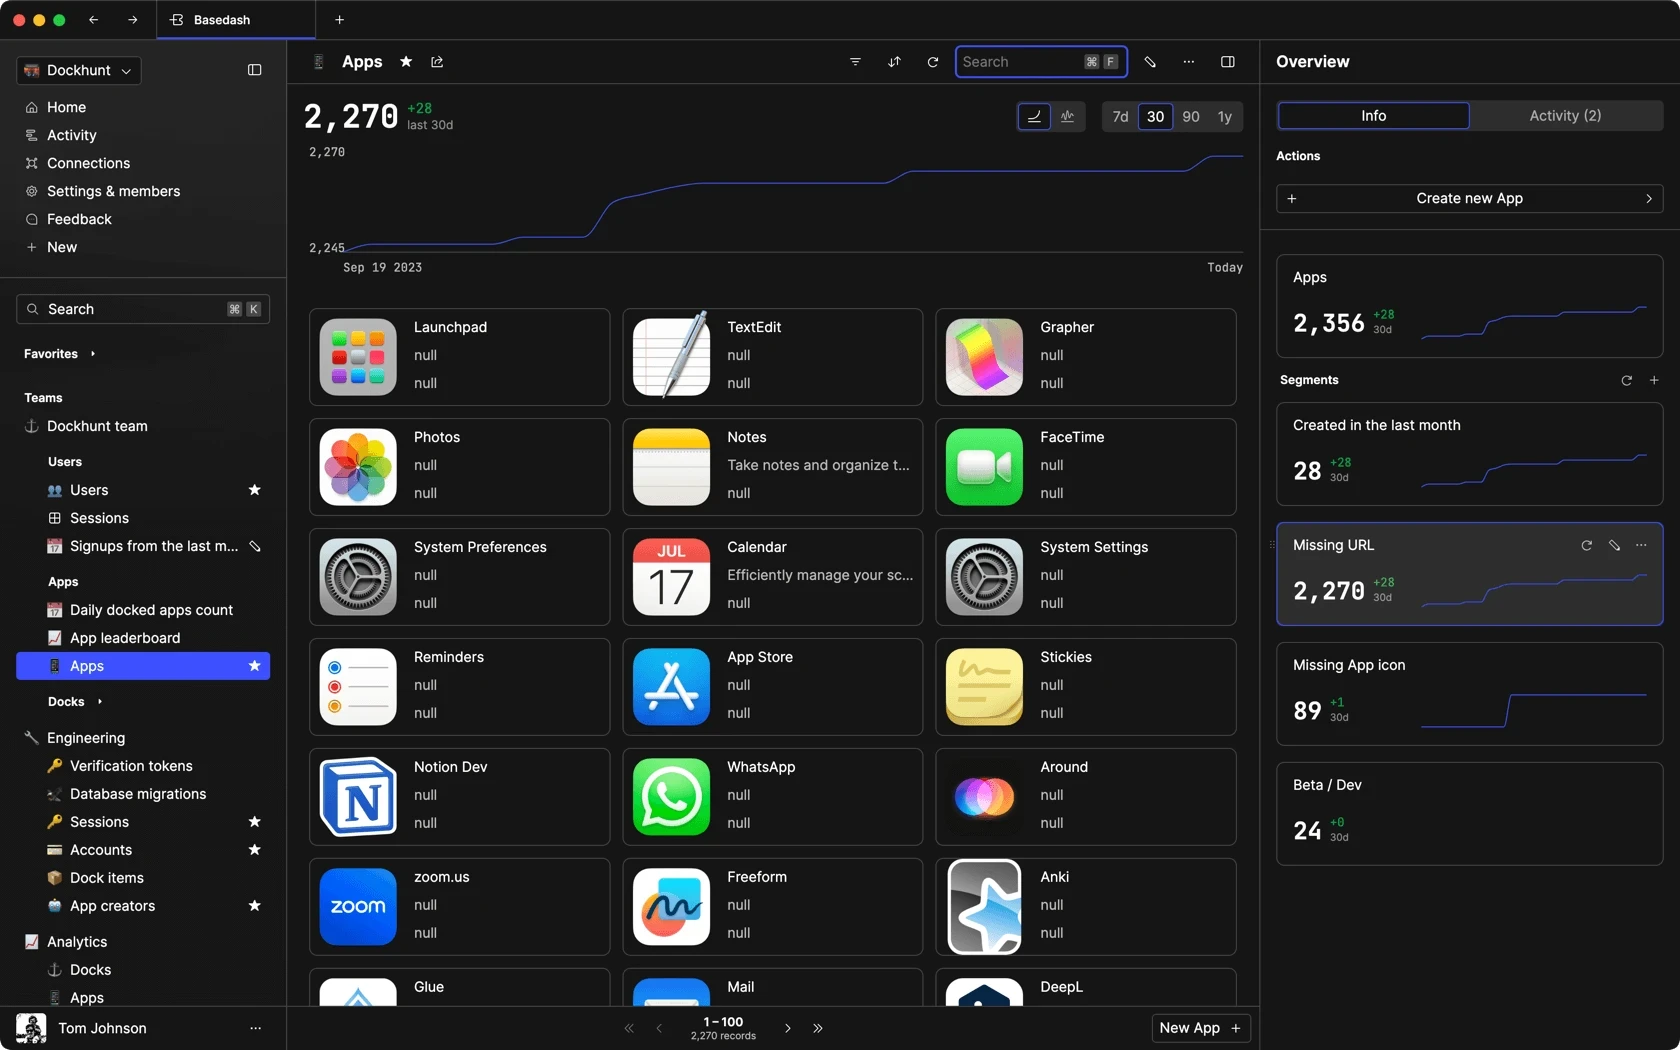
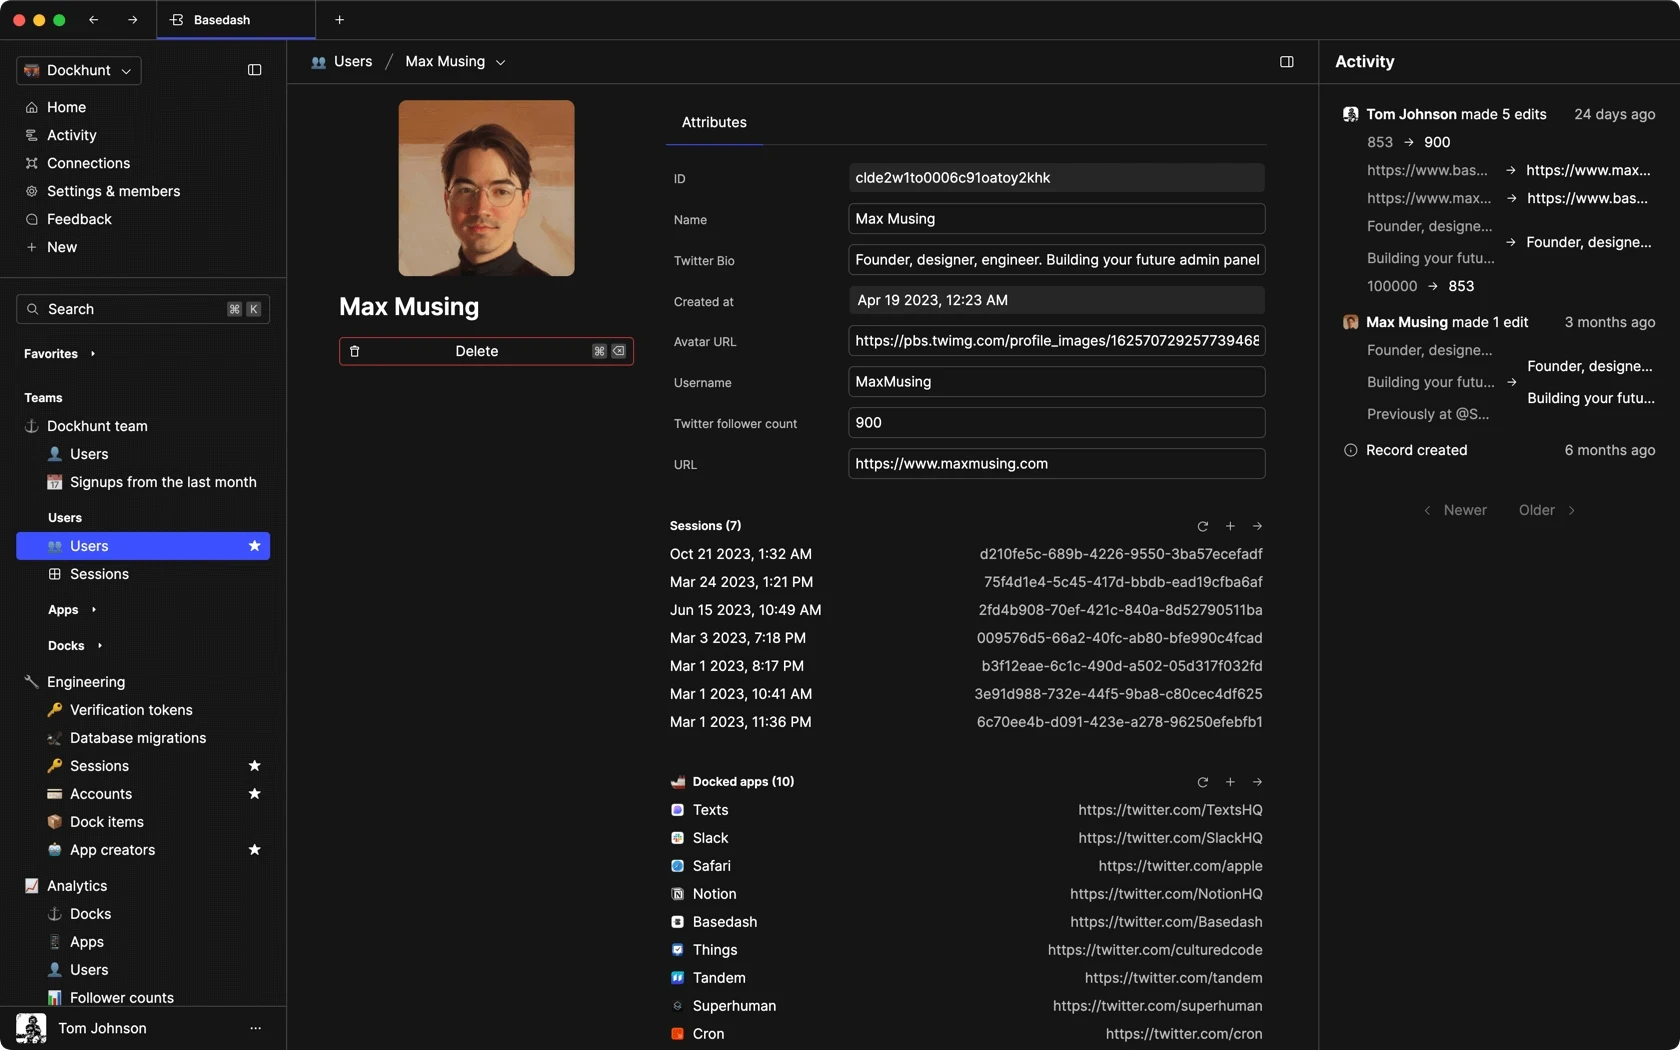
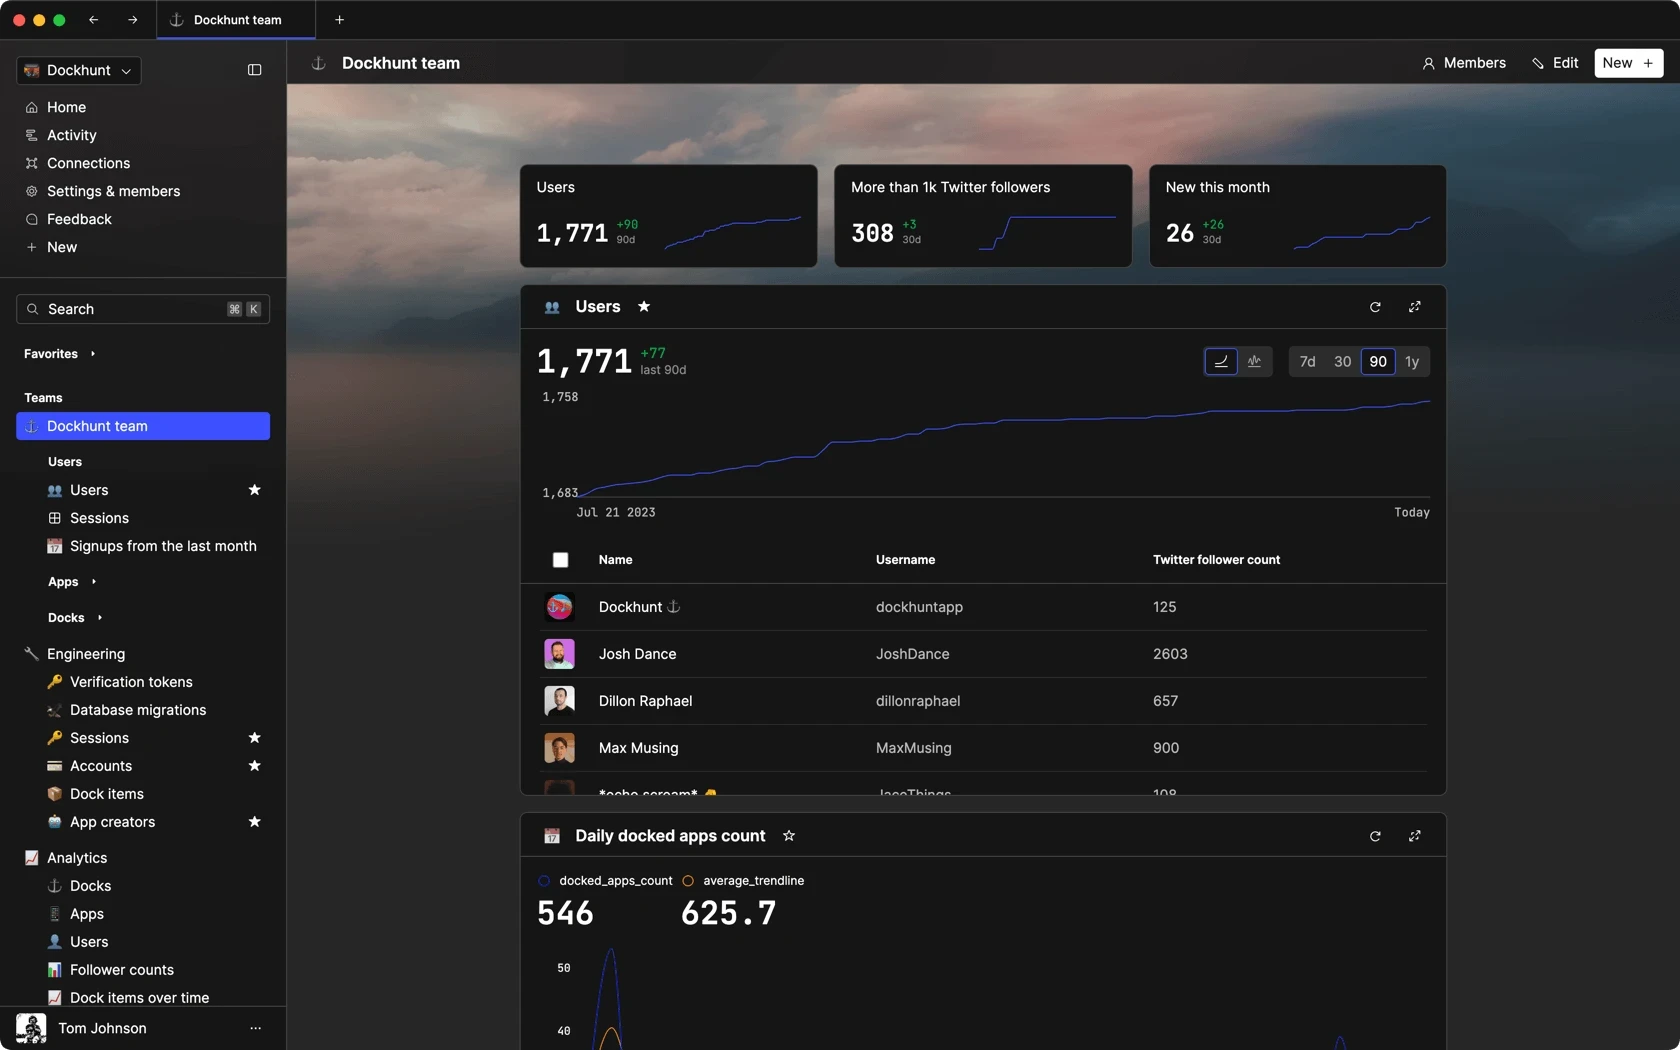
Dashboards and charts
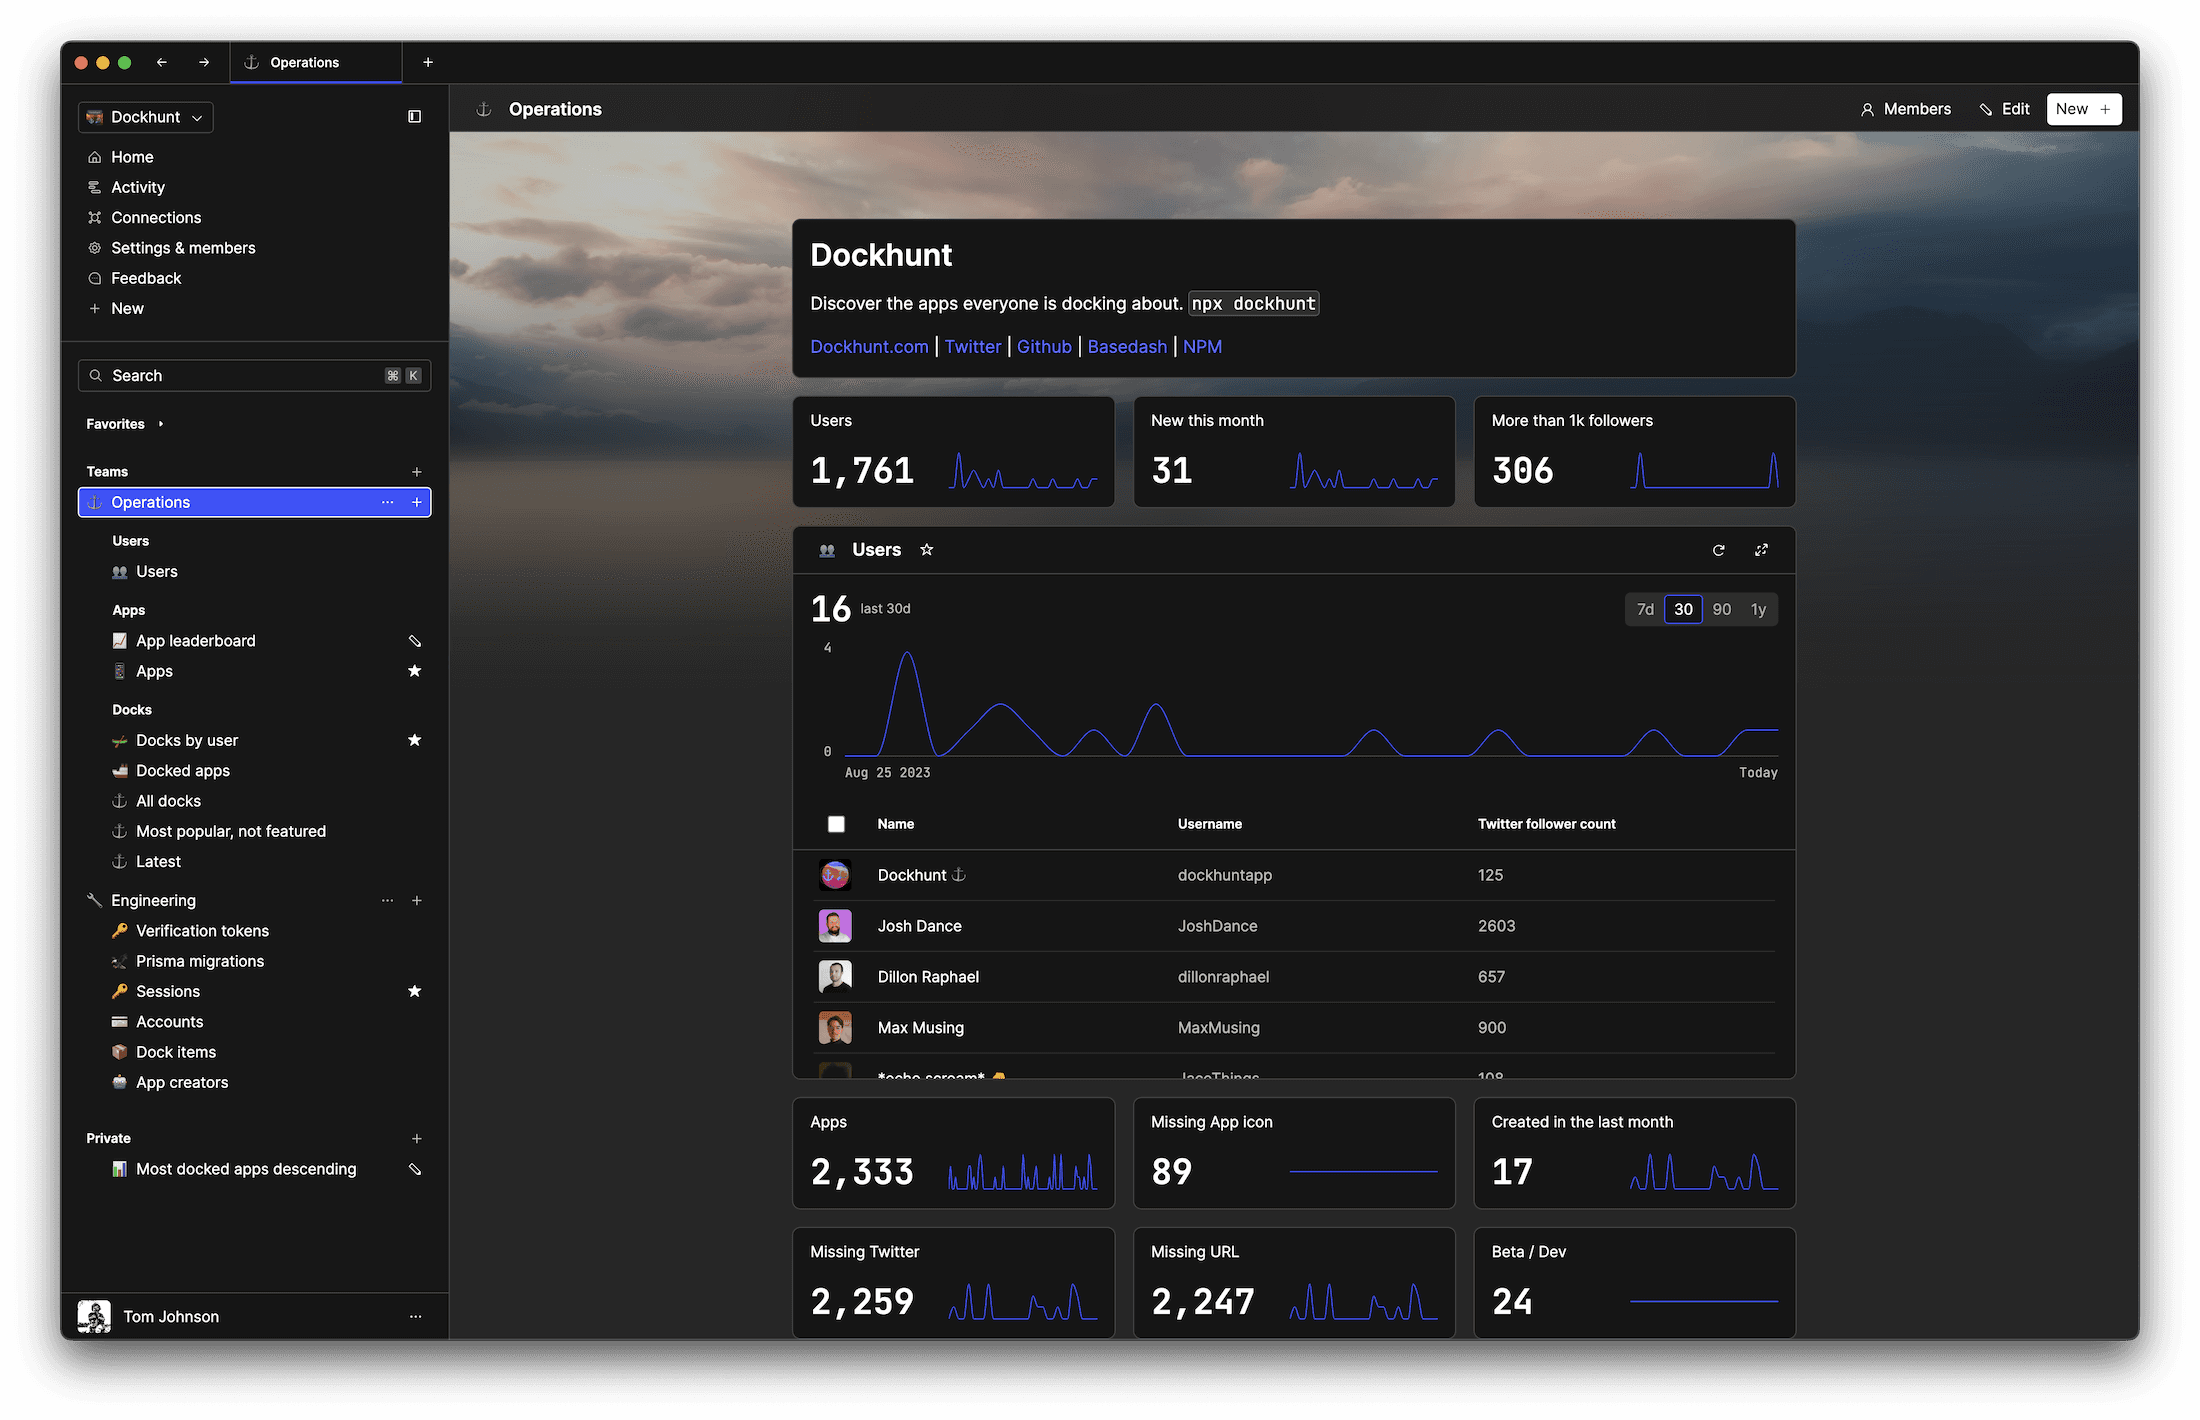
Edit data, create records, oversee how your product is running without the need to build or manage custom software.
USER CRM
ADMIN PANEL
SQL COMPOSER WITH AI
Related posts
Related posts
Related posts


How to Add Columns to MySQL Tables with ALTER TABLE
Robert Cooper


How to Add Columns to Your MySQL Table
Max Musing


Pivot Tables in MySQL
Robert Cooper


How to Rename a Table in MySQL
Max Musing


How to Optimize MySQL Tables for Better Performance
Robert Cooper


How to Display MySQL Table Schema: A Guide
Jeremy Sarchet
