
How to Install MySQL on a Raspberry Pi
January 9, 2024
MySQL is a popular open-source relational database management system, well-suited for web and server applications. Installing it on a Raspberry Pi can turn this compact device into a robust server for managing data. This guide provides a straightforward approach to setting up MySQL on a Raspberry Pi.
Update and upgrade your system
Before proceeding, ensure your Raspberry Pi is up to date:
sudo apt update
sudo apt upgrade
Install MySQL Server
To install MySQL, use the following command:
sudo apt install mysql-server
After installation, secure your MySQL installation:
sudo mysql_secure_installation
Follow the prompts to set a root password and configure security options.
Access MySQL as the root user
Initially, access MySQL with the root user:
sudo mysql -u root -p
Enter the root password when prompted.
Create a new database user
For security reasons, it's recommended to create a new user:
CREATE USER 'username'@'localhost' IDENTIFIED BY 'password';
GRANT ALL PRIVILEGES ON *.* TO 'username'@'localhost' WITH GRANT OPTION;
FLUSH PRIVILEGES;
Replace username and password with your preferred credentials.
You could ship faster.
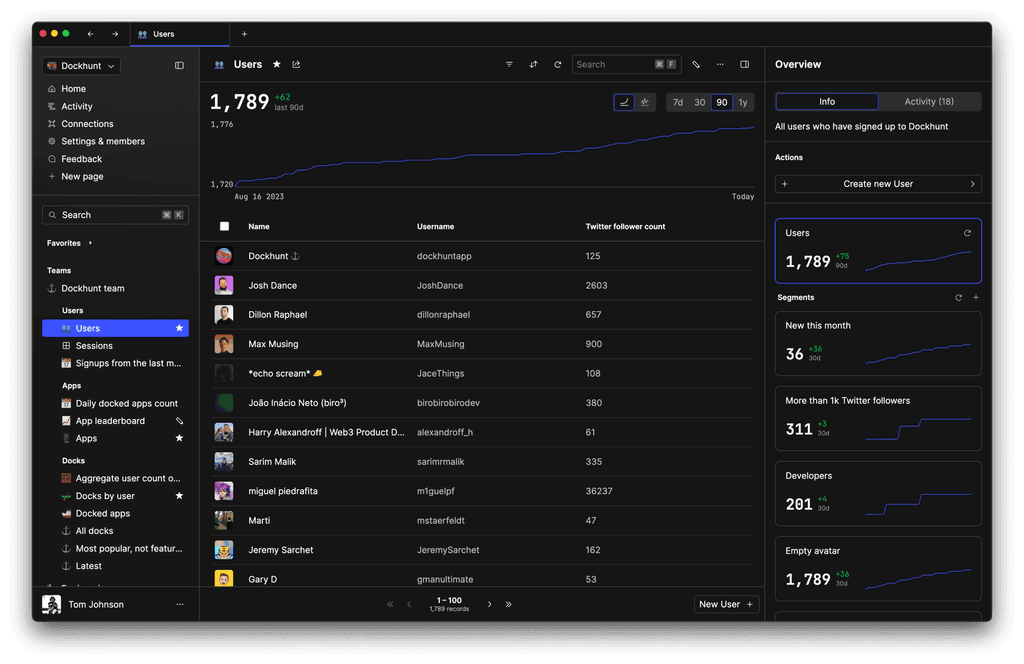
Imagine the time you'd save if you never had to build another internal tool, write a SQL report, or manage another admin panel again. Basedash is built by internal tool builders, for internal tool builders. Our mission is to change the way developers work, so you can focus on building your product.
Create a new database
Create a database for your applications:
CREATE DATABASE exampledb;
Replace exampledb with your desired database name.
Access the database
To access and manage your database, log in with your new user:
mysql -u username -p
Enter the password when prompted.
Manage MySQL service
To control the MySQL service, use the following commands:
sudo systemctl start mysql    # To start MySQL service
sudo systemctl stop mysql     # To stop MySQL service
sudo systemctl enable mysql   # To enable MySQL on boot
sudo systemctl disable mysql  # To disable MySQL on boot
Conclusion
With MySQL installed on your Raspberry Pi, you now have a powerful tool for managing data. Whether for web applications, IoT projects, or learning SQL, your Raspberry Pi is now ready for database management tasks.
TOC
January 9, 2024
MySQL is a popular open-source relational database management system, well-suited for web and server applications. Installing it on a Raspberry Pi can turn this compact device into a robust server for managing data. This guide provides a straightforward approach to setting up MySQL on a Raspberry Pi.
Update and upgrade your system
Before proceeding, ensure your Raspberry Pi is up to date:
sudo apt update
sudo apt upgrade
Install MySQL Server
To install MySQL, use the following command:
sudo apt install mysql-server
After installation, secure your MySQL installation:
sudo mysql_secure_installation
Follow the prompts to set a root password and configure security options.
Access MySQL as the root user
Initially, access MySQL with the root user:
sudo mysql -u root -p
Enter the root password when prompted.
Create a new database user
For security reasons, it's recommended to create a new user:
CREATE USER 'username'@'localhost' IDENTIFIED BY 'password';
GRANT ALL PRIVILEGES ON *.* TO 'username'@'localhost' WITH GRANT OPTION;
FLUSH PRIVILEGES;
Replace username and password with your preferred credentials.
You could ship faster.
Imagine the time you'd save if you never had to build another internal tool, write a SQL report, or manage another admin panel again. Basedash is built by internal tool builders, for internal tool builders. Our mission is to change the way developers work, so you can focus on building your product.

Create a new database
Create a database for your applications:
CREATE DATABASE exampledb;
Replace exampledb with your desired database name.
Access the database
To access and manage your database, log in with your new user:
mysql -u username -p
Enter the password when prompted.
Manage MySQL service
To control the MySQL service, use the following commands:
sudo systemctl start mysql    # To start MySQL service
sudo systemctl stop mysql     # To stop MySQL service
sudo systemctl enable mysql   # To enable MySQL on boot
sudo systemctl disable mysql  # To disable MySQL on boot
Conclusion
With MySQL installed on your Raspberry Pi, you now have a powerful tool for managing data. Whether for web applications, IoT projects, or learning SQL, your Raspberry Pi is now ready for database management tasks.
January 9, 2024
MySQL is a popular open-source relational database management system, well-suited for web and server applications. Installing it on a Raspberry Pi can turn this compact device into a robust server for managing data. This guide provides a straightforward approach to setting up MySQL on a Raspberry Pi.
Update and upgrade your system
Before proceeding, ensure your Raspberry Pi is up to date:
sudo apt update
sudo apt upgrade
Install MySQL Server
To install MySQL, use the following command:
sudo apt install mysql-server
After installation, secure your MySQL installation:
sudo mysql_secure_installation
Follow the prompts to set a root password and configure security options.
Access MySQL as the root user
Initially, access MySQL with the root user:
sudo mysql -u root -p
Enter the root password when prompted.
Create a new database user
For security reasons, it's recommended to create a new user:
CREATE USER 'username'@'localhost' IDENTIFIED BY 'password';
GRANT ALL PRIVILEGES ON *.* TO 'username'@'localhost' WITH GRANT OPTION;
FLUSH PRIVILEGES;
Replace username and password with your preferred credentials.
You could ship faster.
Imagine the time you'd save if you never had to build another internal tool, write a SQL report, or manage another admin panel again. Basedash is built by internal tool builders, for internal tool builders. Our mission is to change the way developers work, so you can focus on building your product.

Create a new database
Create a database for your applications:
CREATE DATABASE exampledb;
Replace exampledb with your desired database name.
Access the database
To access and manage your database, log in with your new user:
mysql -u username -p
Enter the password when prompted.
Manage MySQL service
To control the MySQL service, use the following commands:
sudo systemctl start mysql    # To start MySQL service
sudo systemctl stop mysql     # To stop MySQL service
sudo systemctl enable mysql   # To enable MySQL on boot
sudo systemctl disable mysql  # To disable MySQL on boot
Conclusion
With MySQL installed on your Raspberry Pi, you now have a powerful tool for managing data. Whether for web applications, IoT projects, or learning SQL, your Raspberry Pi is now ready for database management tasks.
What is Basedash?
What is Basedash?
What is Basedash?
Basedash is the best MySQL admin panel
Basedash is the best MySQL admin panel
Basedash is the best MySQL admin panel
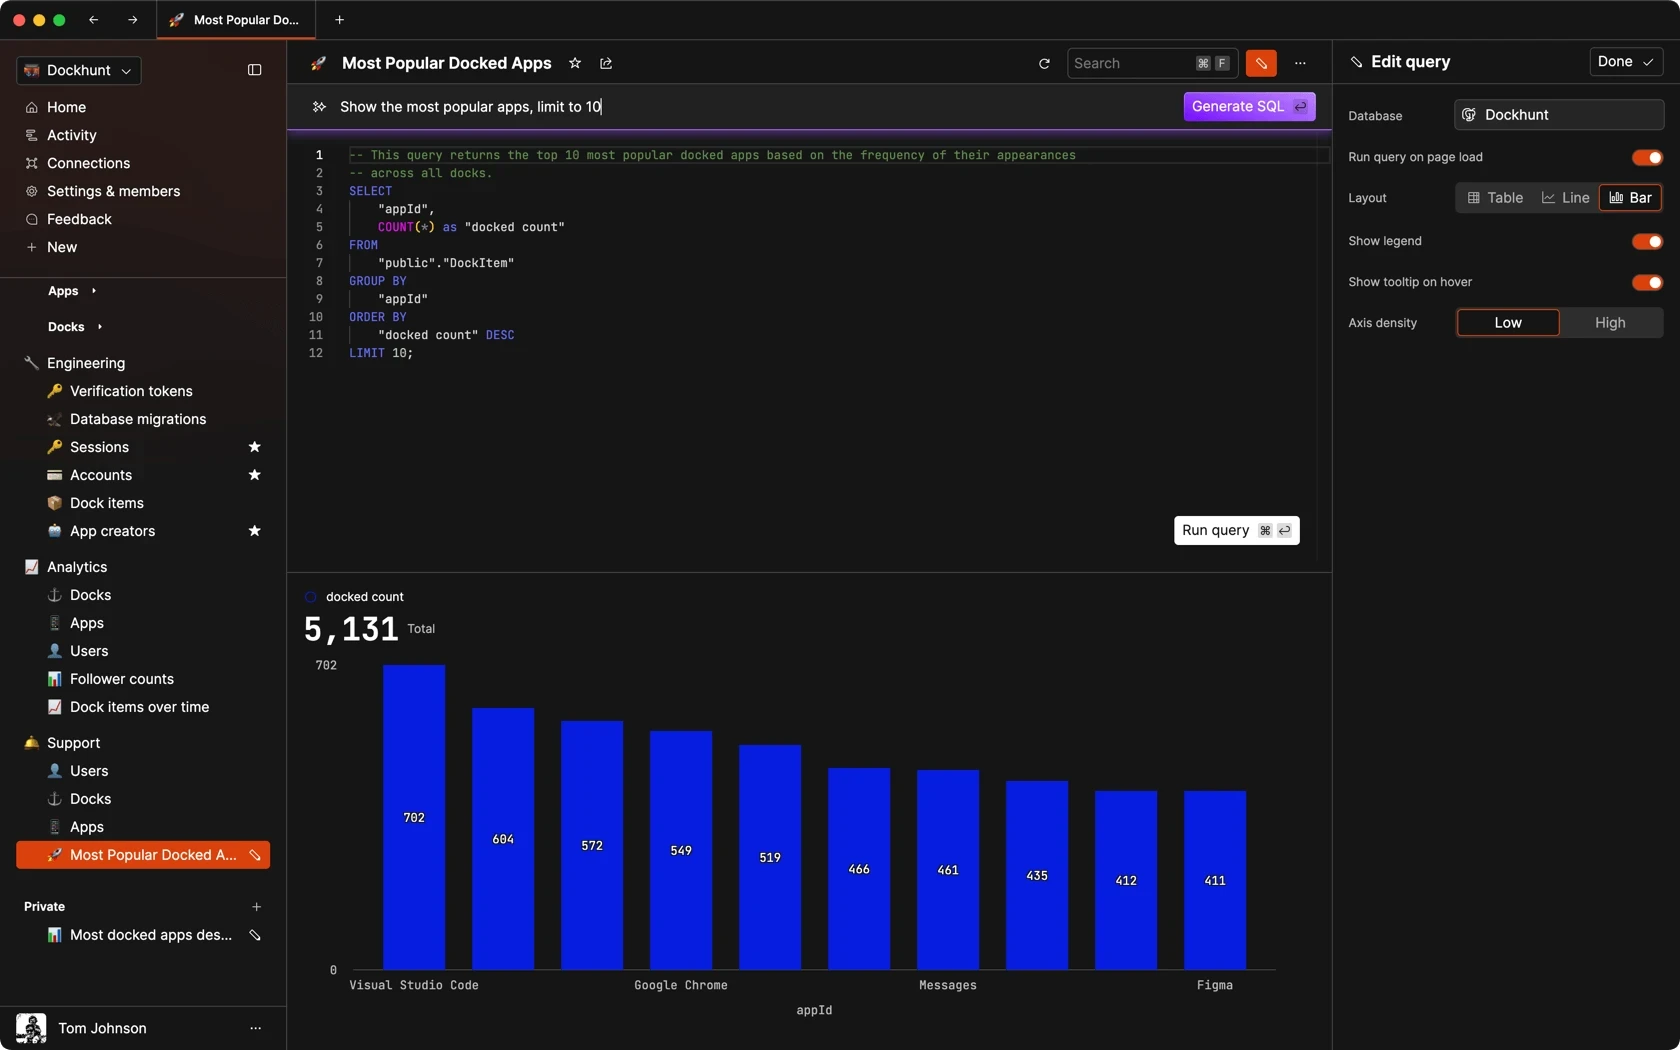
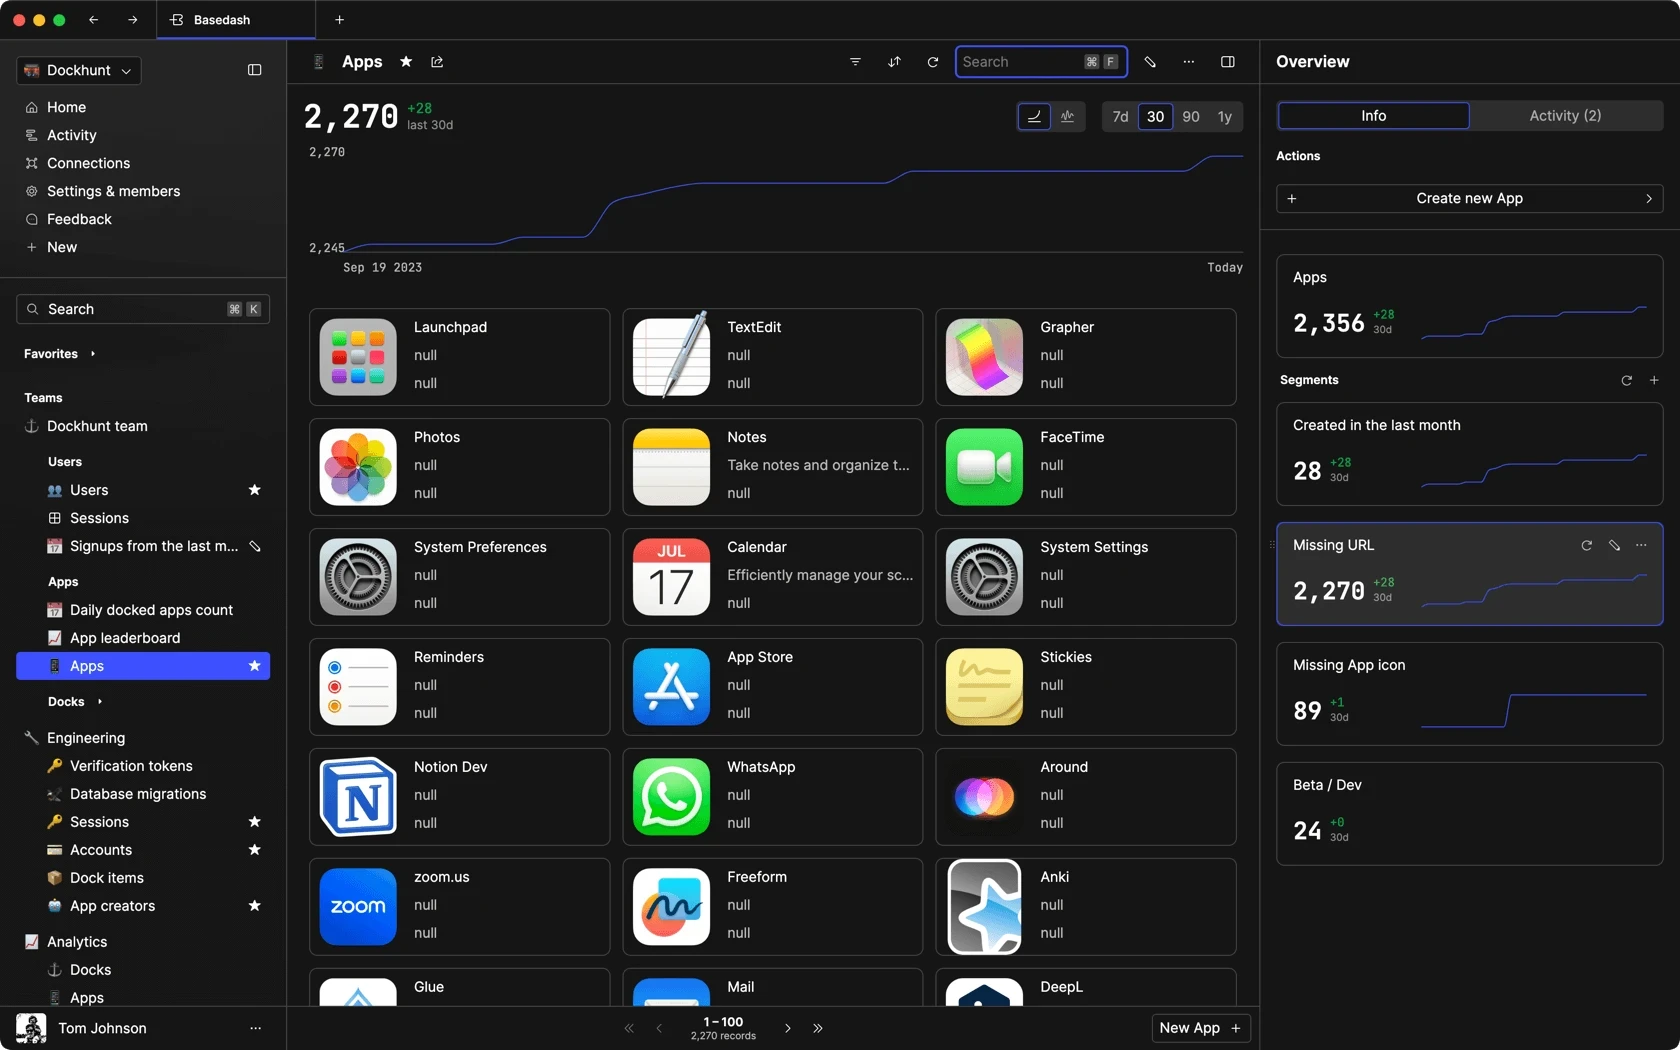
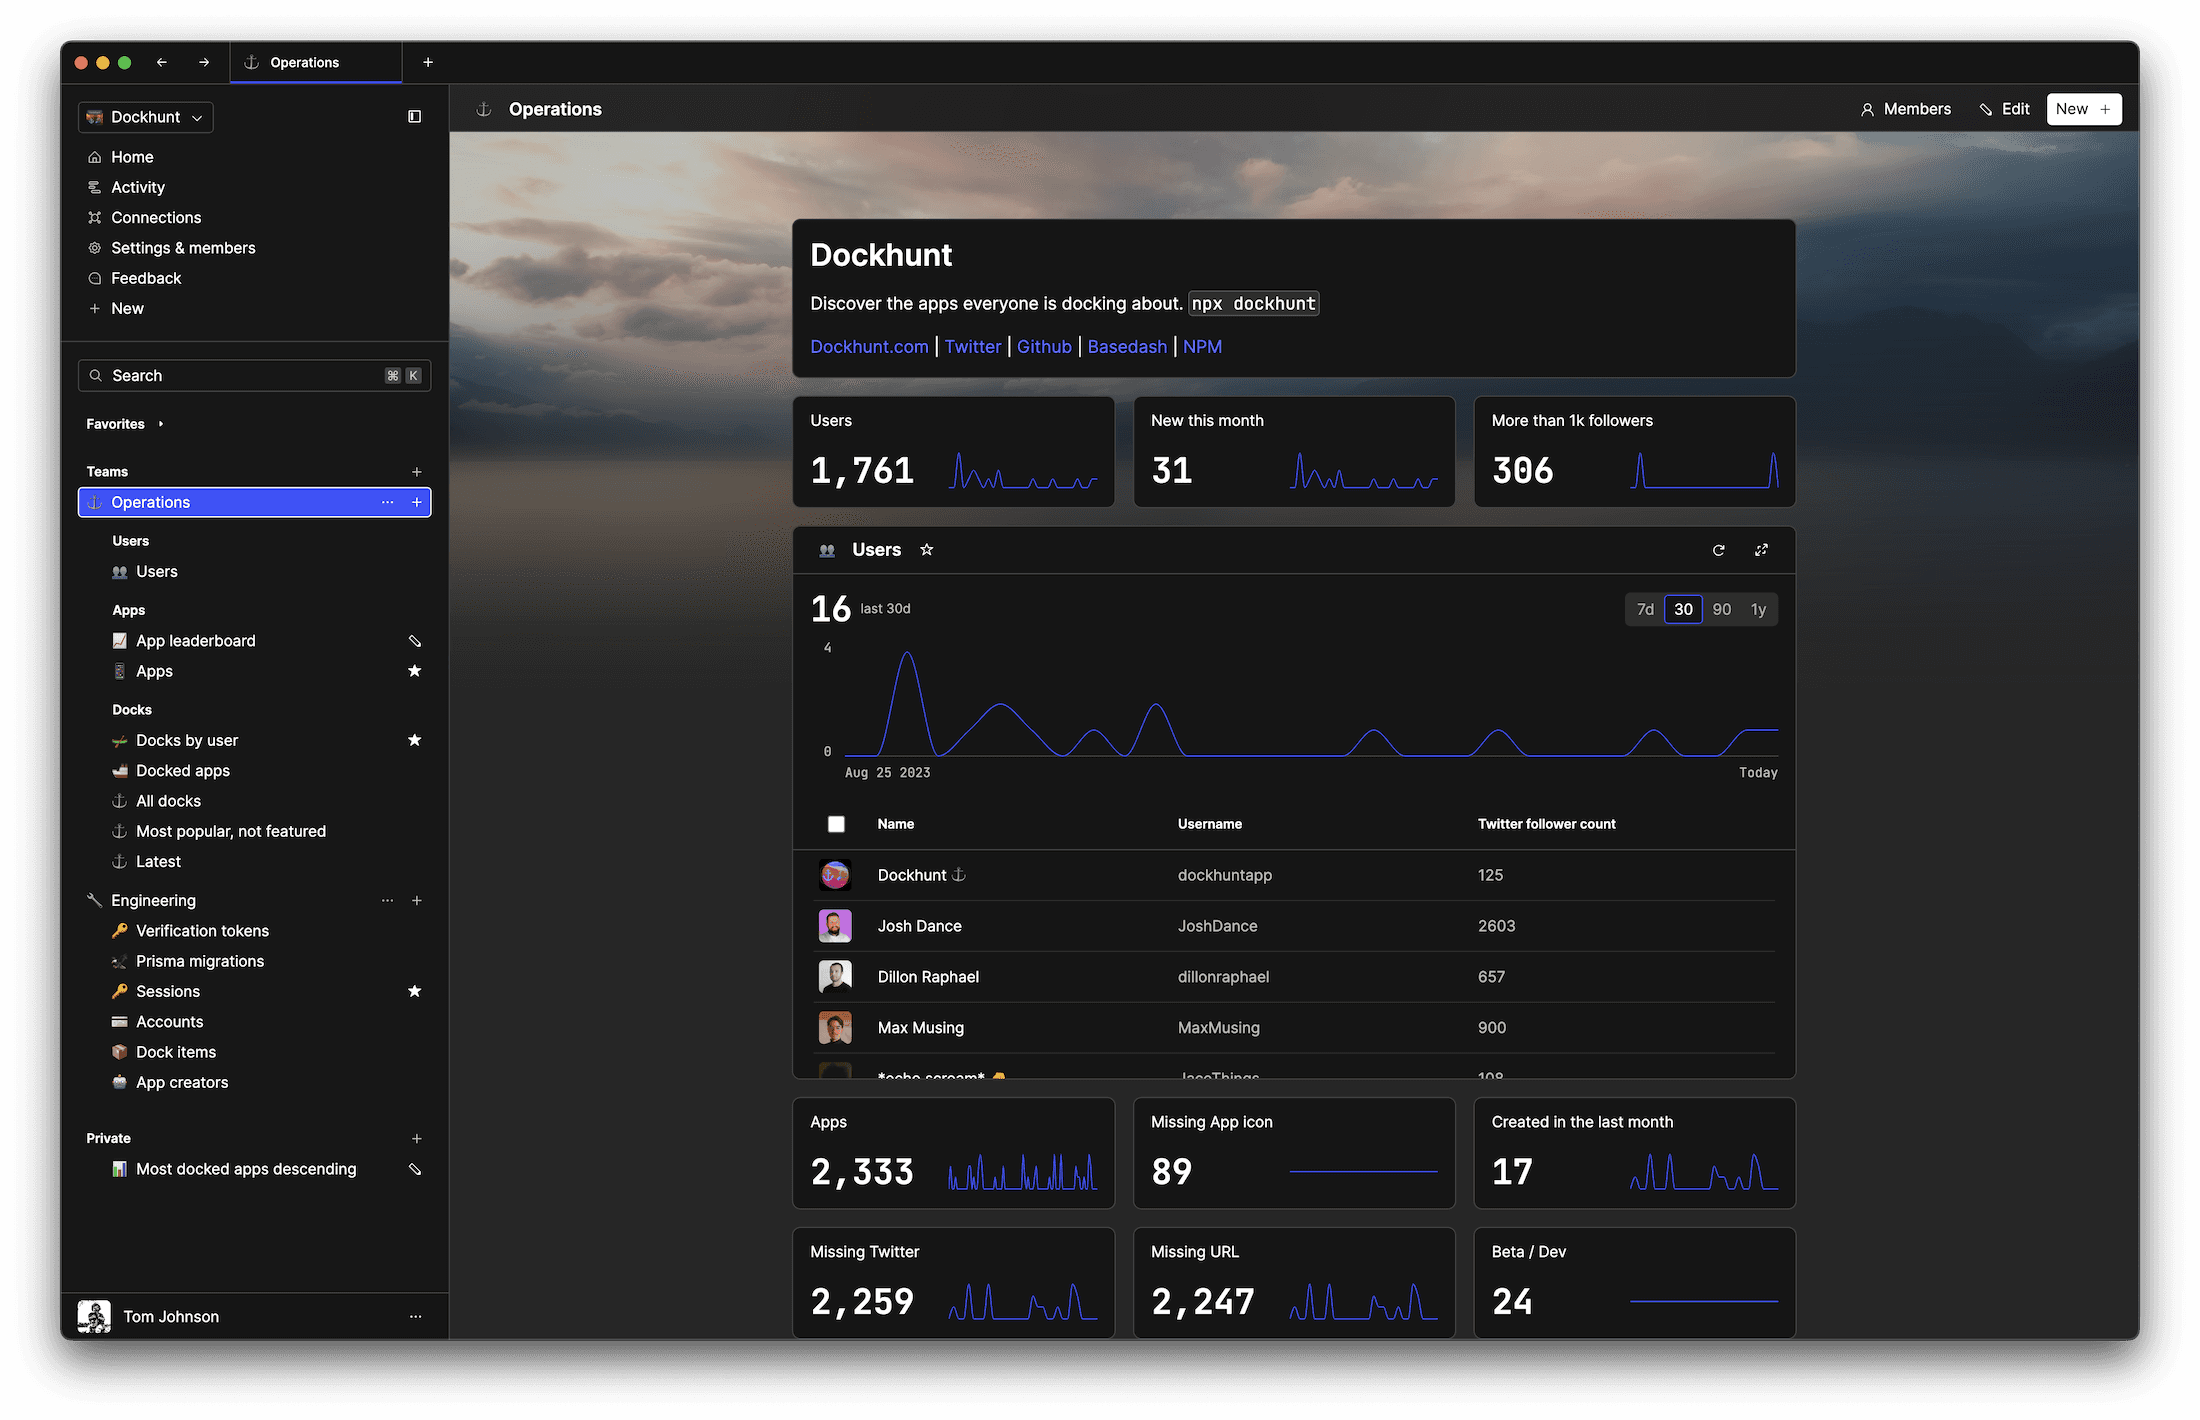
If you're building with MySQL, you need Basedash. It gives you an instantly generated admin panel to understand, query, build dashboards, edit, and share access to your data.
If you're building with MySQL, you need Basedash. It gives you an instantly generated admin panel to understand, query, build dashboards, edit, and share access to your data.
If you're building with MySQL, you need Basedash. It gives you an instantly generated admin panel to understand, query, build dashboards, edit, and share access to your data.

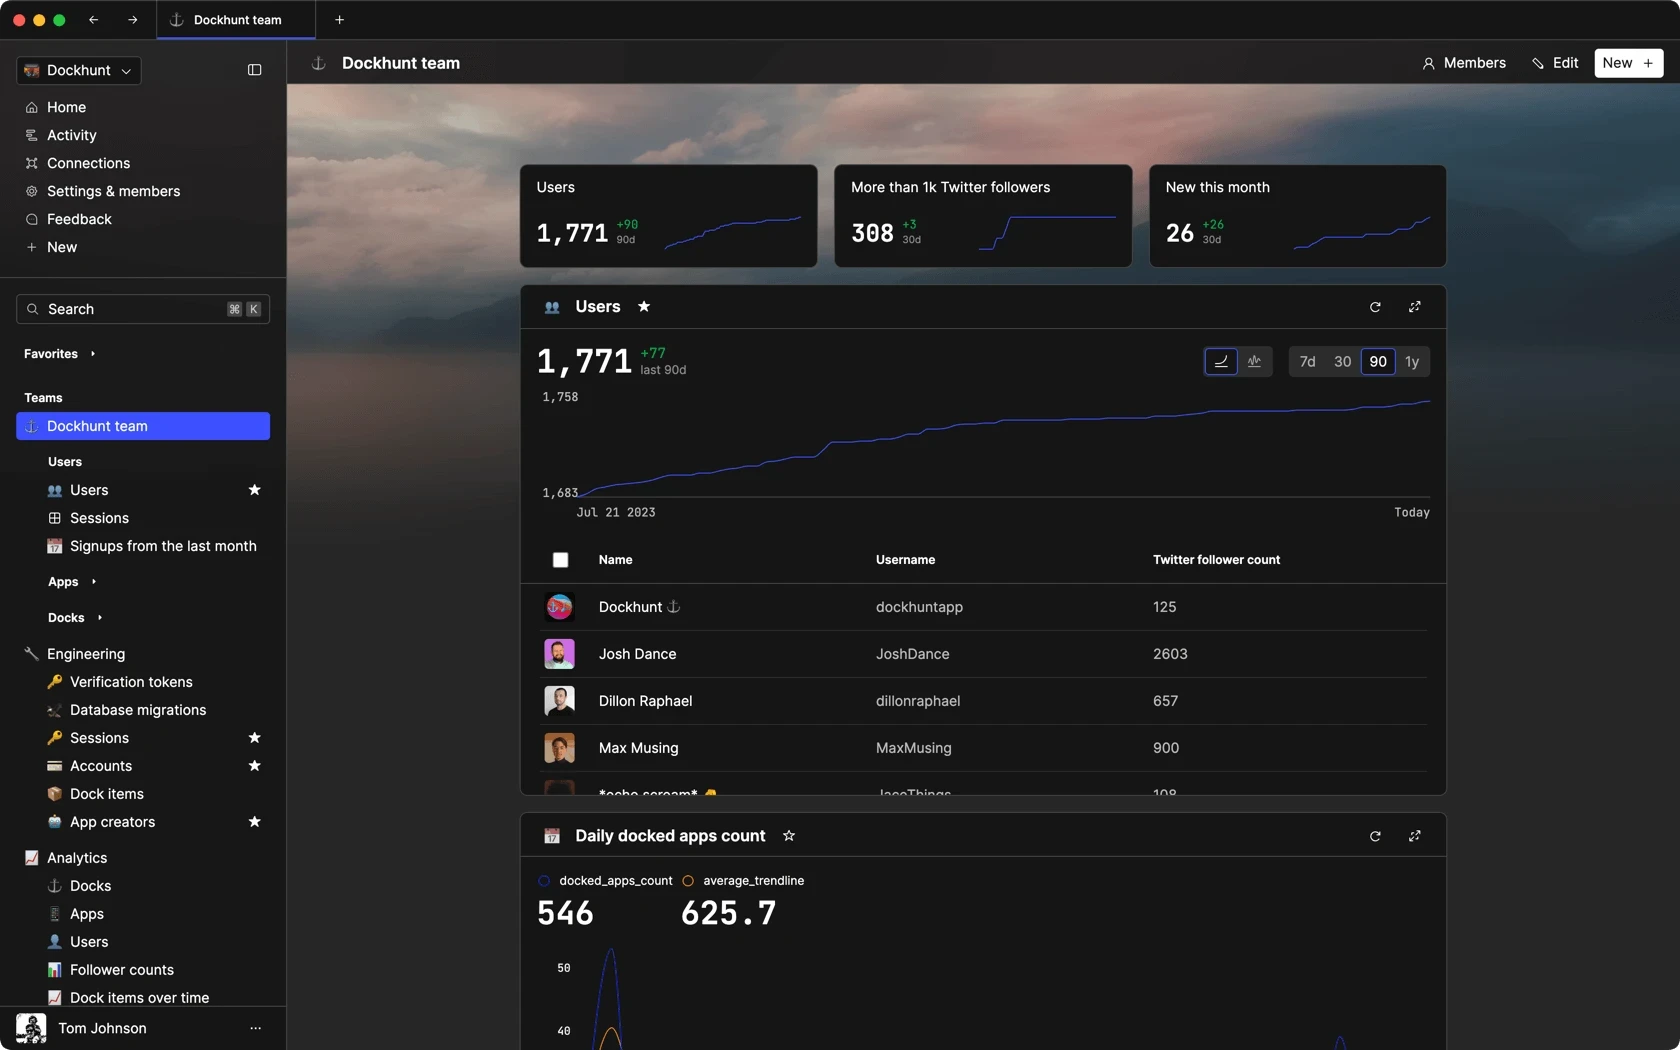
Dashboards and charts
Edit data, create records, oversee how your product is running without the need to build or manage custom software.
USER CRM
ADMIN PANEL
SQL COMPOSER WITH AI
Related posts
Related posts
Related posts


How to Add Columns to MySQL Tables with ALTER TABLE
Robert Cooper


How to Add Columns to Your MySQL Table
Max Musing


Pivot Tables in MySQL
Robert Cooper


How to Rename a Table in MySQL
Max Musing


How to Optimize MySQL Tables for Better Performance
Robert Cooper


How to Display MySQL Table Schema: A Guide
Jeremy Sarchet
