
How to Install MySQL on Mac
October 26, 2023
This guide walks you through how to install MySQL on a macOS system using either the DMG archive and the Compressed TAR archive.
Prerequisites
- A Mac running macOS.
- Administrative access to the Mac.
You could ship faster.
Imagine the time you'd save if you never had to build another internal tool, write a SQL report, or manage another admin panel again. Basedash is built by internal tool builders, for internal tool builders. Our mission is to change the way developers work, so you can focus on building your product.
Installation Steps
1. Download MySQL for Mac
You can download the MySQL Community Server for macOS from the official MySQL website.
URL: https://dev.mysql.com/downloads/mysql/
- Navigate to the website.
- Choose the macOS version.
- You'll have two primary options for downloading:
- DMG Archive: This is a graphical installer.
- Compressed TAR Archive: This is a compressed file that can be extracted and installed via the terminal.
2. Install MySQL Using DMG Archive
- Open the DMG archive that you've just downloaded.
- Inside the DMG archive, you'll find the MySQL installer package (
.pkgfile). Double-click on it to initiate the installation process. - Follow the on-screen instructions. When prompted, provide your administrative password to continue.
- After the installation completes, the installer may also prompt you to install Preference Pane and MySQL Workbench. Choose according to your needs. (Preference Pane allows easier start/stop of the MySQL server from System Preferences).
3. Install MySQL Using Compressed TAR Archive
If you opted to download the TAR archive:
-
Navigate to the directory where the TAR file was downloaded.
-
Extract the TAR archive using: Replace
xxxxxwith the actual file name.tar -xzf mysql-xxxxx.tar.gz -
Navigate into the extracted directory:
cd mysql-xxxxx -
Install MySQL by following the provided instructions, typically found in a README or INSTALL file.
4. Start MySQL on Mac
Once you've installed MySQL using either method, you can start the MySQL server using the following command:
sudo /usr/local/mysql/support-files/mysql.server start
Enter your Mac's administrative password when prompted.
Alternatively, if you installed the Preference Pane using the DMG method, you can navigate to System Preferences > MySQL and start/stop the server from there.
5. Secure MySQL Installation
It's crucial to run the mysql_secure_installation script to enhance the security of your MySQL installation:
/usr/local/mysql/bin/mysql_secure_installation
You'll be guided through a series of prompts to:
- Set a root password.
- Remove anonymous users.
- Disallow root login remotely.
- Remove test database and access to it.
- Reload privilege tables.
6. Connect to MySQL Server
You can connect to the MySQL server using the command-line client with:
/usr/local/mysql/bin/mysql -u root -p
When prompted, enter the root password you set during the secure installation process.
You can also connect to a cloud-based tool like Basedash if you want to safely share access with teammates. Basedash also lets you build more powerful admin panels and dashboards in a few minutes.
Conclusion
You've successfully installed MySQL on your Mac using either the DMG archive or the Compressed TAR archive! For more detailed configurations and troubleshooting, refer to the official MySQL documentation. Remember to periodically check for updates and patches to ensure you're running a secure and efficient MySQL server.
TOC
October 26, 2023
This guide walks you through how to install MySQL on a macOS system using either the DMG archive and the Compressed TAR archive.
Prerequisites
- A Mac running macOS.
- Administrative access to the Mac.
You could ship faster.
Imagine the time you'd save if you never had to build another internal tool, write a SQL report, or manage another admin panel again. Basedash is built by internal tool builders, for internal tool builders. Our mission is to change the way developers work, so you can focus on building your product.

Installation Steps
1. Download MySQL for Mac
You can download the MySQL Community Server for macOS from the official MySQL website.
URL: https://dev.mysql.com/downloads/mysql/
- Navigate to the website.
- Choose the macOS version.
- You'll have two primary options for downloading:
- DMG Archive: This is a graphical installer.
- Compressed TAR Archive: This is a compressed file that can be extracted and installed via the terminal.
2. Install MySQL Using DMG Archive
- Open the DMG archive that you've just downloaded.
- Inside the DMG archive, you'll find the MySQL installer package (
.pkgfile). Double-click on it to initiate the installation process. - Follow the on-screen instructions. When prompted, provide your administrative password to continue.
- After the installation completes, the installer may also prompt you to install Preference Pane and MySQL Workbench. Choose according to your needs. (Preference Pane allows easier start/stop of the MySQL server from System Preferences).
3. Install MySQL Using Compressed TAR Archive
If you opted to download the TAR archive:
-
Navigate to the directory where the TAR file was downloaded.
-
Extract the TAR archive using: Replace
xxxxxwith the actual file name.tar -xzf mysql-xxxxx.tar.gz -
Navigate into the extracted directory:
cd mysql-xxxxx -
Install MySQL by following the provided instructions, typically found in a README or INSTALL file.
4. Start MySQL on Mac
Once you've installed MySQL using either method, you can start the MySQL server using the following command:
sudo /usr/local/mysql/support-files/mysql.server start
Enter your Mac's administrative password when prompted.
Alternatively, if you installed the Preference Pane using the DMG method, you can navigate to System Preferences > MySQL and start/stop the server from there.
5. Secure MySQL Installation
It's crucial to run the mysql_secure_installation script to enhance the security of your MySQL installation:
/usr/local/mysql/bin/mysql_secure_installation
You'll be guided through a series of prompts to:
- Set a root password.
- Remove anonymous users.
- Disallow root login remotely.
- Remove test database and access to it.
- Reload privilege tables.
6. Connect to MySQL Server
You can connect to the MySQL server using the command-line client with:
/usr/local/mysql/bin/mysql -u root -p
When prompted, enter the root password you set during the secure installation process.
You can also connect to a cloud-based tool like Basedash if you want to safely share access with teammates. Basedash also lets you build more powerful admin panels and dashboards in a few minutes.
Conclusion
You've successfully installed MySQL on your Mac using either the DMG archive or the Compressed TAR archive! For more detailed configurations and troubleshooting, refer to the official MySQL documentation. Remember to periodically check for updates and patches to ensure you're running a secure and efficient MySQL server.
October 26, 2023
This guide walks you through how to install MySQL on a macOS system using either the DMG archive and the Compressed TAR archive.
Prerequisites
- A Mac running macOS.
- Administrative access to the Mac.
You could ship faster.
Imagine the time you'd save if you never had to build another internal tool, write a SQL report, or manage another admin panel again. Basedash is built by internal tool builders, for internal tool builders. Our mission is to change the way developers work, so you can focus on building your product.

Installation Steps
1. Download MySQL for Mac
You can download the MySQL Community Server for macOS from the official MySQL website.
URL: https://dev.mysql.com/downloads/mysql/
- Navigate to the website.
- Choose the macOS version.
- You'll have two primary options for downloading:
- DMG Archive: This is a graphical installer.
- Compressed TAR Archive: This is a compressed file that can be extracted and installed via the terminal.
2. Install MySQL Using DMG Archive
- Open the DMG archive that you've just downloaded.
- Inside the DMG archive, you'll find the MySQL installer package (
.pkgfile). Double-click on it to initiate the installation process. - Follow the on-screen instructions. When prompted, provide your administrative password to continue.
- After the installation completes, the installer may also prompt you to install Preference Pane and MySQL Workbench. Choose according to your needs. (Preference Pane allows easier start/stop of the MySQL server from System Preferences).
3. Install MySQL Using Compressed TAR Archive
If you opted to download the TAR archive:
-
Navigate to the directory where the TAR file was downloaded.
-
Extract the TAR archive using: Replace
xxxxxwith the actual file name.tar -xzf mysql-xxxxx.tar.gz -
Navigate into the extracted directory:
cd mysql-xxxxx -
Install MySQL by following the provided instructions, typically found in a README or INSTALL file.
4. Start MySQL on Mac
Once you've installed MySQL using either method, you can start the MySQL server using the following command:
sudo /usr/local/mysql/support-files/mysql.server start
Enter your Mac's administrative password when prompted.
Alternatively, if you installed the Preference Pane using the DMG method, you can navigate to System Preferences > MySQL and start/stop the server from there.
5. Secure MySQL Installation
It's crucial to run the mysql_secure_installation script to enhance the security of your MySQL installation:
/usr/local/mysql/bin/mysql_secure_installation
You'll be guided through a series of prompts to:
- Set a root password.
- Remove anonymous users.
- Disallow root login remotely.
- Remove test database and access to it.
- Reload privilege tables.
6. Connect to MySQL Server
You can connect to the MySQL server using the command-line client with:
/usr/local/mysql/bin/mysql -u root -p
When prompted, enter the root password you set during the secure installation process.
You can also connect to a cloud-based tool like Basedash if you want to safely share access with teammates. Basedash also lets you build more powerful admin panels and dashboards in a few minutes.
Conclusion
You've successfully installed MySQL on your Mac using either the DMG archive or the Compressed TAR archive! For more detailed configurations and troubleshooting, refer to the official MySQL documentation. Remember to periodically check for updates and patches to ensure you're running a secure and efficient MySQL server.
What is Basedash?
What is Basedash?
What is Basedash?
Basedash is the best MySQL admin panel
Basedash is the best MySQL admin panel
Basedash is the best MySQL admin panel
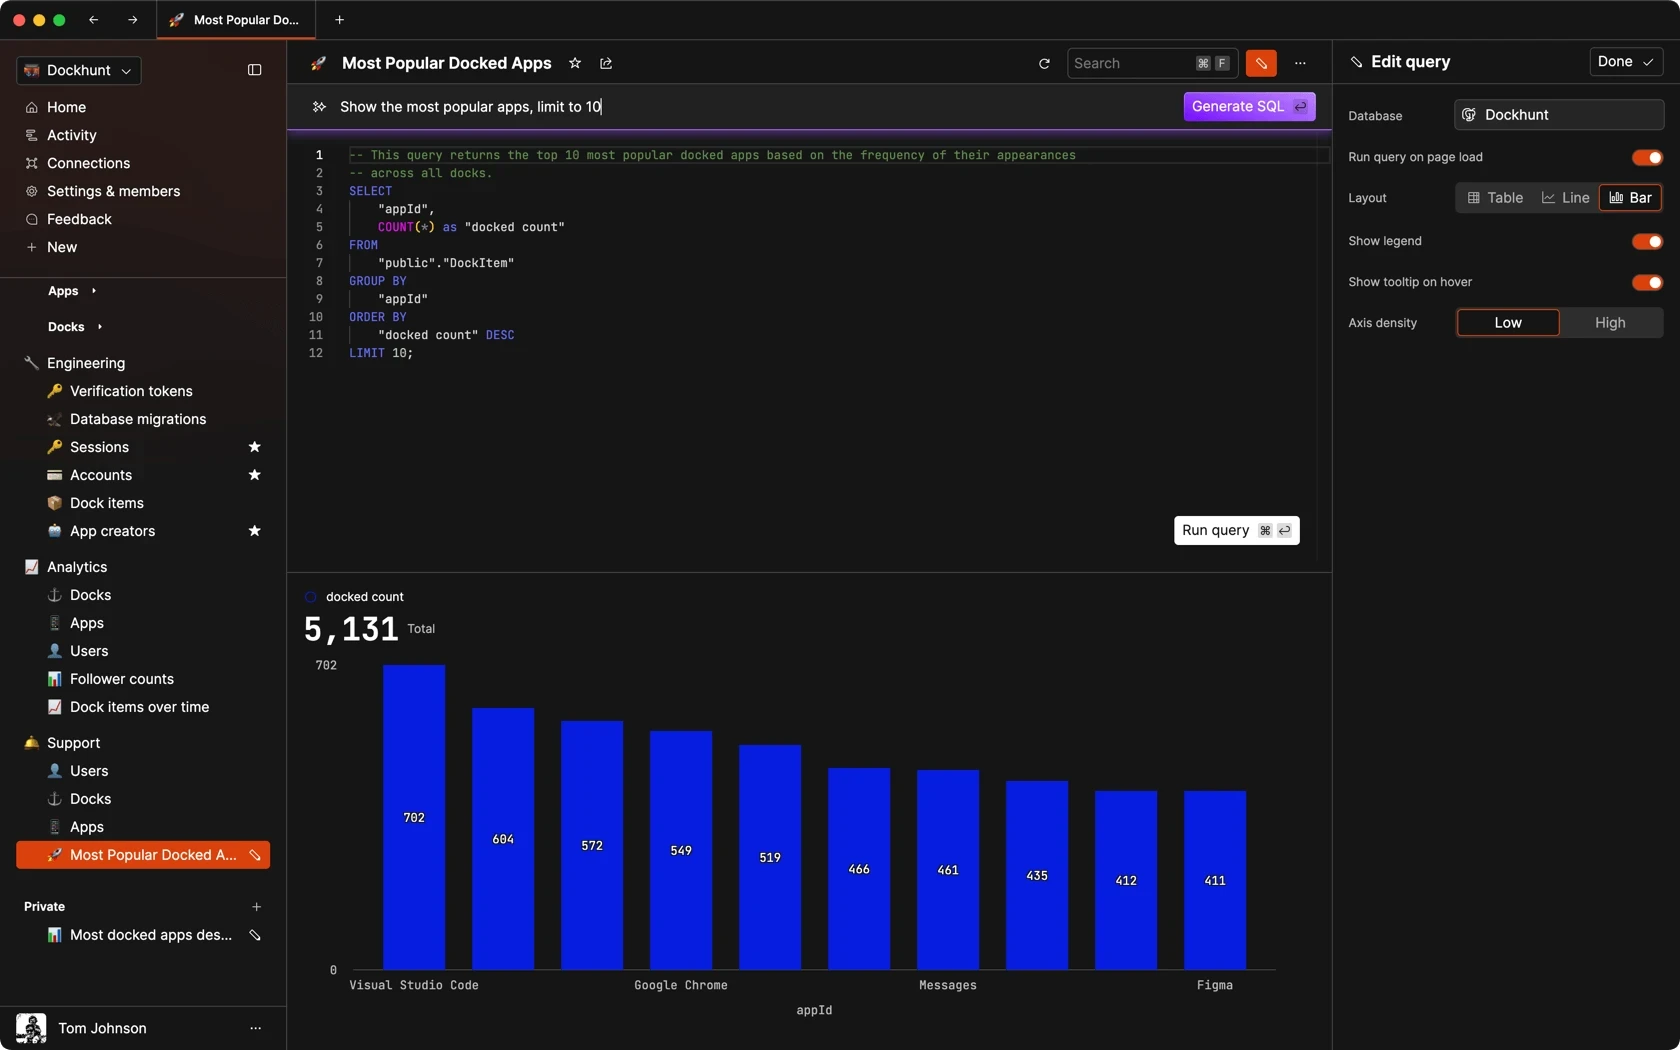
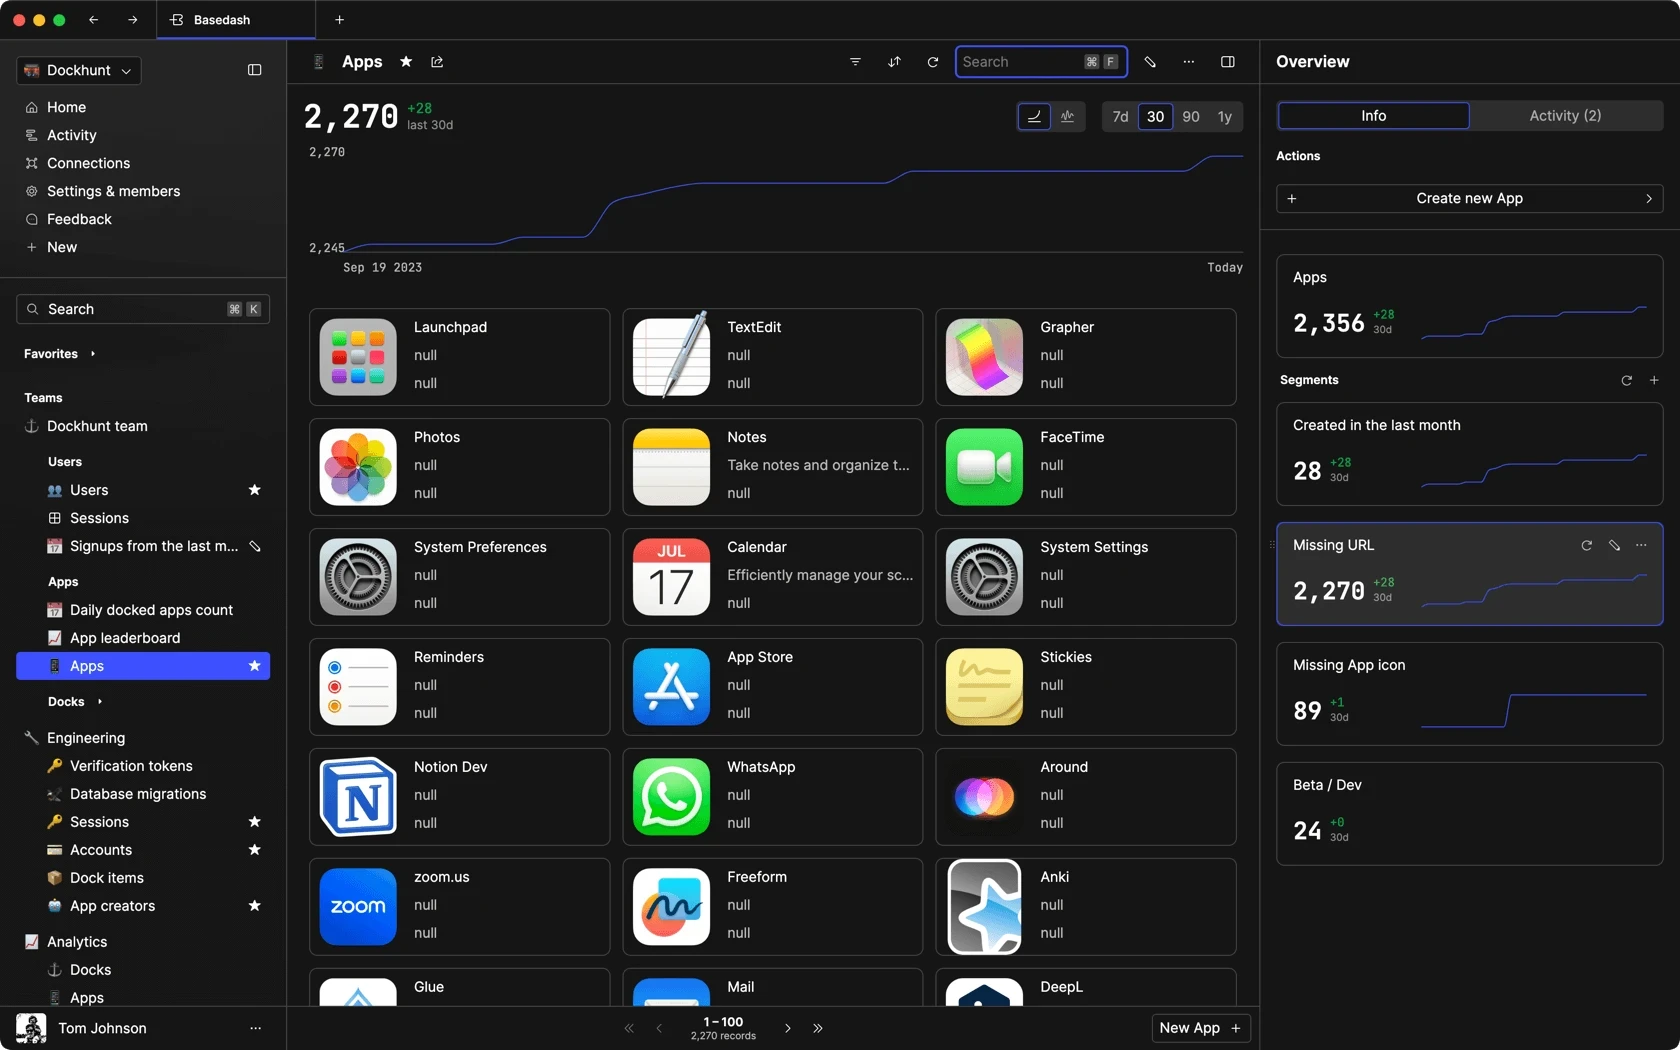
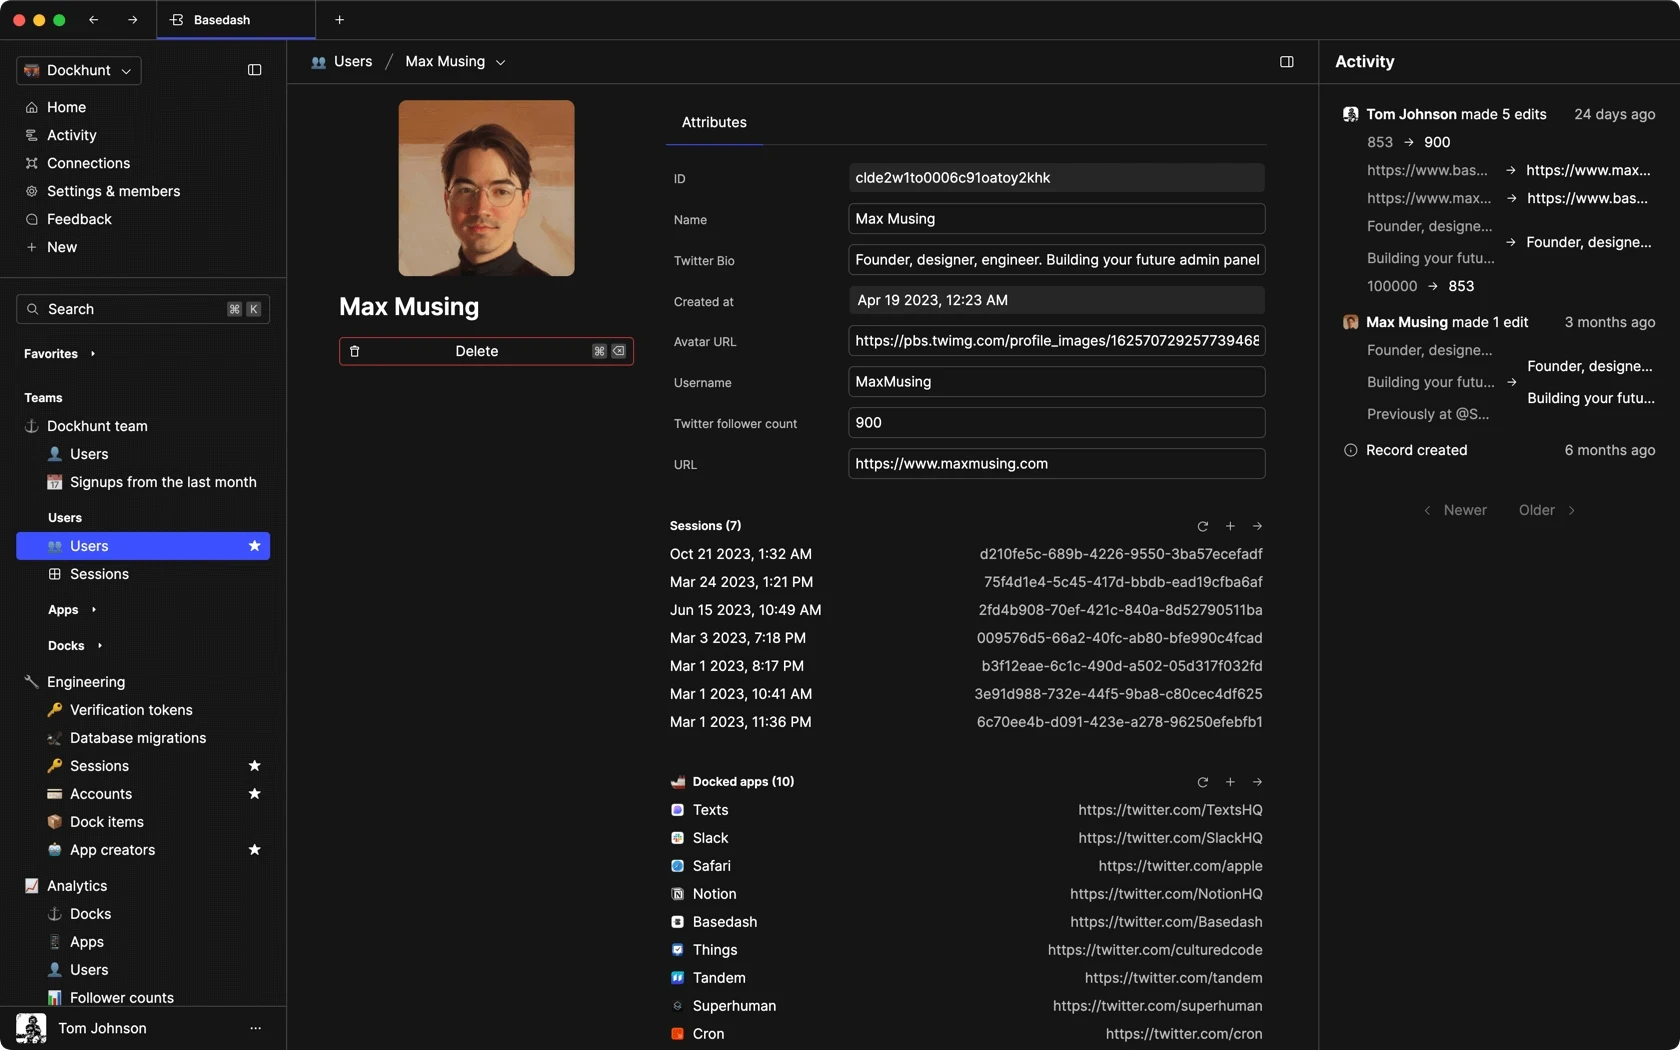
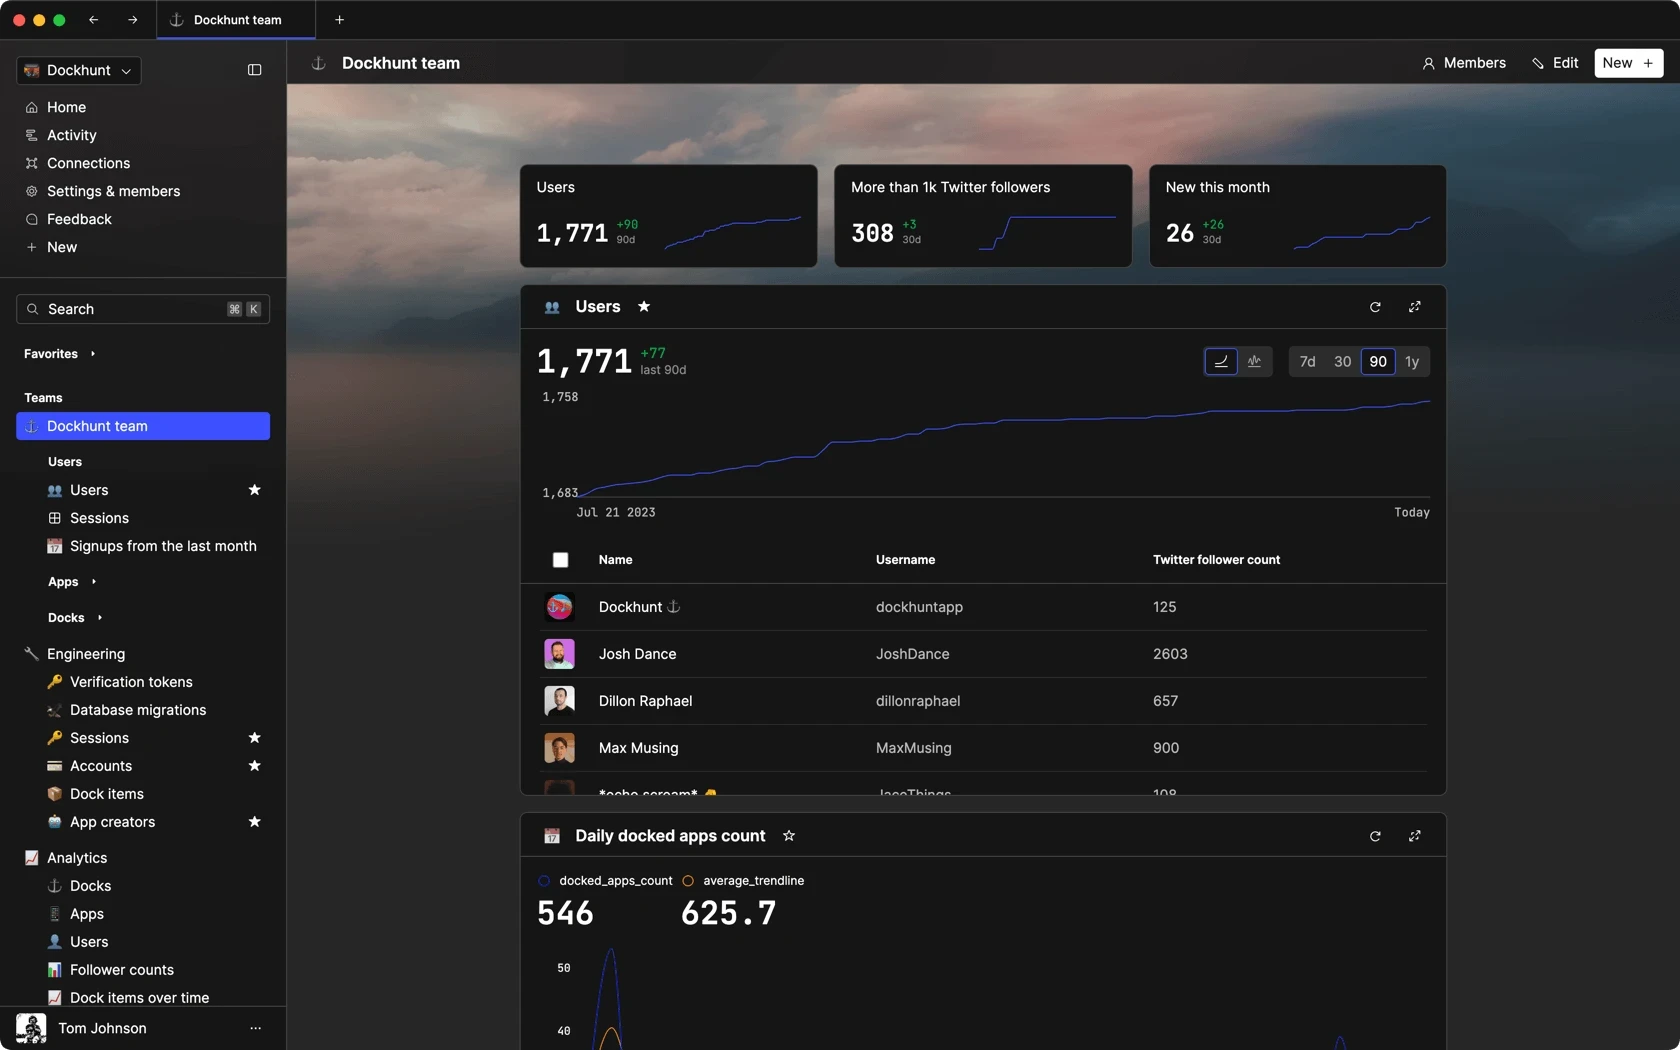
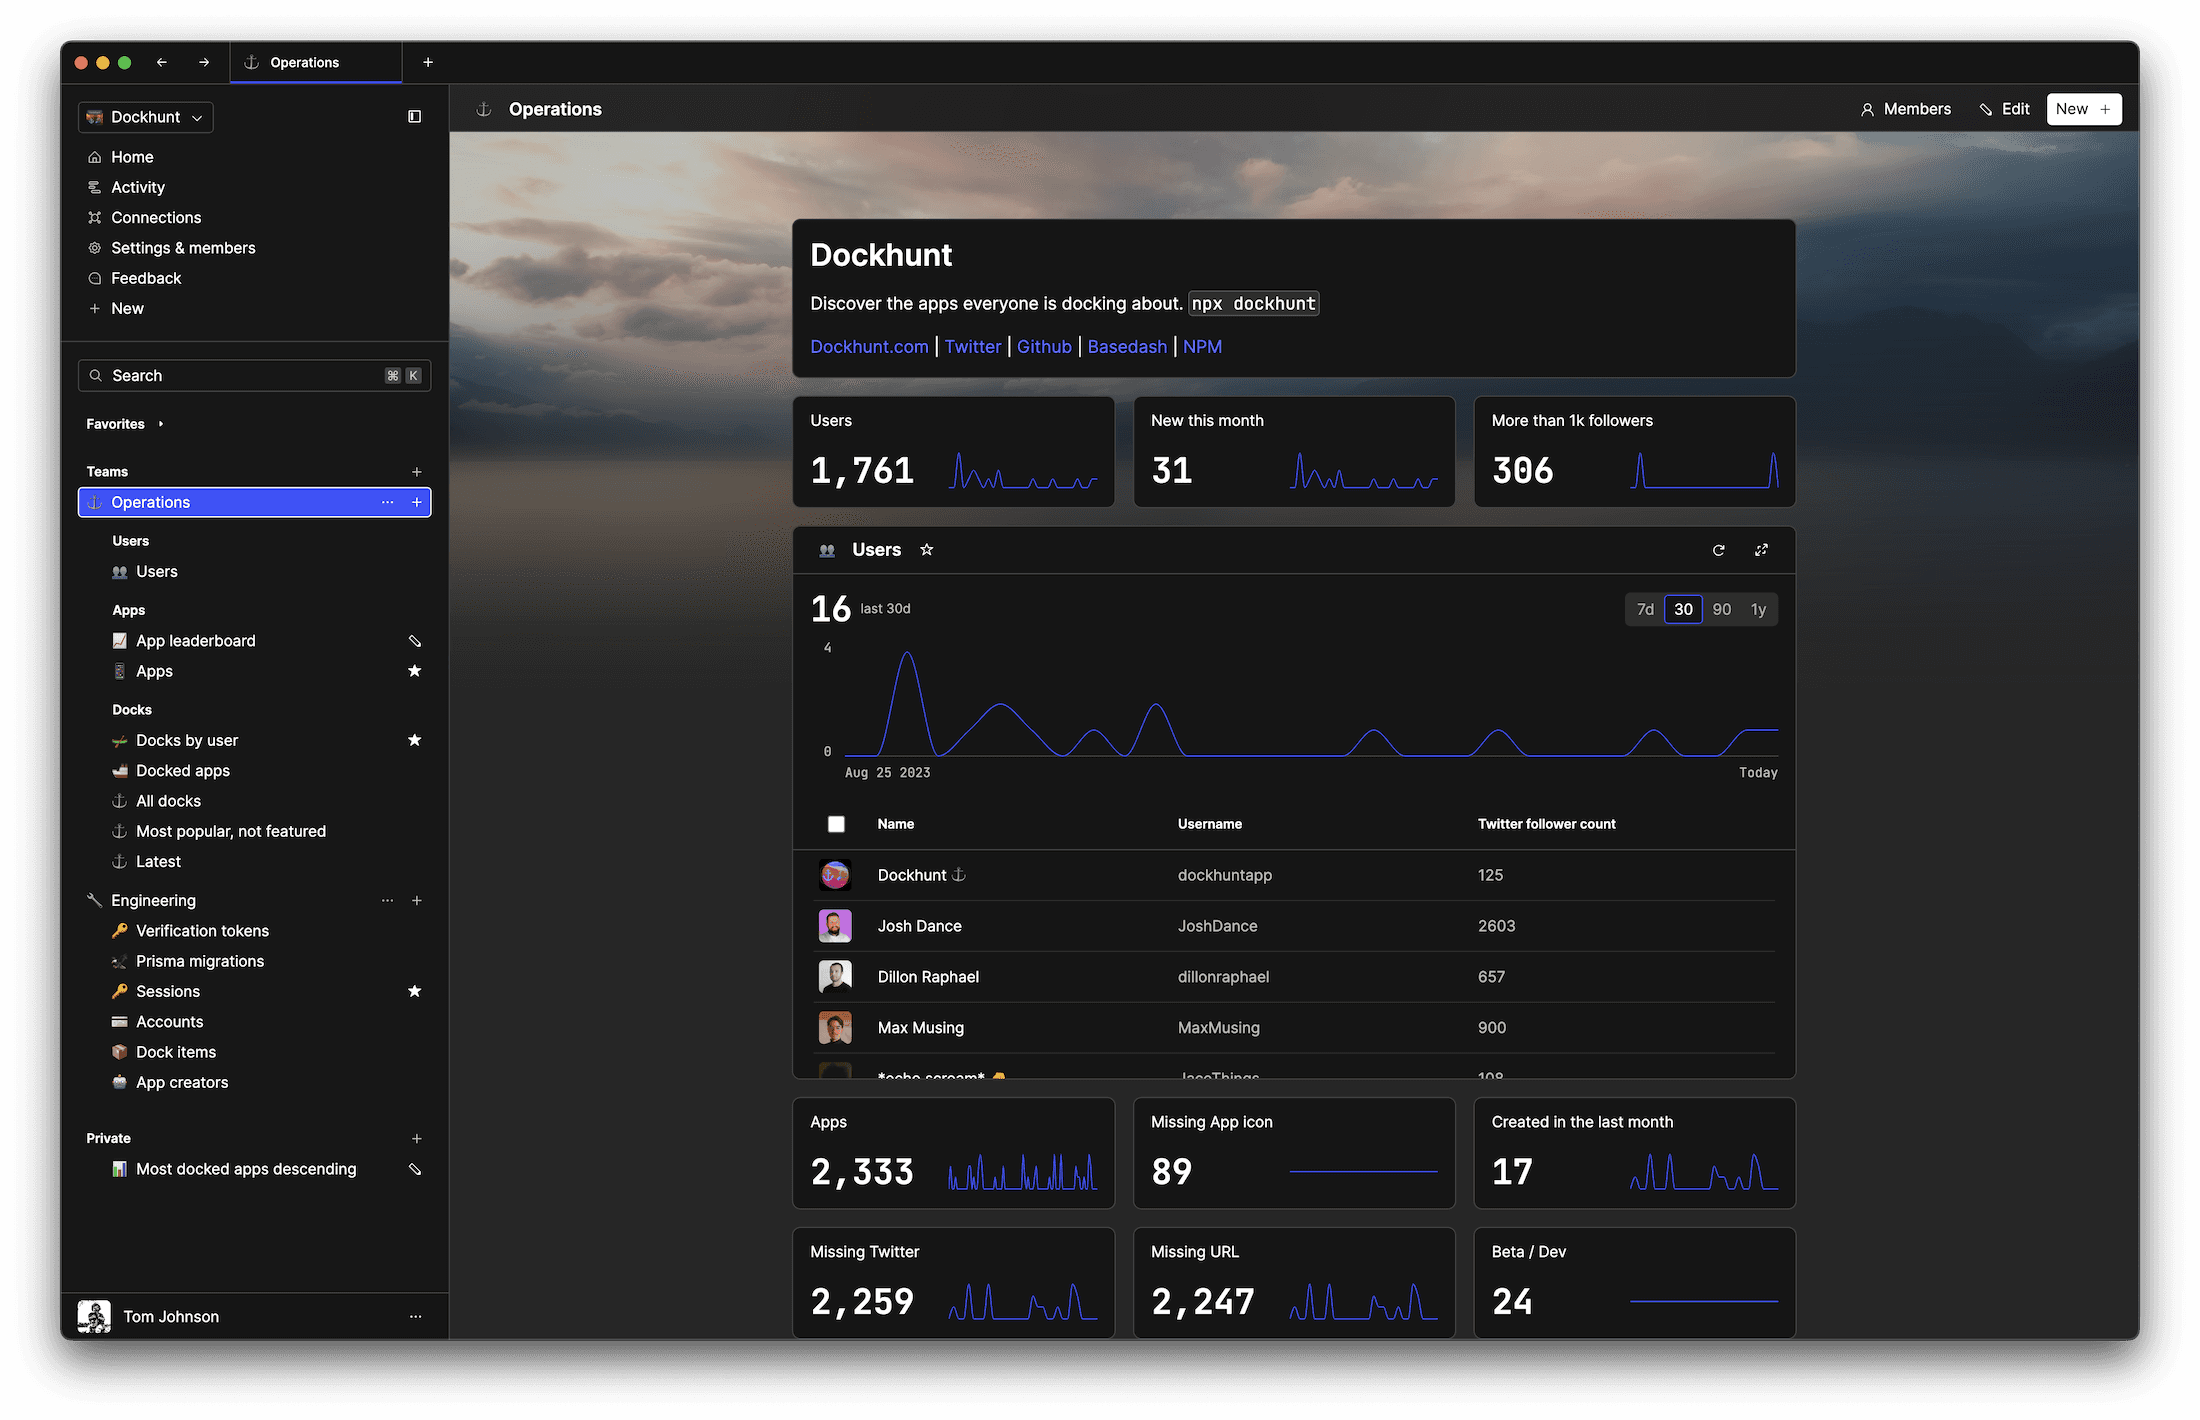
If you're building with MySQL, you need Basedash. It gives you an instantly generated admin panel to understand, query, build dashboards, edit, and share access to your data.
If you're building with MySQL, you need Basedash. It gives you an instantly generated admin panel to understand, query, build dashboards, edit, and share access to your data.
If you're building with MySQL, you need Basedash. It gives you an instantly generated admin panel to understand, query, build dashboards, edit, and share access to your data.
Dashboards and charts
Edit data, create records, oversee how your product is running without the need to build or manage custom software.
USER CRM
ADMIN PANEL
SQL COMPOSER WITH AI
Related posts
Related posts
Related posts


How to Add Columns to MySQL Tables with ALTER TABLE
Robert Cooper


How to Add Columns to Your MySQL Table
Max Musing


Pivot Tables in MySQL
Robert Cooper


How to Rename a Table in MySQL
Max Musing


How to Optimize MySQL Tables for Better Performance
Robert Cooper


How to Display MySQL Table Schema: A Guide
Jeremy Sarchet
