
How to uninstall MySQL workbench on Mac
November 9, 2023
Uninstalling MySQL Workbench on macOS is a straightforward process, but you need to ensure you remove all associated files and components. Here's a step-by-step guide for engineers who want to get things done efficiently.
Step 1: Quit MySQL Workbench
Ensure that MySQL Workbench is not currently running. You can do this by:
- Clicking on MySQL Workbench in the Dock (if it's open).
- Clicking
MySQL Workbenchin the menu bar. - Selecting
Quit MySQL Workbench.
Alternatively, use the shortcut Command + Q after focusing on the application.
Step 2: Drag MySQL Workbench to Trash
- Open
Finder. - Go to the
Applicationsfolder. - Locate
MySQL Workbench. - Drag the
MySQL Workbenchapp to theTrash, or right-click and chooseMove to Trash.
Step 3: Remove Associated Files
MySQL Workbench might leave some configuration files on your system. For a clean uninstall, you should remove these files.
- Open
Finder. - In the menu bar, click on
Goand then selectGo to Folder...(or use the shortcutShift + Command + G). - Enter the following paths and remove associated MySQL Workbench files if they exist:
~/Library/Application Support/MySQL/Workbench
~/Library/Preferences/com.oracle.workbench.MySQLWorkbench.plist
~/Library/Caches/com.oracle.workbench.MySQLWorkbench
~/Library/Saved Application State/com.oracle.workbench.MySQLWorkbench.savedState
Note: The ~ symbol represents your home directory.
You could ship faster.
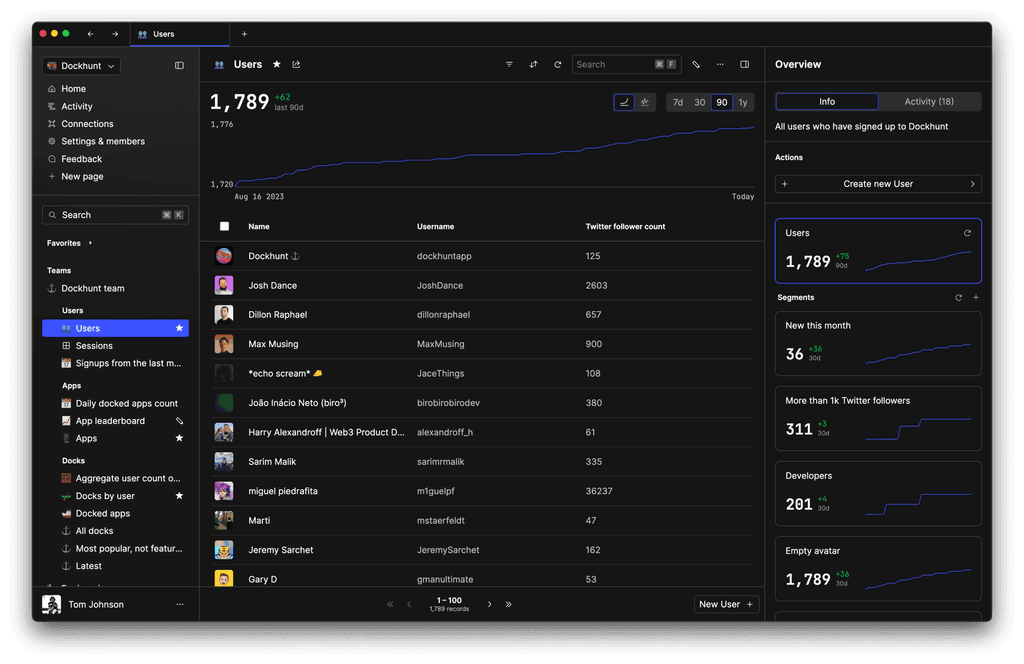
Imagine the time you'd save if you never had to build another internal tool, write a SQL report, or manage another admin panel again. Basedash is built by internal tool builders, for internal tool builders. Our mission is to change the way developers work, so you can focus on building your product.
Step 4: Empty the Trash
To permanently delete MySQL Workbench and its associated files:
- Right-click on the
Trashicon in the Dock. - Select
Empty Trash.
Caution: This action will delete all the items in your Trash, not just MySQL Workbench. Make sure you have verified the contents of your Trash before emptying it.
Optional Step: Uninstall MySQL Server (if needed)
If you also want to uninstall MySQL server:
- Open
Terminal(you can find it underApplications>Utilities). - Execute the following command:
sudo rm -rf /usr/local/mysql
Then, remove the MySQL user and group by executing:
sudo dscl . -delete /Users/mysql
sudo dscl . -delete /Groups/mysql
Remove MySQL preferences:
sudo rm /Library/Preferences/com.mysql.*
Conclusion
That's it! You've successfully uninstalled MySQL Workbench from your macOS. Remember, always back up important data before uninstalling any software, and be cautious when using the rm command or emptying the Trash to avoid unintentional data loss.
TOC
November 9, 2023
Uninstalling MySQL Workbench on macOS is a straightforward process, but you need to ensure you remove all associated files and components. Here's a step-by-step guide for engineers who want to get things done efficiently.
Step 1: Quit MySQL Workbench
Ensure that MySQL Workbench is not currently running. You can do this by:
- Clicking on MySQL Workbench in the Dock (if it's open).
- Clicking
MySQL Workbenchin the menu bar. - Selecting
Quit MySQL Workbench.
Alternatively, use the shortcut Command + Q after focusing on the application.
Step 2: Drag MySQL Workbench to Trash
- Open
Finder. - Go to the
Applicationsfolder. - Locate
MySQL Workbench. - Drag the
MySQL Workbenchapp to theTrash, or right-click and chooseMove to Trash.
Step 3: Remove Associated Files
MySQL Workbench might leave some configuration files on your system. For a clean uninstall, you should remove these files.
- Open
Finder. - In the menu bar, click on
Goand then selectGo to Folder...(or use the shortcutShift + Command + G). - Enter the following paths and remove associated MySQL Workbench files if they exist:
~/Library/Application Support/MySQL/Workbench
~/Library/Preferences/com.oracle.workbench.MySQLWorkbench.plist
~/Library/Caches/com.oracle.workbench.MySQLWorkbench
~/Library/Saved Application State/com.oracle.workbench.MySQLWorkbench.savedState
Note: The ~ symbol represents your home directory.
You could ship faster.
Imagine the time you'd save if you never had to build another internal tool, write a SQL report, or manage another admin panel again. Basedash is built by internal tool builders, for internal tool builders. Our mission is to change the way developers work, so you can focus on building your product.

Step 4: Empty the Trash
To permanently delete MySQL Workbench and its associated files:
- Right-click on the
Trashicon in the Dock. - Select
Empty Trash.
Caution: This action will delete all the items in your Trash, not just MySQL Workbench. Make sure you have verified the contents of your Trash before emptying it.
Optional Step: Uninstall MySQL Server (if needed)
If you also want to uninstall MySQL server:
- Open
Terminal(you can find it underApplications>Utilities). - Execute the following command:
sudo rm -rf /usr/local/mysql
Then, remove the MySQL user and group by executing:
sudo dscl . -delete /Users/mysql
sudo dscl . -delete /Groups/mysql
Remove MySQL preferences:
sudo rm /Library/Preferences/com.mysql.*
Conclusion
That's it! You've successfully uninstalled MySQL Workbench from your macOS. Remember, always back up important data before uninstalling any software, and be cautious when using the rm command or emptying the Trash to avoid unintentional data loss.
November 9, 2023
Uninstalling MySQL Workbench on macOS is a straightforward process, but you need to ensure you remove all associated files and components. Here's a step-by-step guide for engineers who want to get things done efficiently.
Step 1: Quit MySQL Workbench
Ensure that MySQL Workbench is not currently running. You can do this by:
- Clicking on MySQL Workbench in the Dock (if it's open).
- Clicking
MySQL Workbenchin the menu bar. - Selecting
Quit MySQL Workbench.
Alternatively, use the shortcut Command + Q after focusing on the application.
Step 2: Drag MySQL Workbench to Trash
- Open
Finder. - Go to the
Applicationsfolder. - Locate
MySQL Workbench. - Drag the
MySQL Workbenchapp to theTrash, or right-click and chooseMove to Trash.
Step 3: Remove Associated Files
MySQL Workbench might leave some configuration files on your system. For a clean uninstall, you should remove these files.
- Open
Finder. - In the menu bar, click on
Goand then selectGo to Folder...(or use the shortcutShift + Command + G). - Enter the following paths and remove associated MySQL Workbench files if they exist:
~/Library/Application Support/MySQL/Workbench
~/Library/Preferences/com.oracle.workbench.MySQLWorkbench.plist
~/Library/Caches/com.oracle.workbench.MySQLWorkbench
~/Library/Saved Application State/com.oracle.workbench.MySQLWorkbench.savedState
Note: The ~ symbol represents your home directory.
You could ship faster.
Imagine the time you'd save if you never had to build another internal tool, write a SQL report, or manage another admin panel again. Basedash is built by internal tool builders, for internal tool builders. Our mission is to change the way developers work, so you can focus on building your product.

Step 4: Empty the Trash
To permanently delete MySQL Workbench and its associated files:
- Right-click on the
Trashicon in the Dock. - Select
Empty Trash.
Caution: This action will delete all the items in your Trash, not just MySQL Workbench. Make sure you have verified the contents of your Trash before emptying it.
Optional Step: Uninstall MySQL Server (if needed)
If you also want to uninstall MySQL server:
- Open
Terminal(you can find it underApplications>Utilities). - Execute the following command:
sudo rm -rf /usr/local/mysql
Then, remove the MySQL user and group by executing:
sudo dscl . -delete /Users/mysql
sudo dscl . -delete /Groups/mysql
Remove MySQL preferences:
sudo rm /Library/Preferences/com.mysql.*
Conclusion
That's it! You've successfully uninstalled MySQL Workbench from your macOS. Remember, always back up important data before uninstalling any software, and be cautious when using the rm command or emptying the Trash to avoid unintentional data loss.
What is Basedash?
What is Basedash?
What is Basedash?
Basedash is the best MySQL admin panel
Basedash is the best MySQL admin panel
Basedash is the best MySQL admin panel
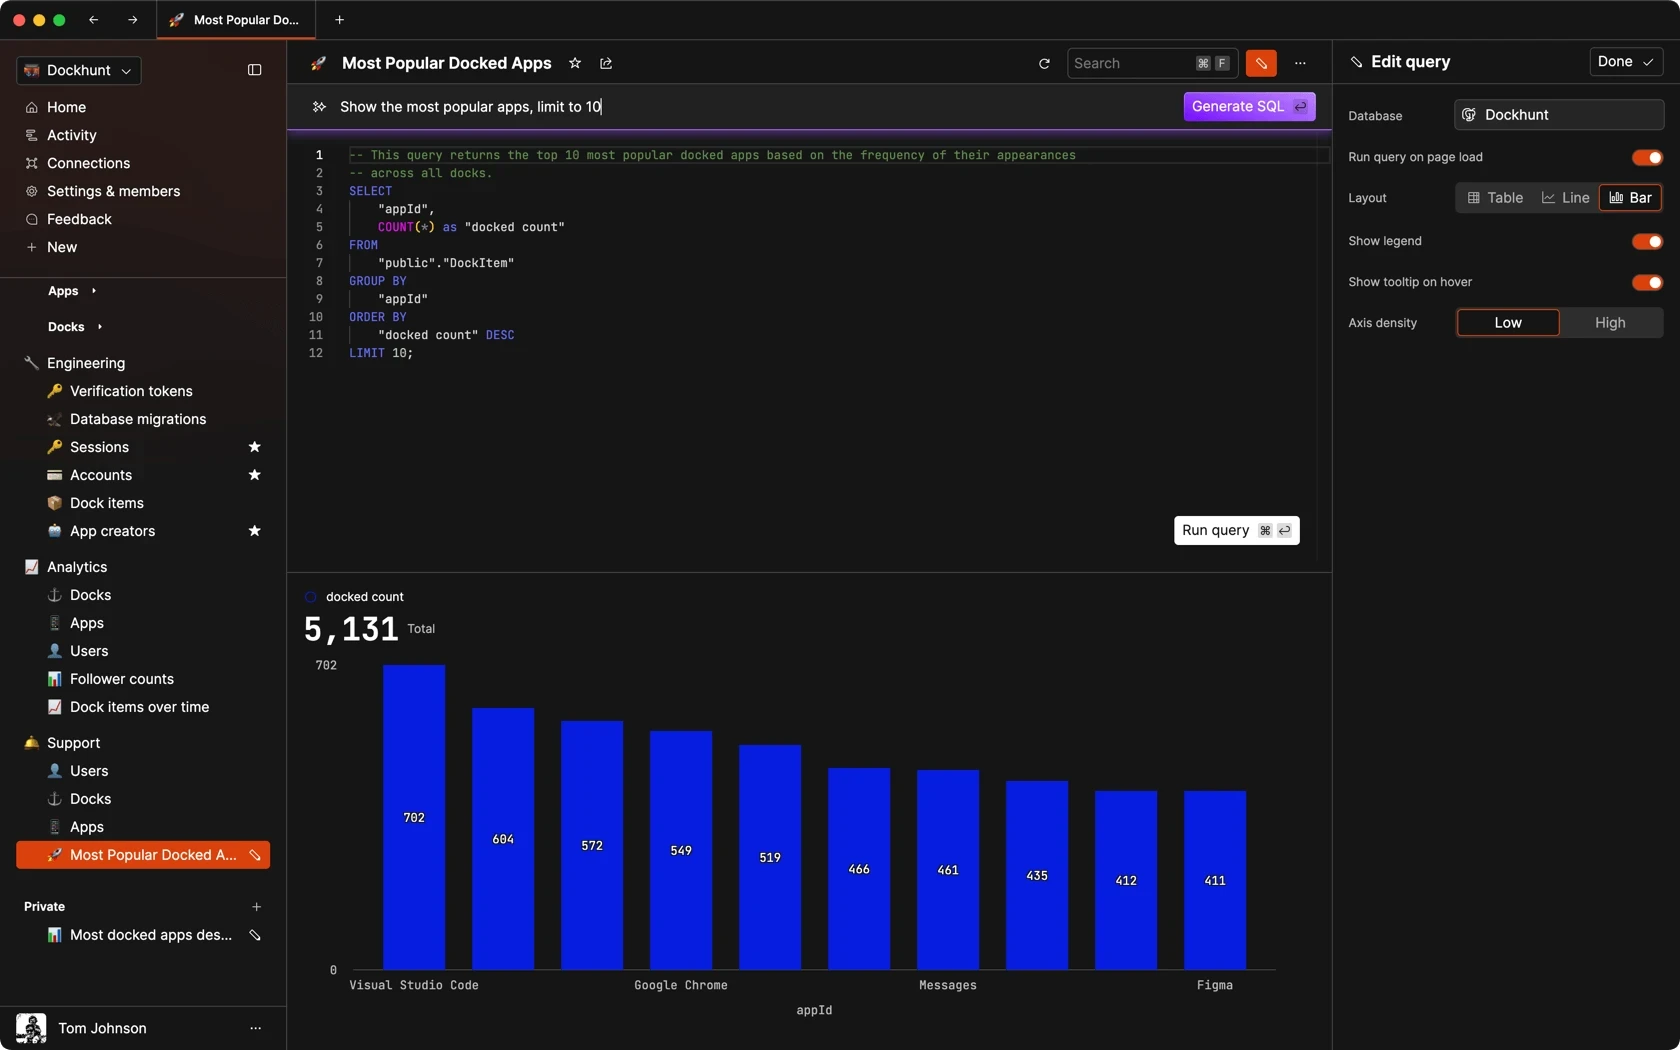
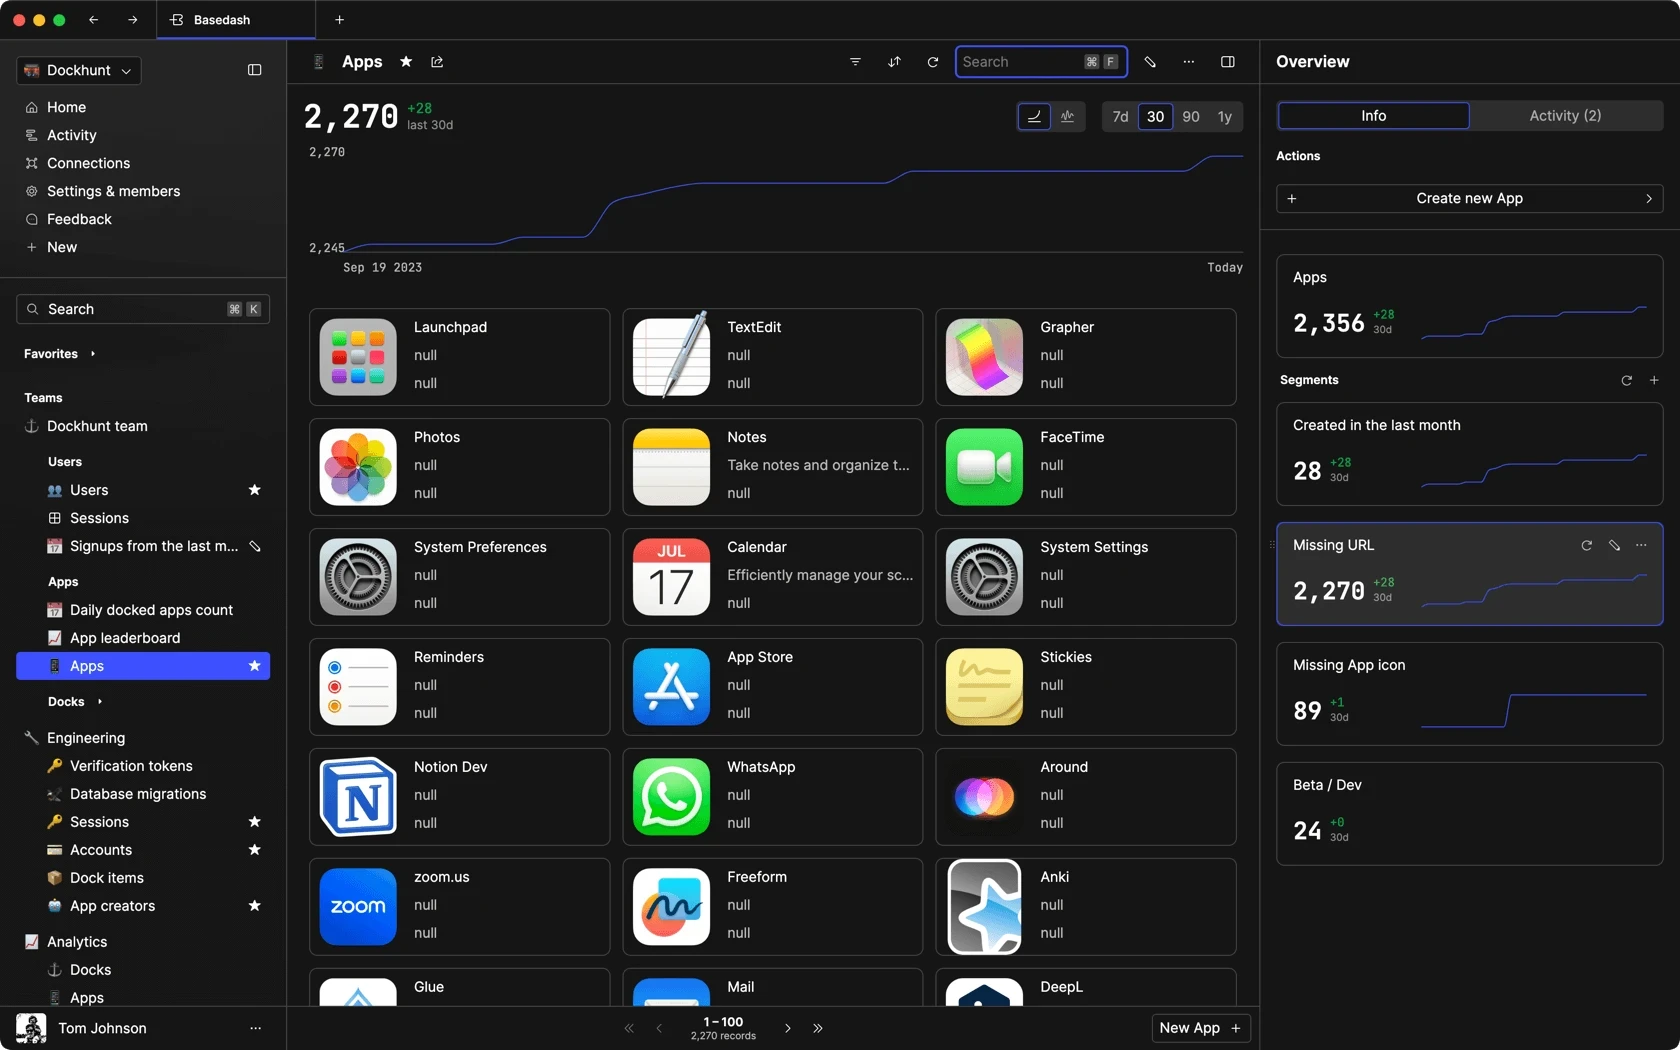
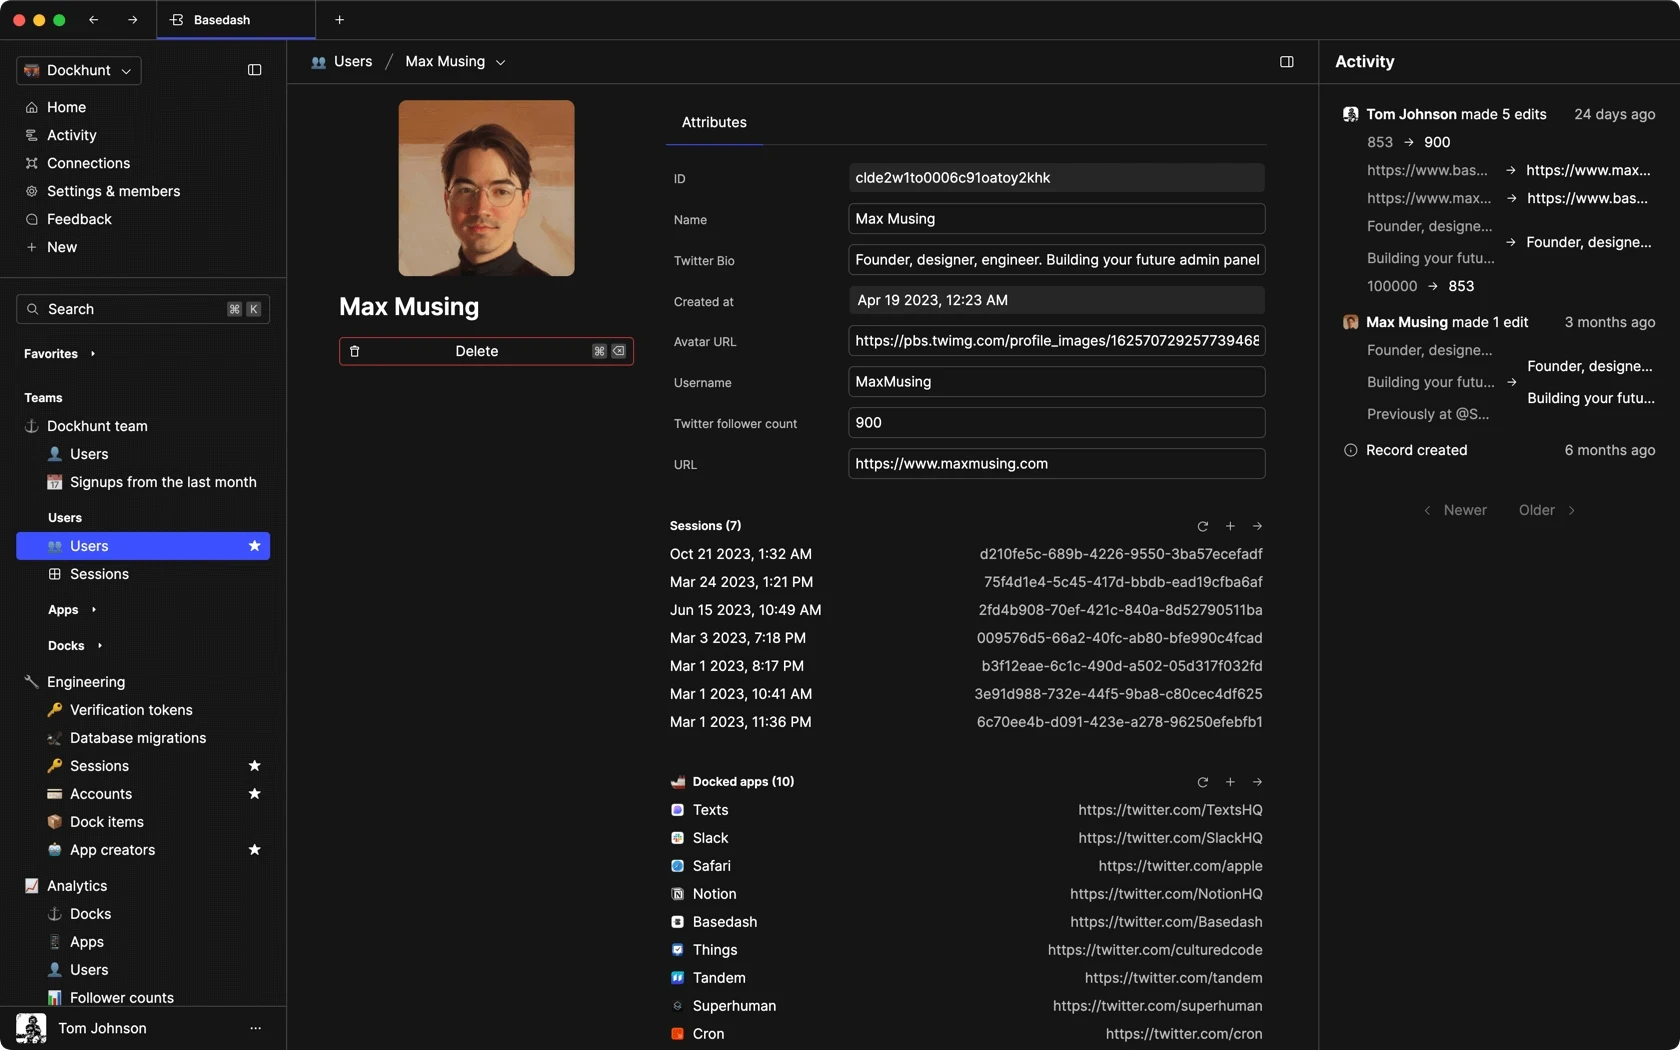
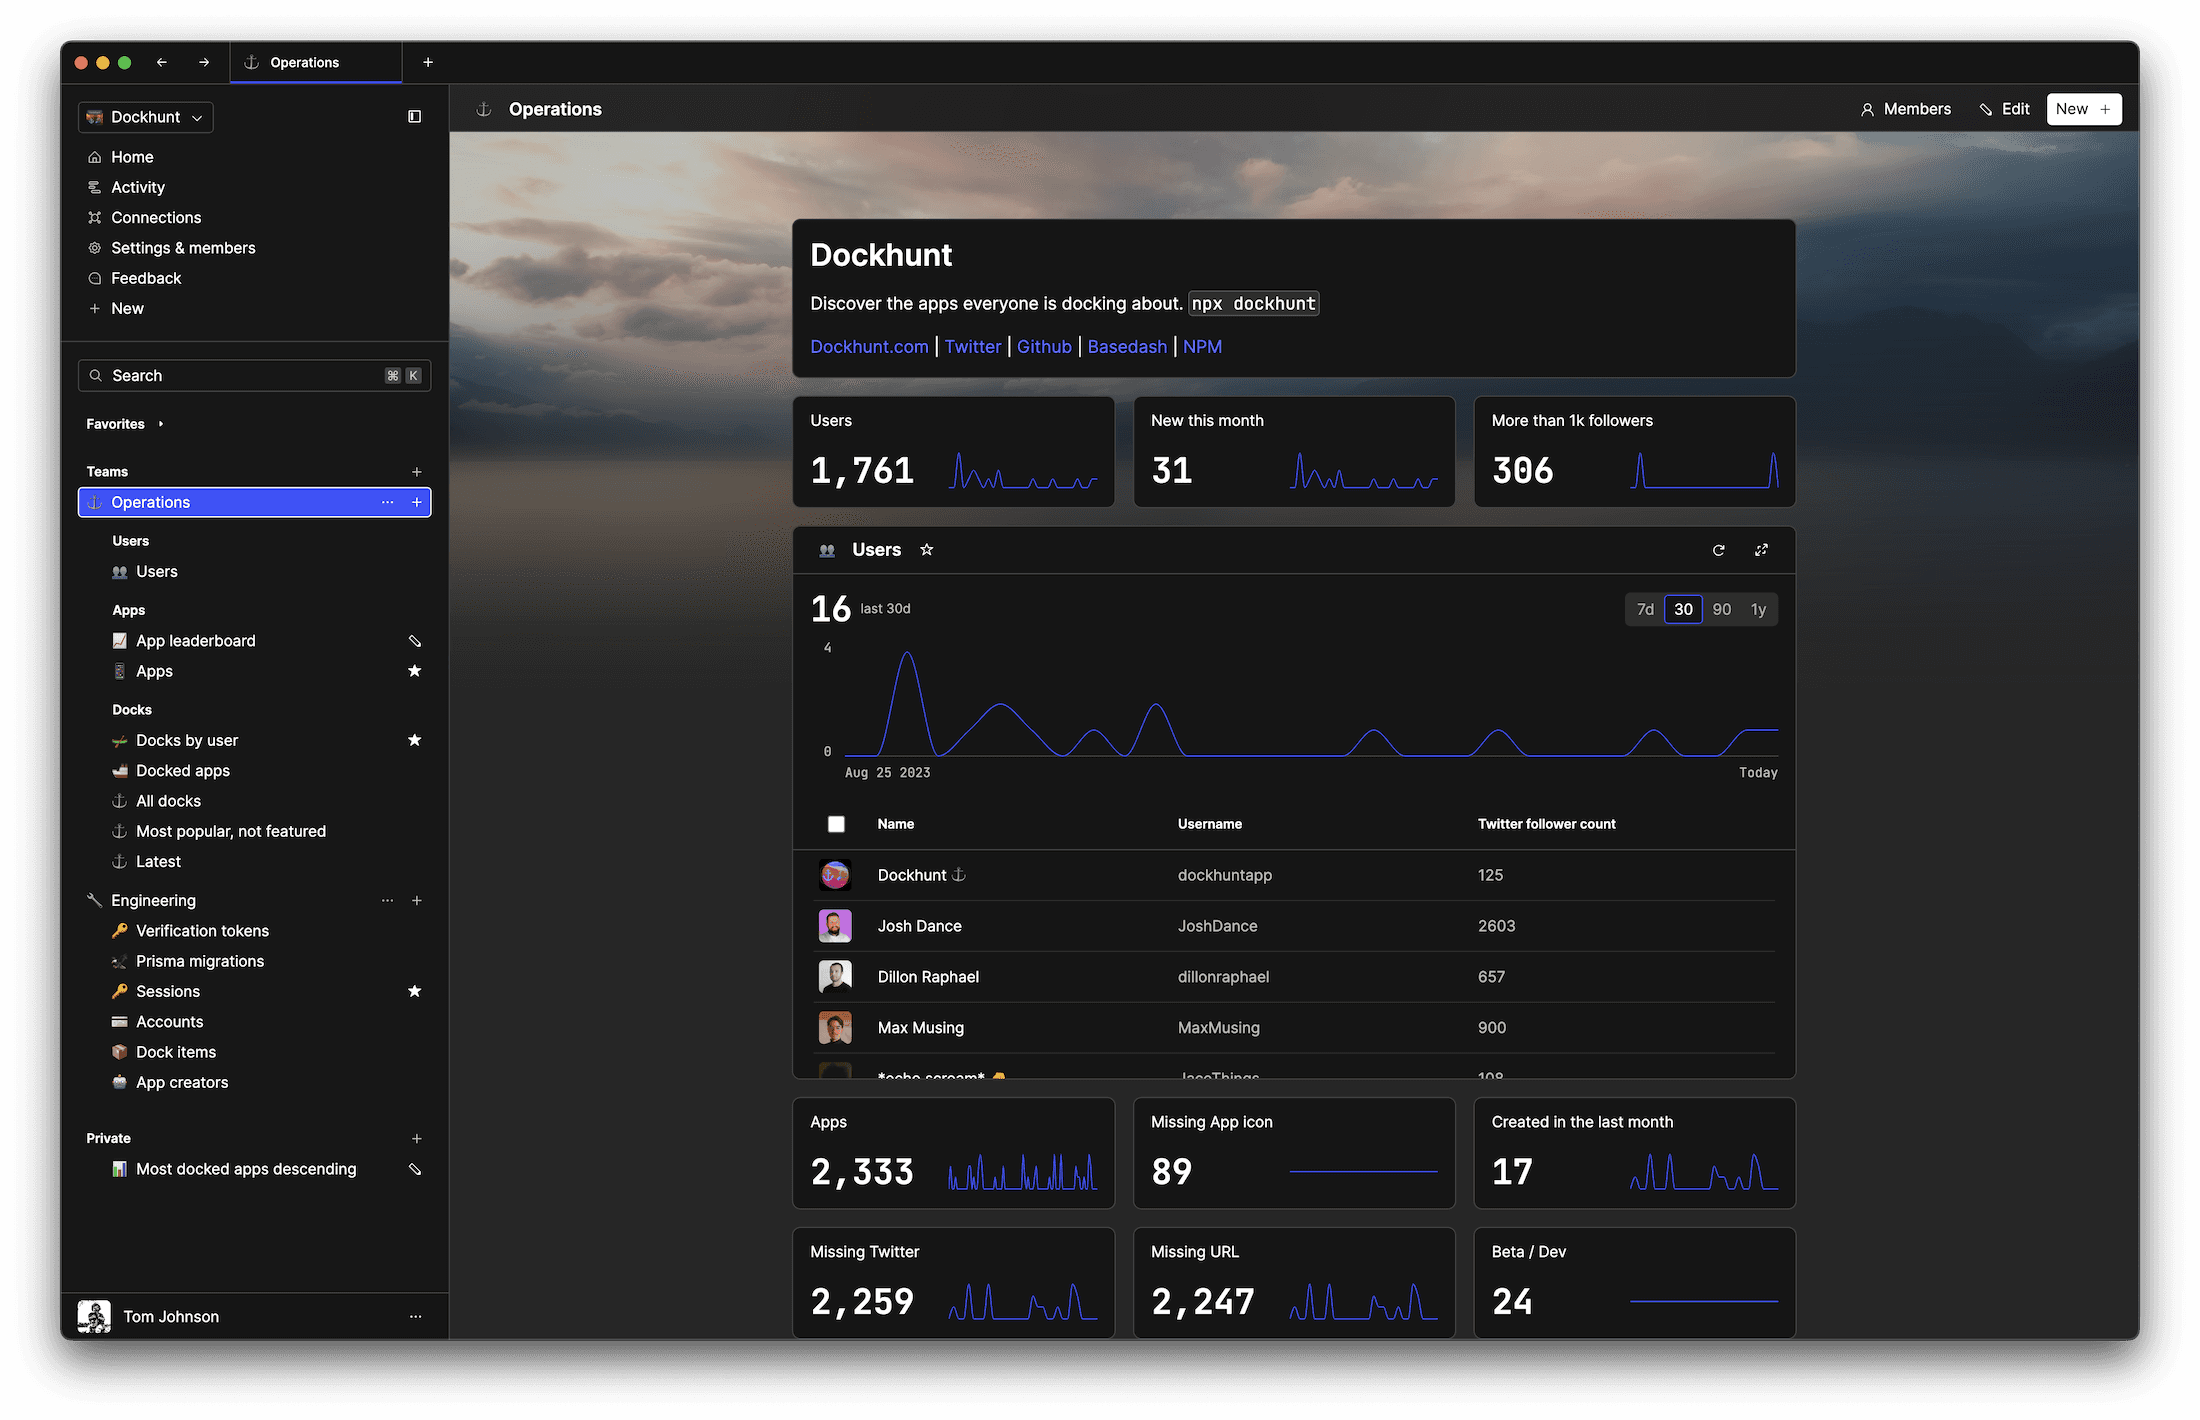
If you're building with MySQL, you need Basedash. It gives you an instantly generated admin panel to understand, query, build dashboards, edit, and share access to your data.
If you're building with MySQL, you need Basedash. It gives you an instantly generated admin panel to understand, query, build dashboards, edit, and share access to your data.
If you're building with MySQL, you need Basedash. It gives you an instantly generated admin panel to understand, query, build dashboards, edit, and share access to your data.
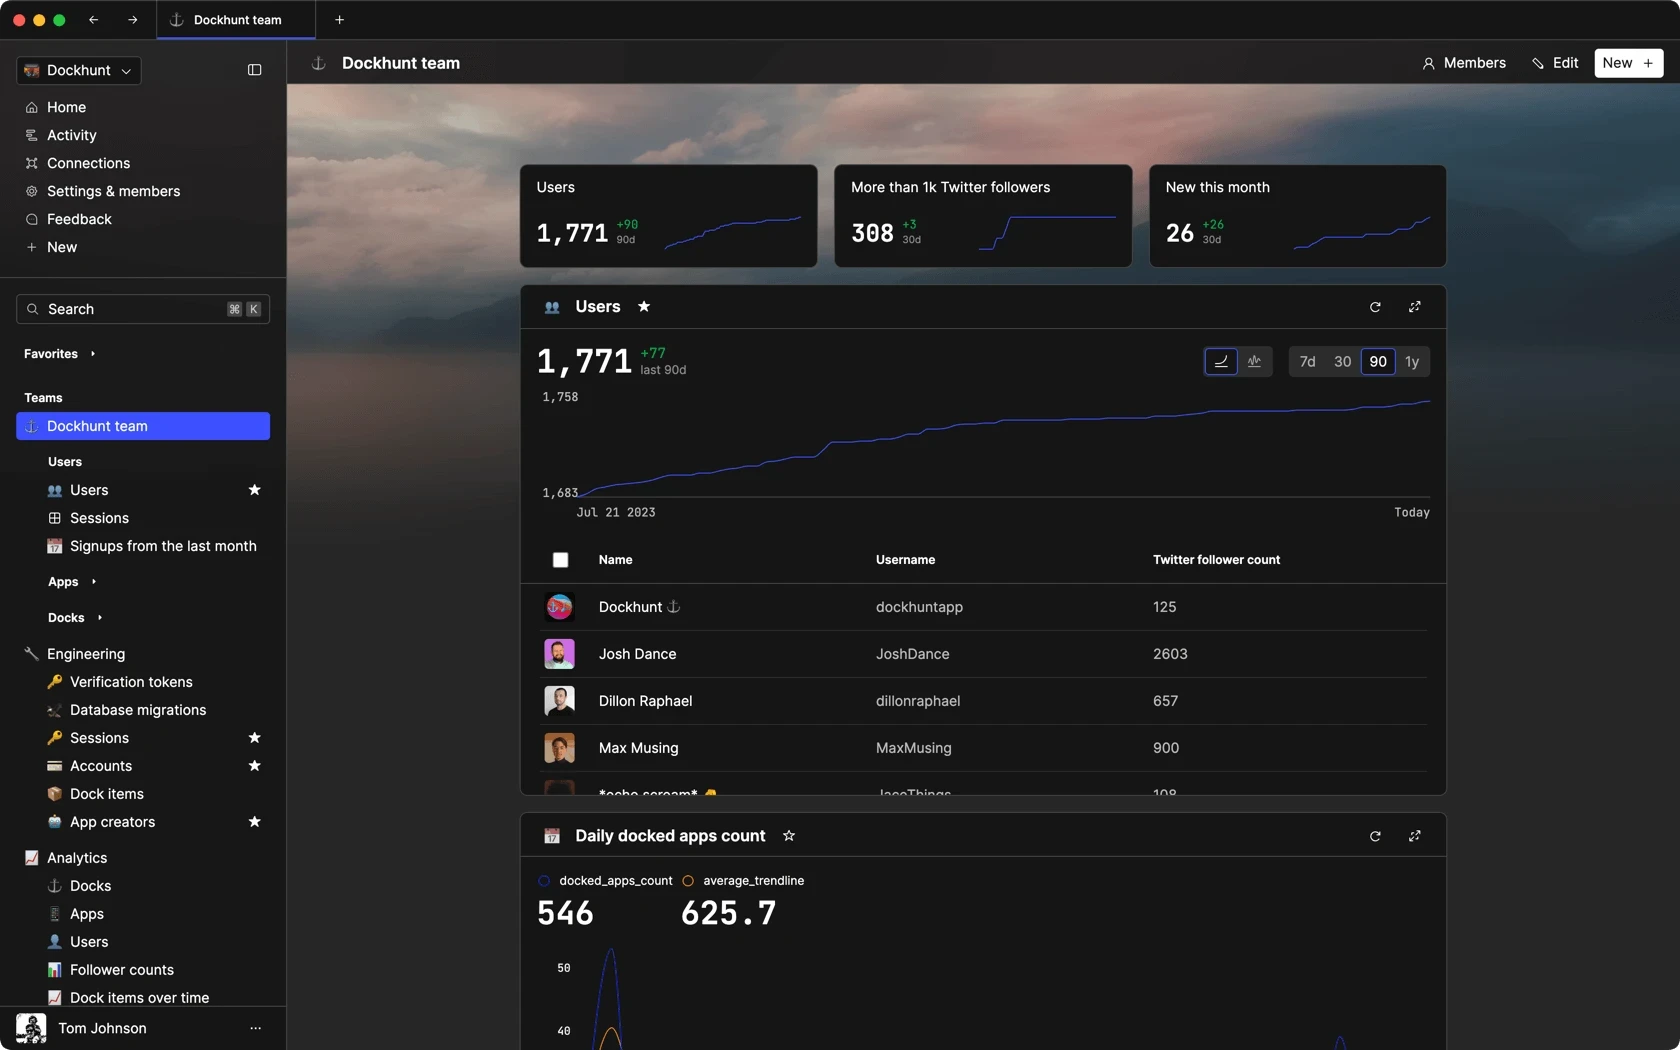
Dashboards and charts
Edit data, create records, oversee how your product is running without the need to build or manage custom software.
USER CRM
ADMIN PANEL
SQL COMPOSER WITH AI
Related posts
Related posts
Related posts


How to Add Columns to MySQL Tables with ALTER TABLE
Robert Cooper


How to Add Columns to Your MySQL Table
Max Musing


Pivot Tables in MySQL
Robert Cooper


How to Rename a Table in MySQL
Max Musing



How to Optimize MySQL Tables for Better Performance
Robert Cooper



How to Display MySQL Table Schema: A Guide
Jeremy Sarchet
