
How to use MySQL on Mac
November 9, 2023
This guide provides step-by-step instructions for installing and using MySQL on macOS. It's tailored for engineers looking to get MySQL up and running quickly and efficiently.
1. Installing MySQL
Using Homebrew:
If you don't have Homebrew installed, you'll want to start there:
/bin/bash -c "$(curl -fsSL <https://raw.githubusercontent.com/Homebrew/install/HEAD/install.sh>)"
Once Homebrew is installed:
brew update
brew install mysql
Manual Installation:
- Go to the official MySQL website's download page and download the macOS version of MySQL Community Server.
- Open the downloaded DMG file.
- Follow the installation instructions.
2. Starting and Stopping the MySQL Server
Using Homebrew:
# To start MySQL
brew services start mysql

# To stop MySQL
brew services stop mysql
Manually:
sudo /usr/local/mysql/support-files/mysql.server start
sudo /usr/local/mysql/support-files/mysql.server stop
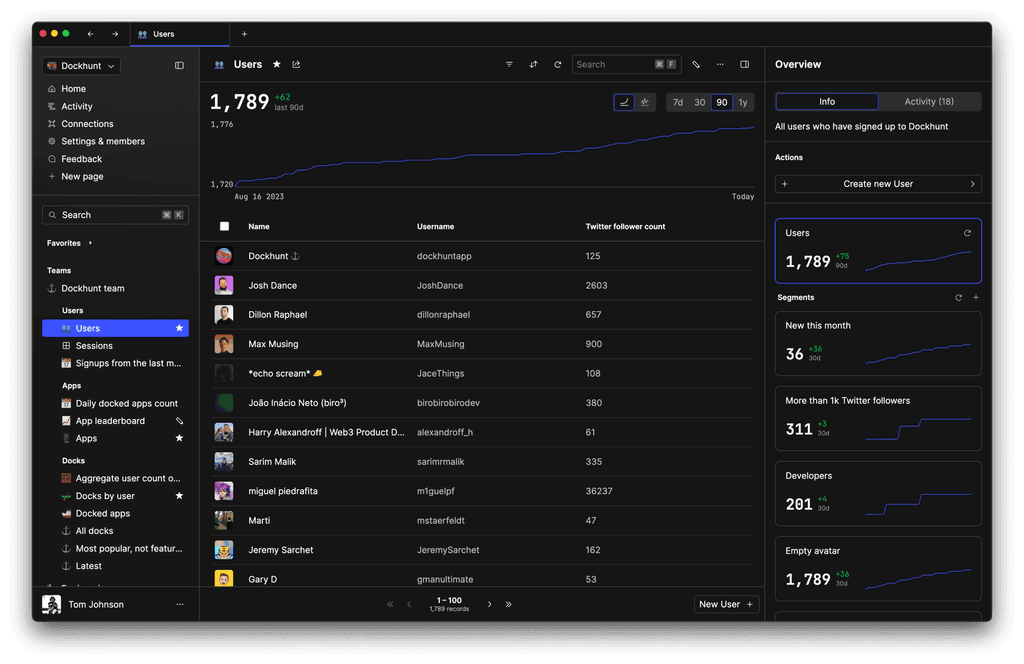
You could ship faster.
Imagine the time you'd save if you never had to build another internal tool, write a SQL report, or manage another admin panel again. Basedash is built by internal tool builders, for internal tool builders. Our mission is to change the way developers work, so you can focus on building your product.
3. Connecting to the MySQL Server
By default, MySQL creates a user root with no password. You can connect to the MySQL server with the following command:
mysql -uroot
If you've set a password for root (recommended):
mysql -uroot -p
It will then prompt you for the password.
4. Basic MySQL Commands
Once connected, here are a few basic commands to get started:
- Show all databases:
SHOW DATABASES; - Create a new database:
CREATE DATABASE dbname; - Switch to a database:
USE dbname; - Show all tables in the current database:
SHOW TABLES; - Display structure of a table:
DESCRIBE tablename;
Remember to end each command with a semicolon (;).
5. Uninstalling MySQL
Using Homebrew:
brew remove mysql
brew cleanup
Manually:
Stop the MySQL server:
sudo /usr/local/mysql/support-files/mysql.server stop
Remove MySQL files:
sudo rm -rf /usr/local/mysql
sudo rm -rf /usr/local/mysql-*
sudo rm -rf /Library/StartupItems/MySQLCOM
Remove MySQL preferences:
sudo rm -rf /Library/PreferencePanes/My*
rm -rf ~/Library/PreferencePanes/My*
sudo rm -rf /Library/Receipts/mysql*
sudo rm -rf /Library/Receipts/MySQL*
sudo rm -rf /private/var/db/receipts/*mysql*
Remove the MySQL user and group (be cautious with this step):
sudo dscl . -delete /Users/mysql
sudo dscl . -delete /Groups/mysql
That's it! You should now have a solid foundation for using MySQL on your Mac. As always, consult the official MySQL documentation for deeper dives into specific topics and advanced configurations.
TOC
November 9, 2023
This guide provides step-by-step instructions for installing and using MySQL on macOS. It's tailored for engineers looking to get MySQL up and running quickly and efficiently.
1. Installing MySQL
Using Homebrew:
If you don't have Homebrew installed, you'll want to start there:
/bin/bash -c "$(curl -fsSL <https://raw.githubusercontent.com/Homebrew/install/HEAD/install.sh>)"
Once Homebrew is installed:
brew update
brew install mysql
Manual Installation:
- Go to the official MySQL website's download page and download the macOS version of MySQL Community Server.
- Open the downloaded DMG file.
- Follow the installation instructions.
2. Starting and Stopping the MySQL Server
Using Homebrew:
# To start MySQL
brew services start mysql

# To stop MySQL
brew services stop mysql
Manually:
sudo /usr/local/mysql/support-files/mysql.server start
sudo /usr/local/mysql/support-files/mysql.server stop
You could ship faster.
Imagine the time you'd save if you never had to build another internal tool, write a SQL report, or manage another admin panel again. Basedash is built by internal tool builders, for internal tool builders. Our mission is to change the way developers work, so you can focus on building your product.

3. Connecting to the MySQL Server
By default, MySQL creates a user root with no password. You can connect to the MySQL server with the following command:
mysql -uroot
If you've set a password for root (recommended):
mysql -uroot -p
It will then prompt you for the password.
4. Basic MySQL Commands
Once connected, here are a few basic commands to get started:
- Show all databases:
SHOW DATABASES; - Create a new database:
CREATE DATABASE dbname; - Switch to a database:
USE dbname; - Show all tables in the current database:
SHOW TABLES; - Display structure of a table:
DESCRIBE tablename;
Remember to end each command with a semicolon (;).
5. Uninstalling MySQL
Using Homebrew:
brew remove mysql
brew cleanup
Manually:
Stop the MySQL server:
sudo /usr/local/mysql/support-files/mysql.server stop
Remove MySQL files:
sudo rm -rf /usr/local/mysql
sudo rm -rf /usr/local/mysql-*
sudo rm -rf /Library/StartupItems/MySQLCOM
Remove MySQL preferences:
sudo rm -rf /Library/PreferencePanes/My*
rm -rf ~/Library/PreferencePanes/My*
sudo rm -rf /Library/Receipts/mysql*
sudo rm -rf /Library/Receipts/MySQL*
sudo rm -rf /private/var/db/receipts/*mysql*
Remove the MySQL user and group (be cautious with this step):
sudo dscl . -delete /Users/mysql
sudo dscl . -delete /Groups/mysql
That's it! You should now have a solid foundation for using MySQL on your Mac. As always, consult the official MySQL documentation for deeper dives into specific topics and advanced configurations.
November 9, 2023
This guide provides step-by-step instructions for installing and using MySQL on macOS. It's tailored for engineers looking to get MySQL up and running quickly and efficiently.
1. Installing MySQL
Using Homebrew:
If you don't have Homebrew installed, you'll want to start there:
/bin/bash -c "$(curl -fsSL <https://raw.githubusercontent.com/Homebrew/install/HEAD/install.sh>)"
Once Homebrew is installed:
brew update
brew install mysql
Manual Installation:
- Go to the official MySQL website's download page and download the macOS version of MySQL Community Server.
- Open the downloaded DMG file.
- Follow the installation instructions.
2. Starting and Stopping the MySQL Server
Using Homebrew:
# To start MySQL
brew services start mysql

# To stop MySQL
brew services stop mysql
Manually:
sudo /usr/local/mysql/support-files/mysql.server start
sudo /usr/local/mysql/support-files/mysql.server stop
You could ship faster.
Imagine the time you'd save if you never had to build another internal tool, write a SQL report, or manage another admin panel again. Basedash is built by internal tool builders, for internal tool builders. Our mission is to change the way developers work, so you can focus on building your product.

3. Connecting to the MySQL Server
By default, MySQL creates a user root with no password. You can connect to the MySQL server with the following command:
mysql -uroot
If you've set a password for root (recommended):
mysql -uroot -p
It will then prompt you for the password.
4. Basic MySQL Commands
Once connected, here are a few basic commands to get started:
- Show all databases:
SHOW DATABASES; - Create a new database:
CREATE DATABASE dbname; - Switch to a database:
USE dbname; - Show all tables in the current database:
SHOW TABLES; - Display structure of a table:
DESCRIBE tablename;
Remember to end each command with a semicolon (;).
5. Uninstalling MySQL
Using Homebrew:
brew remove mysql
brew cleanup
Manually:
Stop the MySQL server:
sudo /usr/local/mysql/support-files/mysql.server stop
Remove MySQL files:
sudo rm -rf /usr/local/mysql
sudo rm -rf /usr/local/mysql-*
sudo rm -rf /Library/StartupItems/MySQLCOM
Remove MySQL preferences:
sudo rm -rf /Library/PreferencePanes/My*
rm -rf ~/Library/PreferencePanes/My*
sudo rm -rf /Library/Receipts/mysql*
sudo rm -rf /Library/Receipts/MySQL*
sudo rm -rf /private/var/db/receipts/*mysql*
Remove the MySQL user and group (be cautious with this step):
sudo dscl . -delete /Users/mysql
sudo dscl . -delete /Groups/mysql
That's it! You should now have a solid foundation for using MySQL on your Mac. As always, consult the official MySQL documentation for deeper dives into specific topics and advanced configurations.
What is Basedash?
What is Basedash?
What is Basedash?
Basedash is the best MySQL admin panel
Basedash is the best MySQL admin panel
Basedash is the best MySQL admin panel
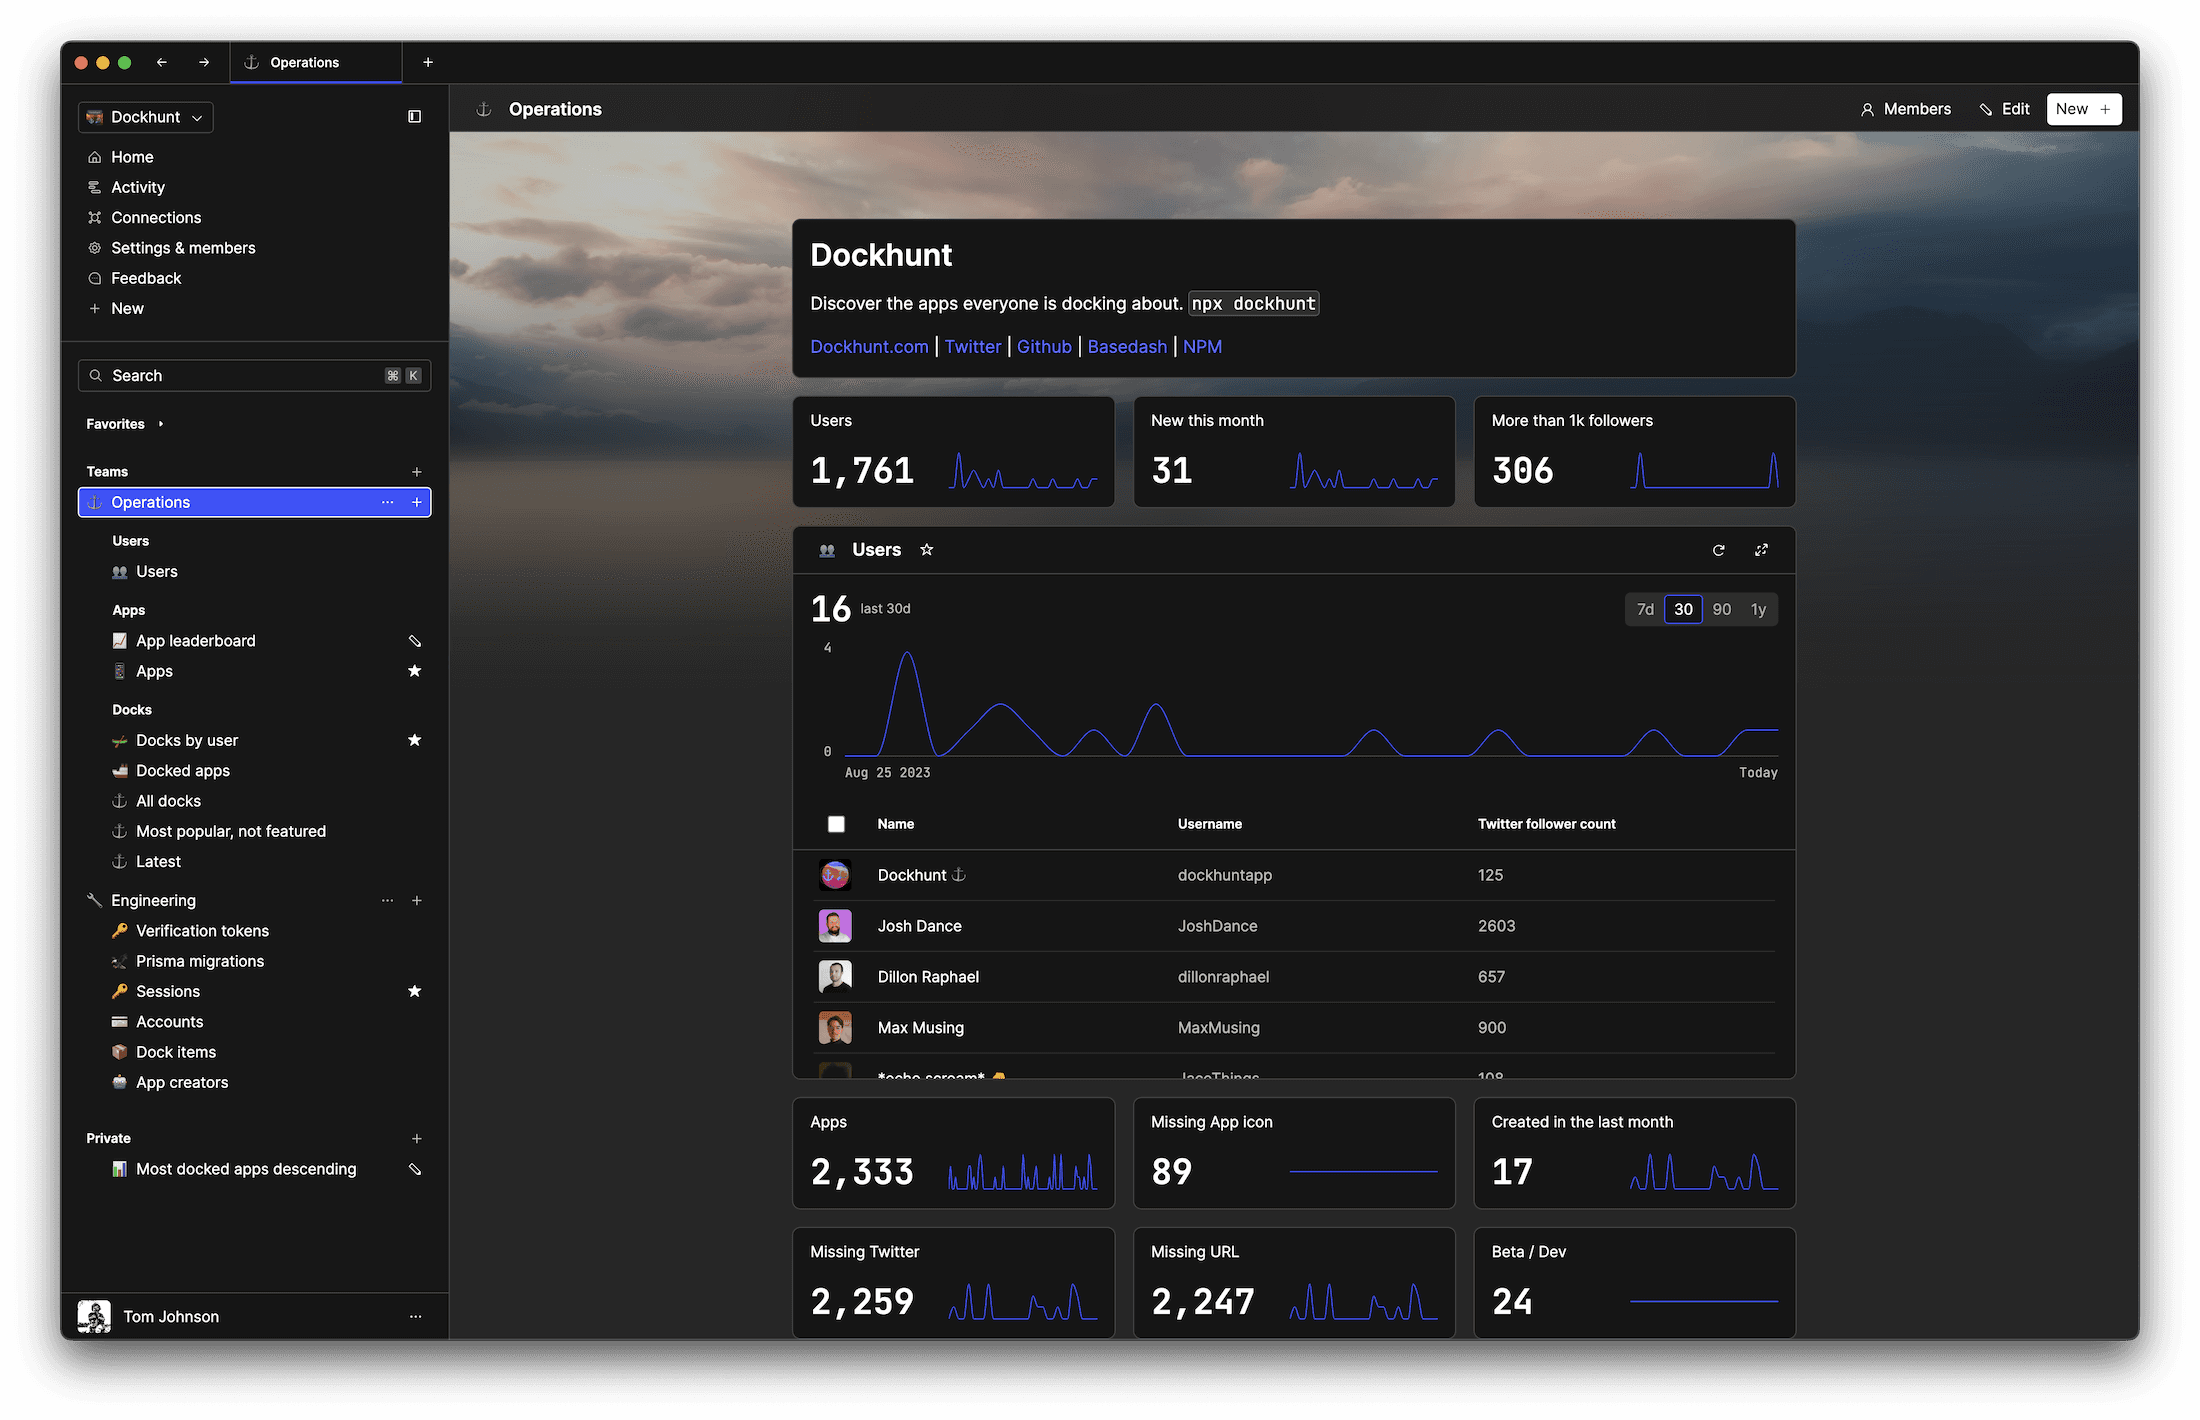
If you're building with MySQL, you need Basedash. It gives you an instantly generated admin panel to understand, query, build dashboards, edit, and share access to your data.
If you're building with MySQL, you need Basedash. It gives you an instantly generated admin panel to understand, query, build dashboards, edit, and share access to your data.
If you're building with MySQL, you need Basedash. It gives you an instantly generated admin panel to understand, query, build dashboards, edit, and share access to your data.
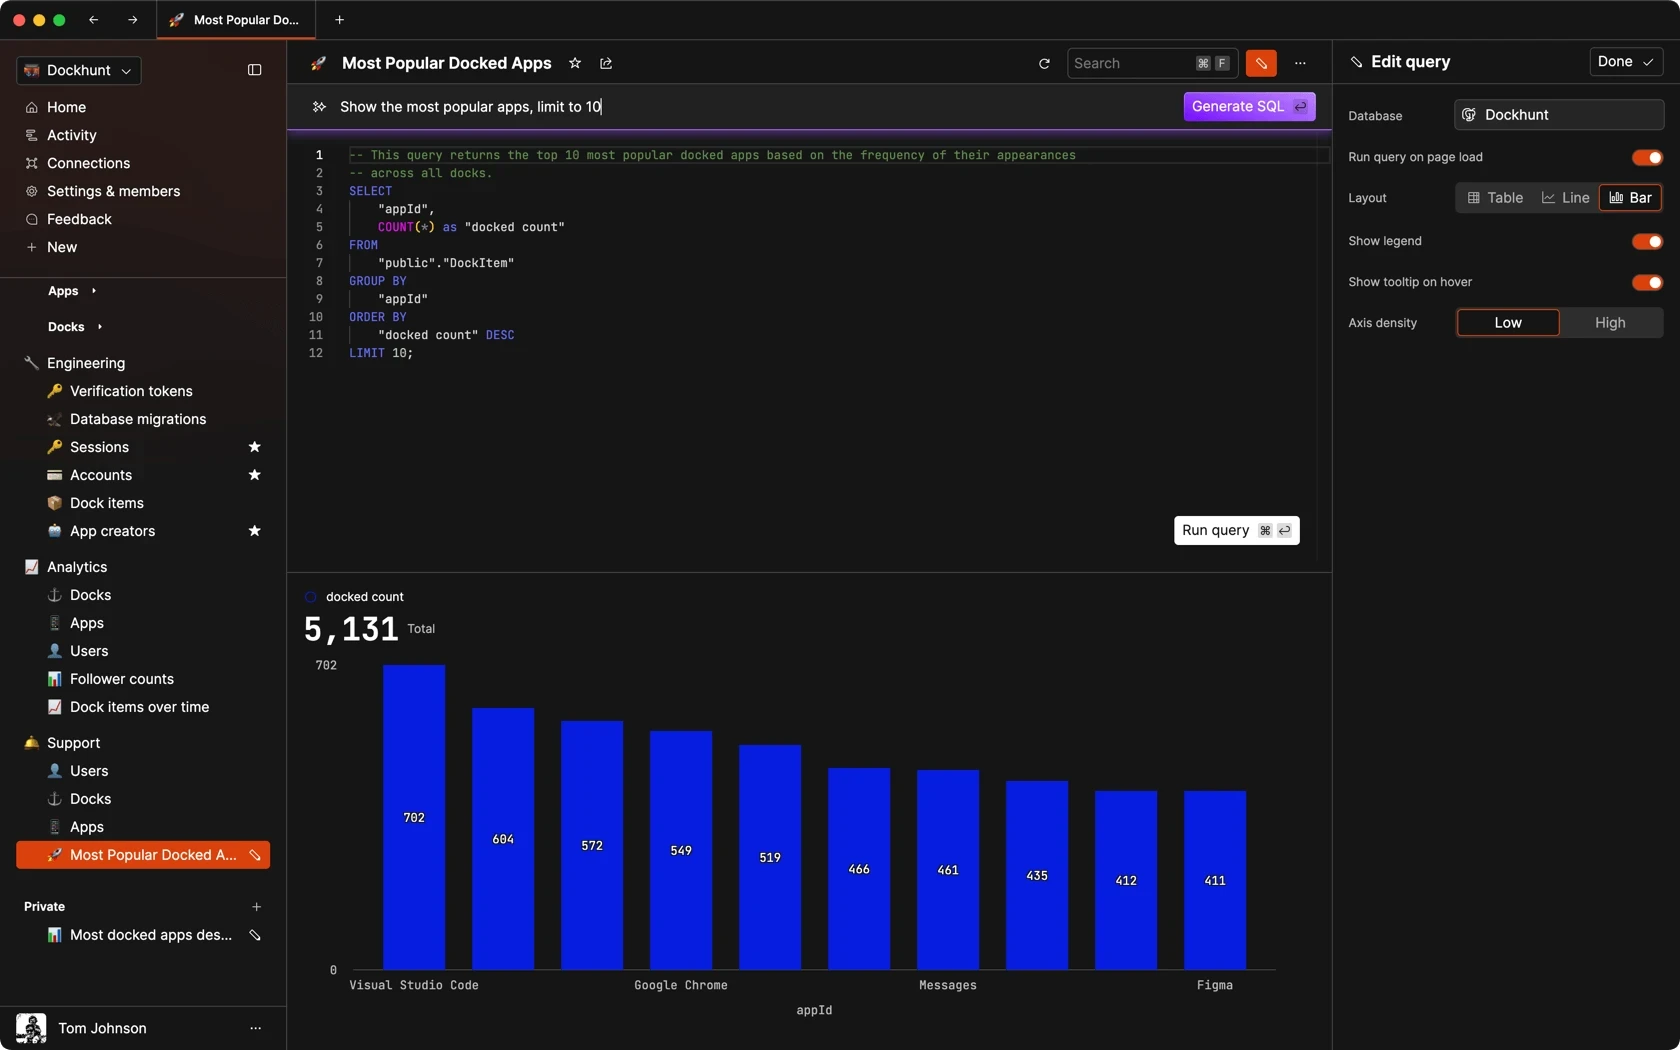
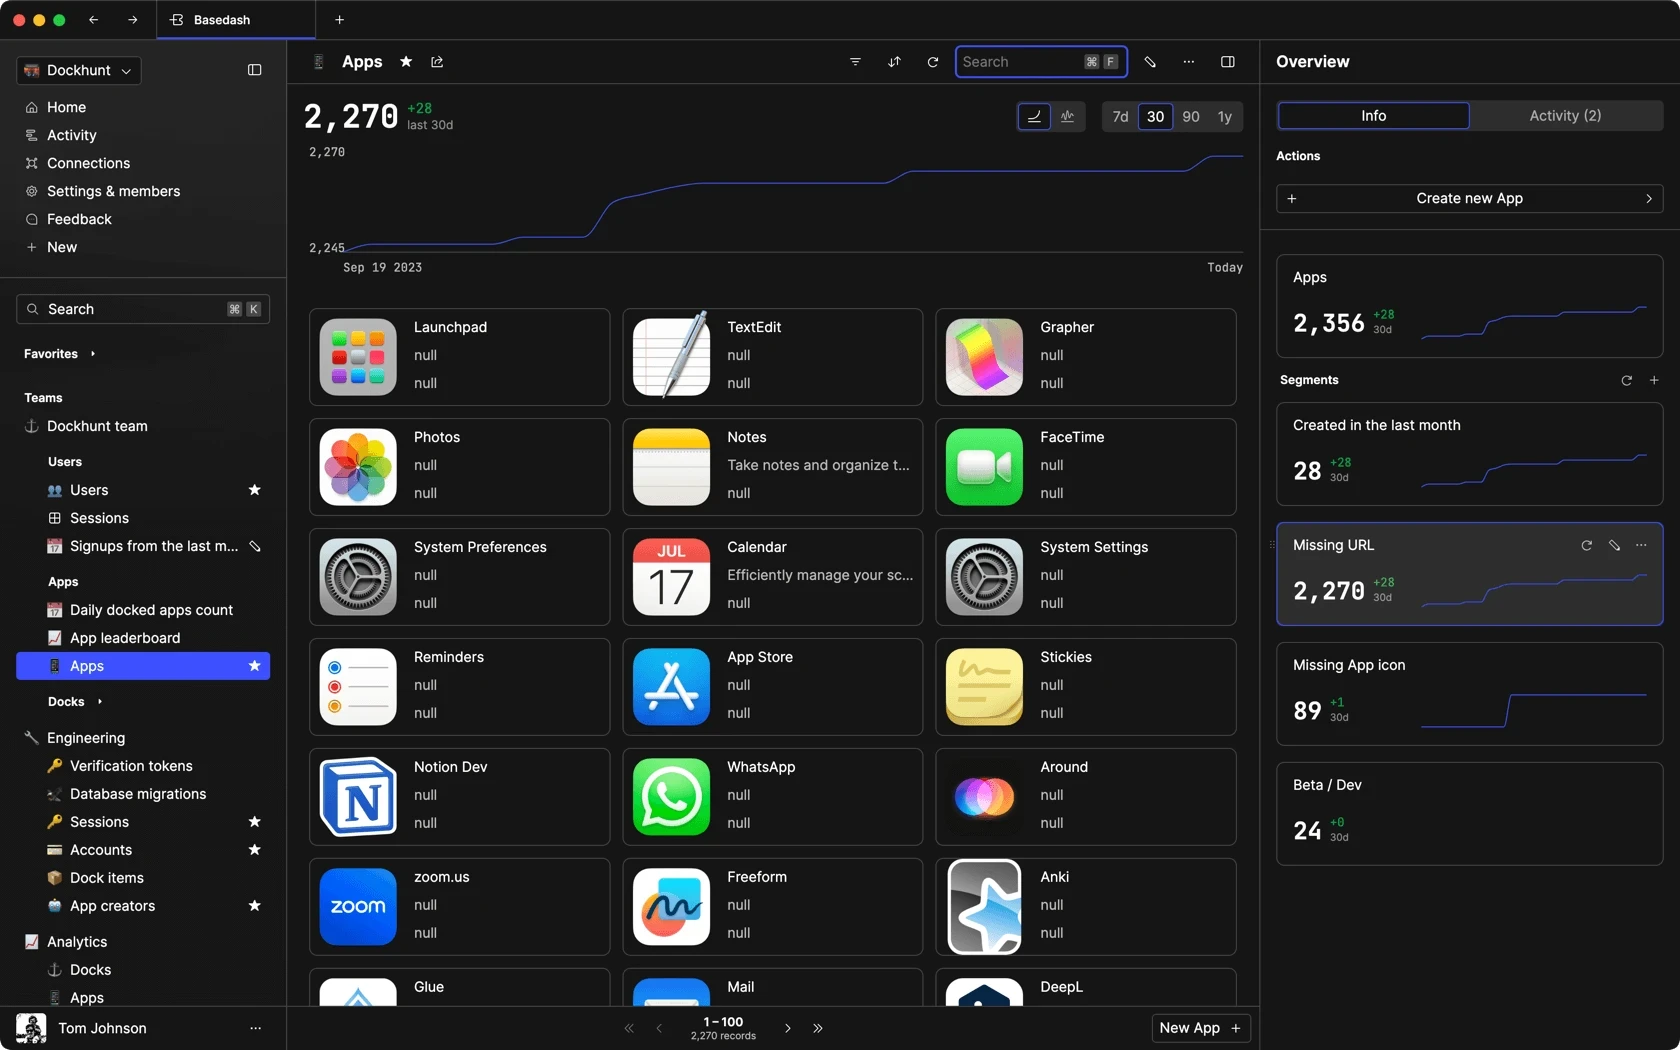
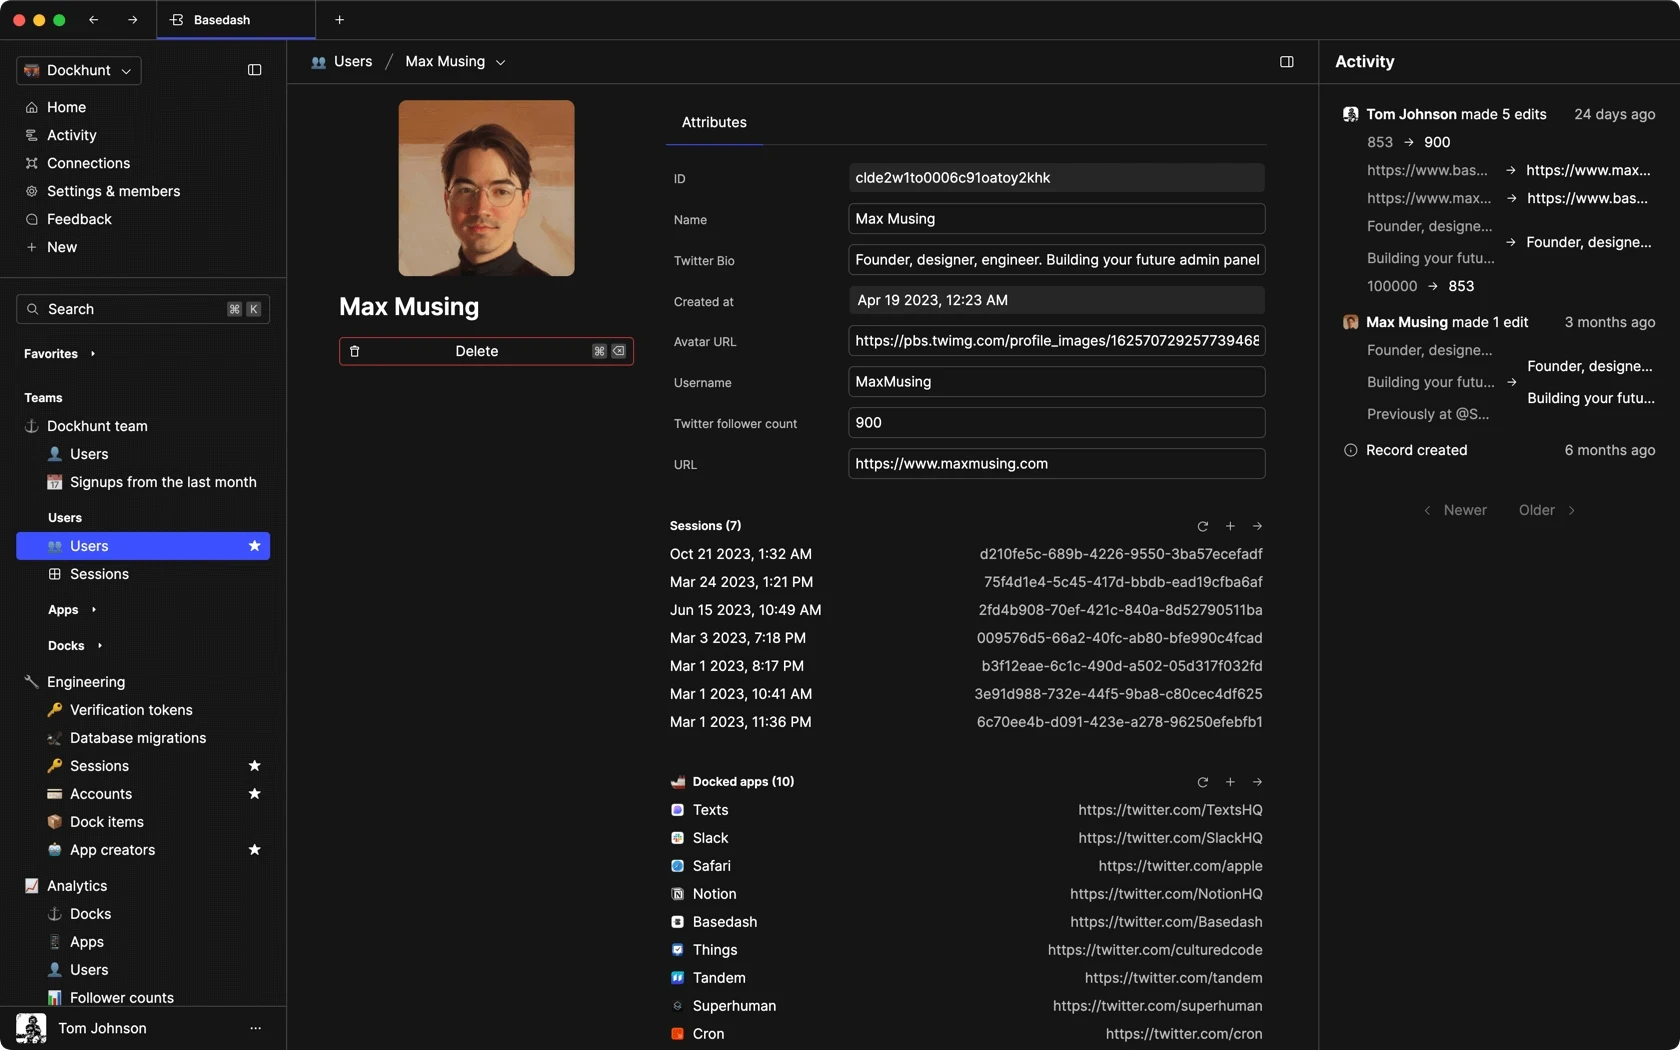
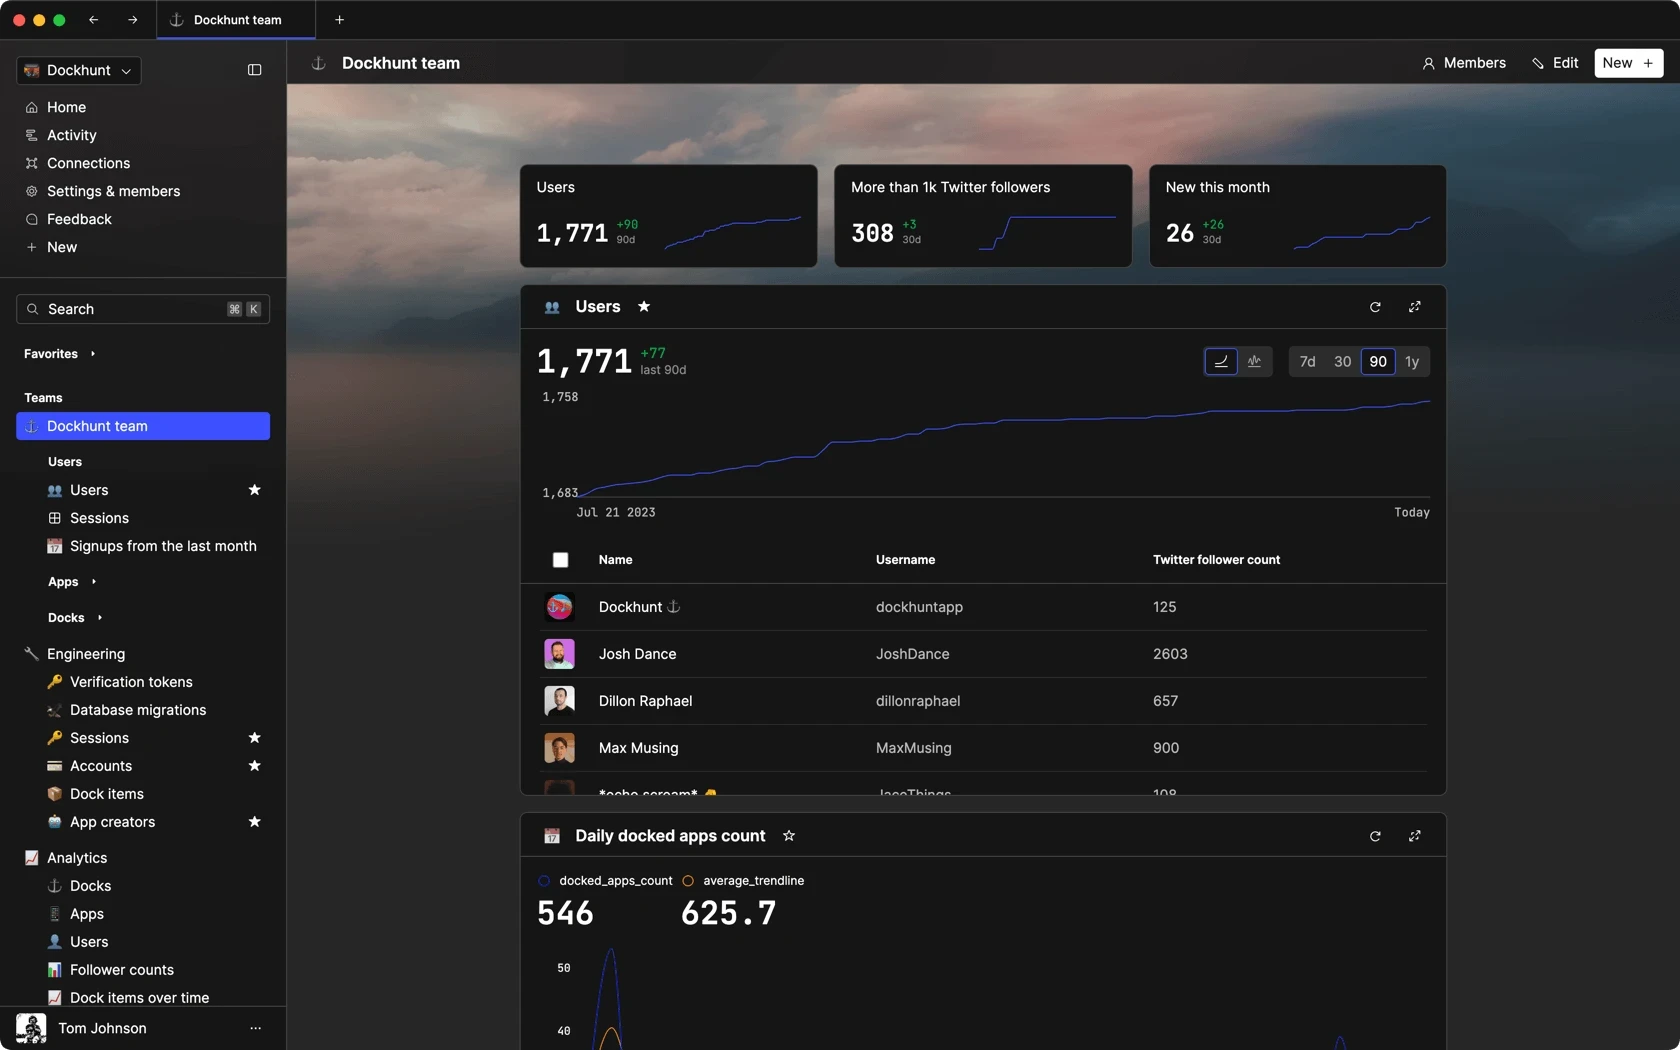
Dashboards and charts
Edit data, create records, oversee how your product is running without the need to build or manage custom software.
USER CRM
ADMIN PANEL
SQL COMPOSER WITH AI
Related posts
Related posts
Related posts


How to Add Columns to MySQL Tables with ALTER TABLE
Robert Cooper


How to Add Columns to Your MySQL Table
Max Musing


Pivot Tables in MySQL
Robert Cooper


How to Rename a Table in MySQL
Max Musing


How to Optimize MySQL Tables for Better Performance
Robert Cooper


How to Display MySQL Table Schema: A Guide
Jeremy Sarchet
